Hey Friends!!
I’m so excited to be dropping in today!
I’ve been so busy with the store lately that my blog posts are few & far between! Although I miss my blogging routine, I have to admit that I am LOVING the move to small business owner! My mom & I are having so much fun at the store each day & this week we are gearing up for our Holiday Open House! I just got another big shipment of merchandise yesterday, so there is lots to do! We are also getting ready to convert our fall window displays over to Christmas, so that will be lots of fun as well! I’m sure I will be sharing tons of sneak peeks on social media, so if you aren’t following along, be sure to do so on Facebook and/or Instagram!
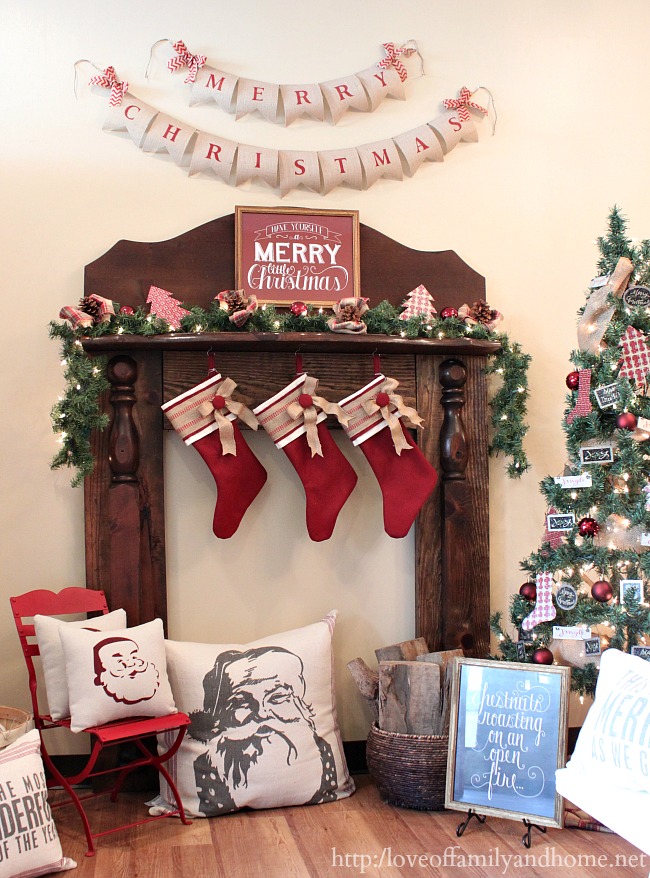
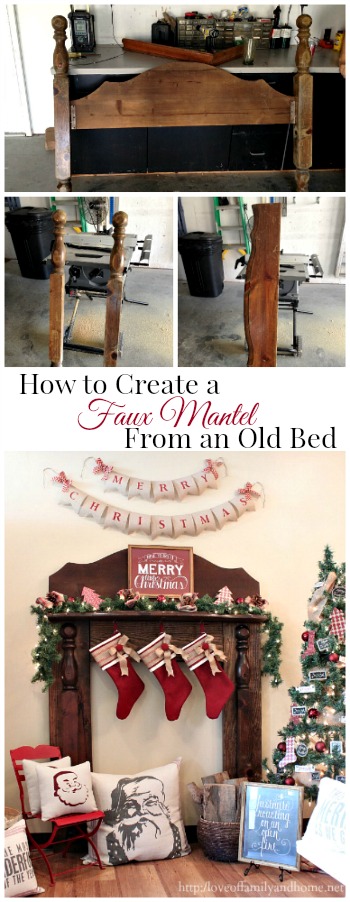
Today, I wanted to share with you one of my favorite projects from the store thus far. How adorable is DIY Faux Fireplace Mantel?! You’ll never believe what we made it out of!
It all started a couple months back when my mom & I were out one Saturday morning, hitting a few yard sales. After just one yard sale, we left with this huge haul of goodies!
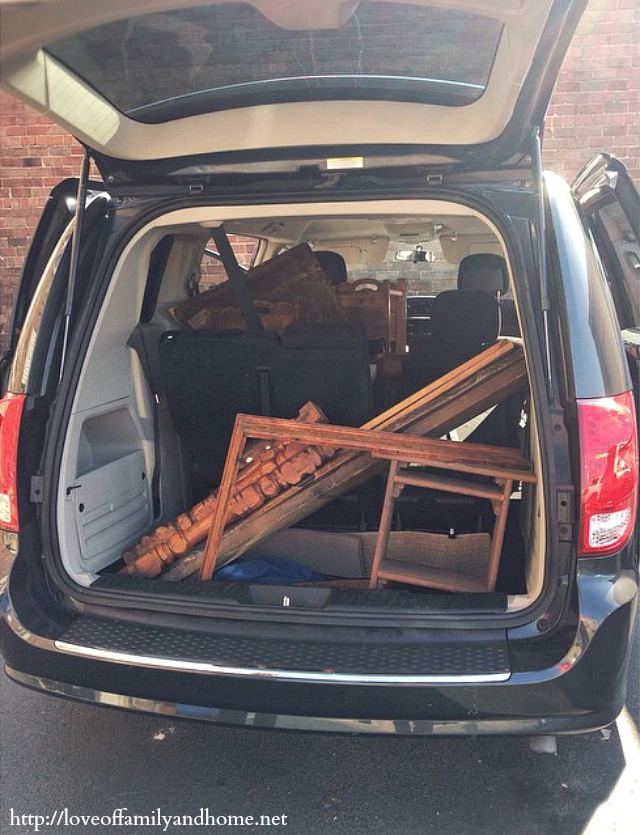
We scored a dining room table, four chairs, a headboard/footboard, and two small side tables for all for just $27.00!! When we arrived at the yard sale, we began browsing a few of the items that the owner had for sale, but it was the headboard/footboard off in the distance that caught our eye. My mom asked the owner if it was for sale, and she pretty much said if we’d haul it off for her, that she would sell it for ONE DOLLAR! I quickly responded “SOLD” and we were loading it up in my mom’s van in no time flat! I had no idea what I was going to do with it, but I knew we’d come up with something!
While browsing through Pinterest, looking for store display ideas, I came across a Christmas display which included a faux mantel and then the light bulb went off! I was certain we could create a faux mantel out of that old headboard/footboard. And so the creative process started!!
We started by removing one of the legs from the headboard.
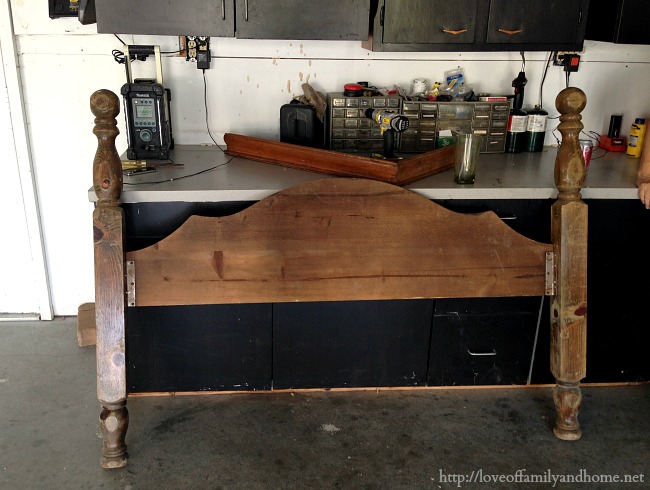
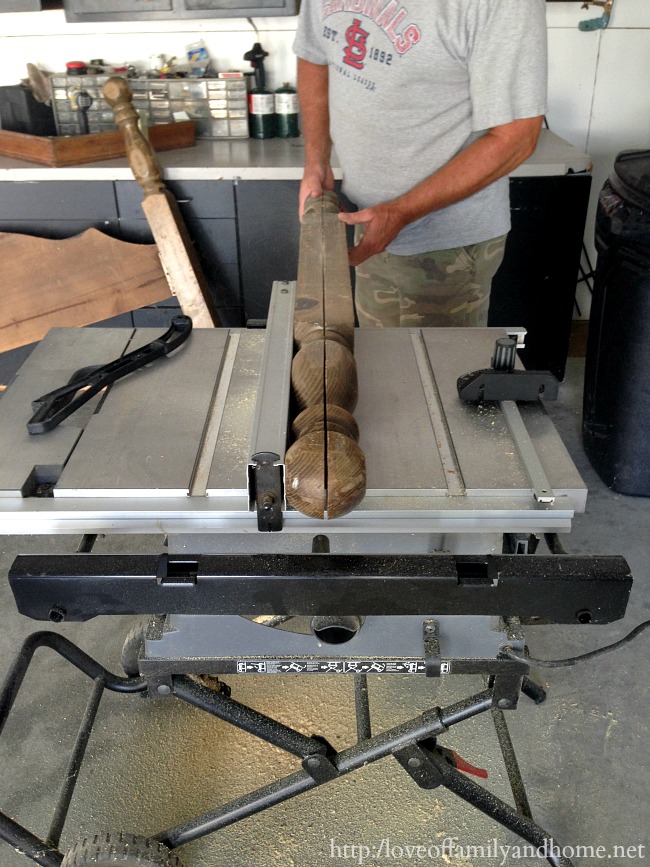
My dad cut the leg in half using a table saw, leaving us with two equal halves.
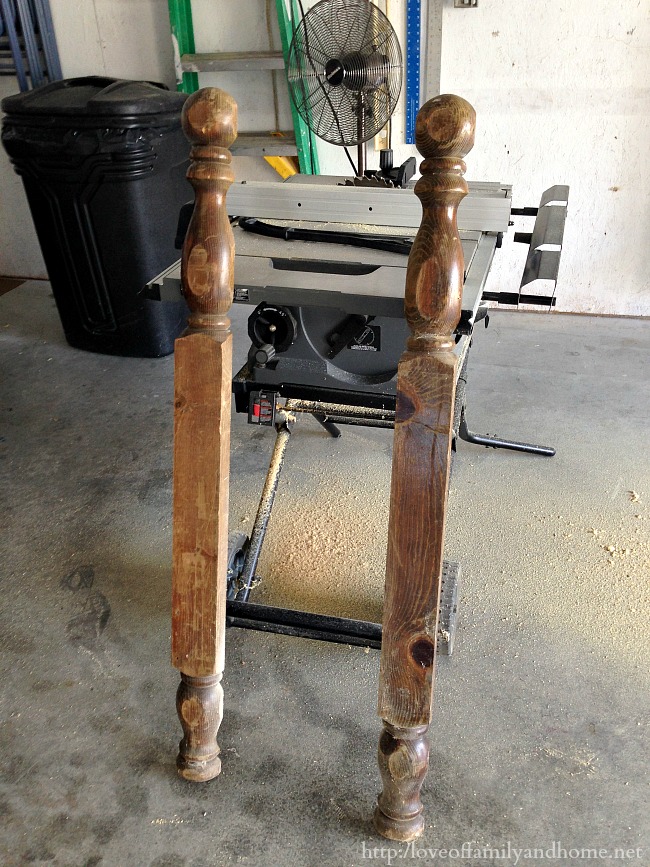
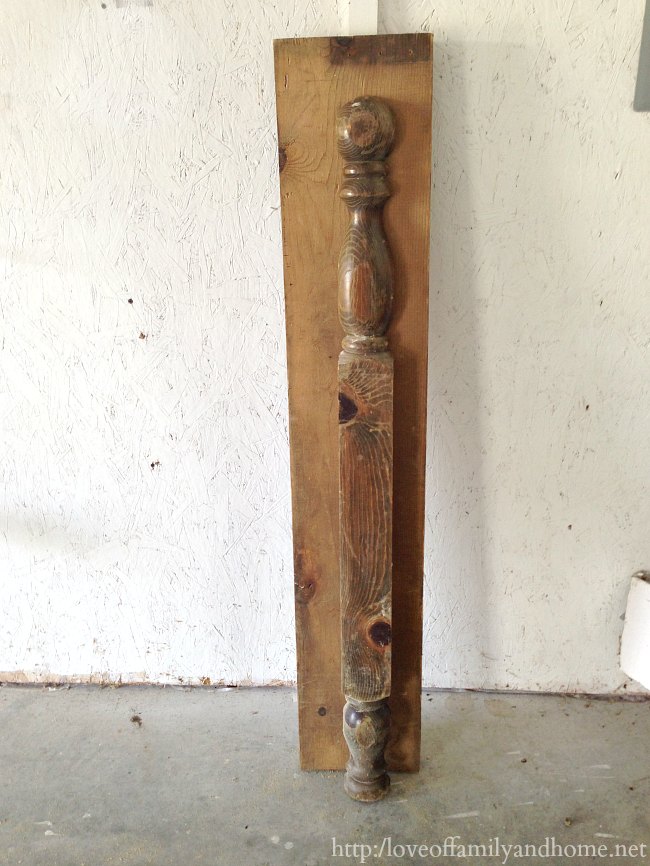
Then we started playing around with the pieces from the bed to try & figure out how the mantel would be constructed. There was a scrap board that came with the bed. (I’m thinking it was some type of support that went under it.) We laid one of the legs on top of it to create one of the mantel sides.
Laying the other pieces out on the floor, it helped us to visualize how the mantel would go together and what pieces would need to be added.
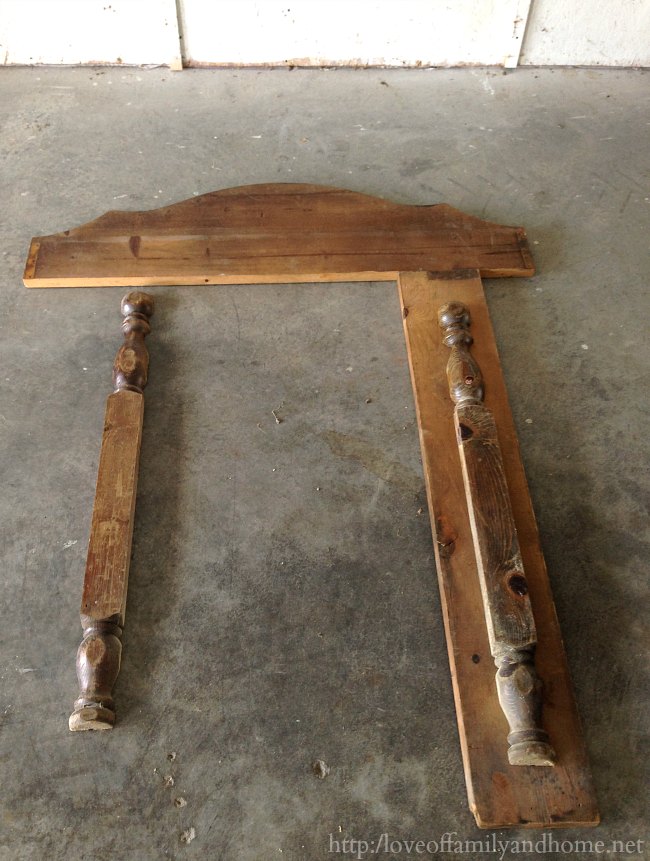
We decided that we wanted the total width of the mantel to be about 4 foot, so we marked off the ends of the headboard that would need to be cut off. We cut equal amounts off of both ends.
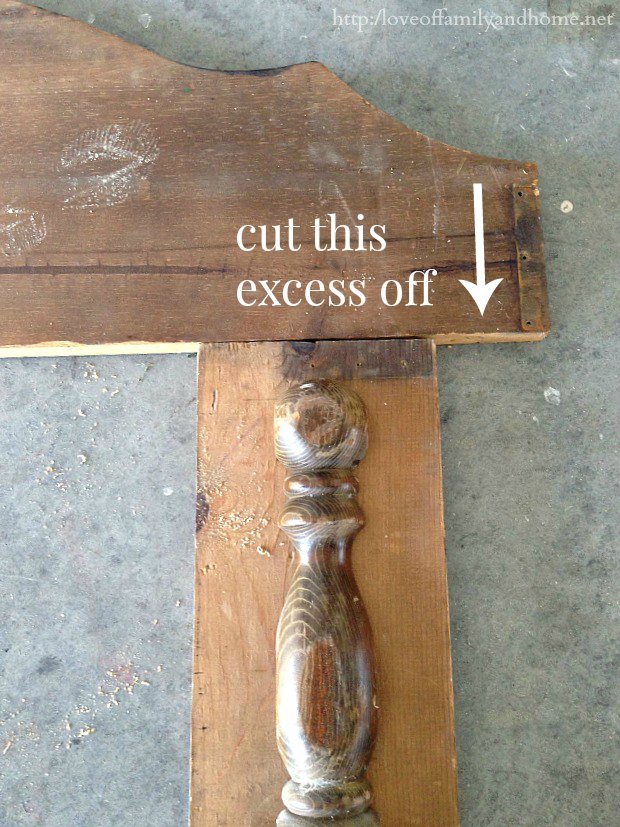
Then we took the footboard (legs already removed) and cut it down to match the width of the headboard.
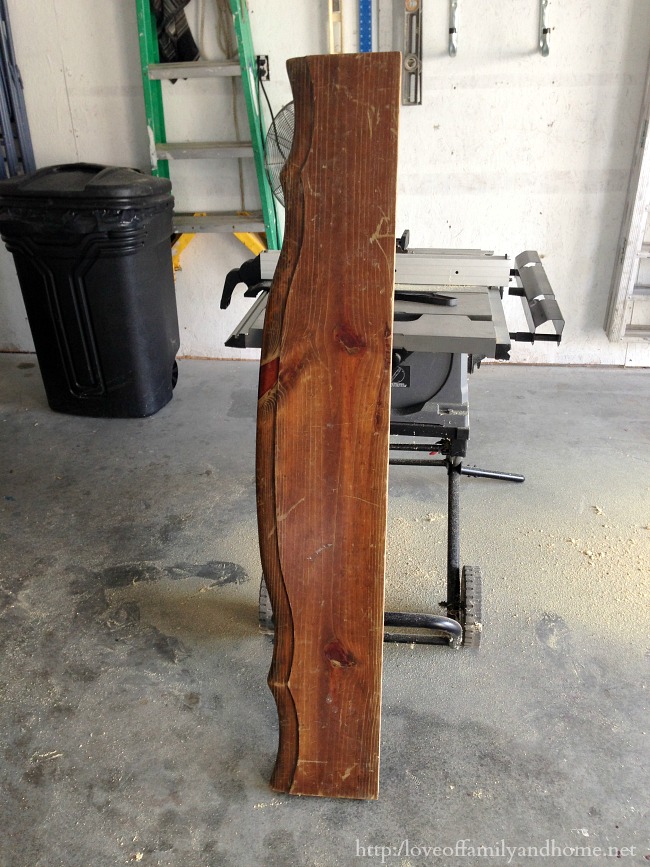
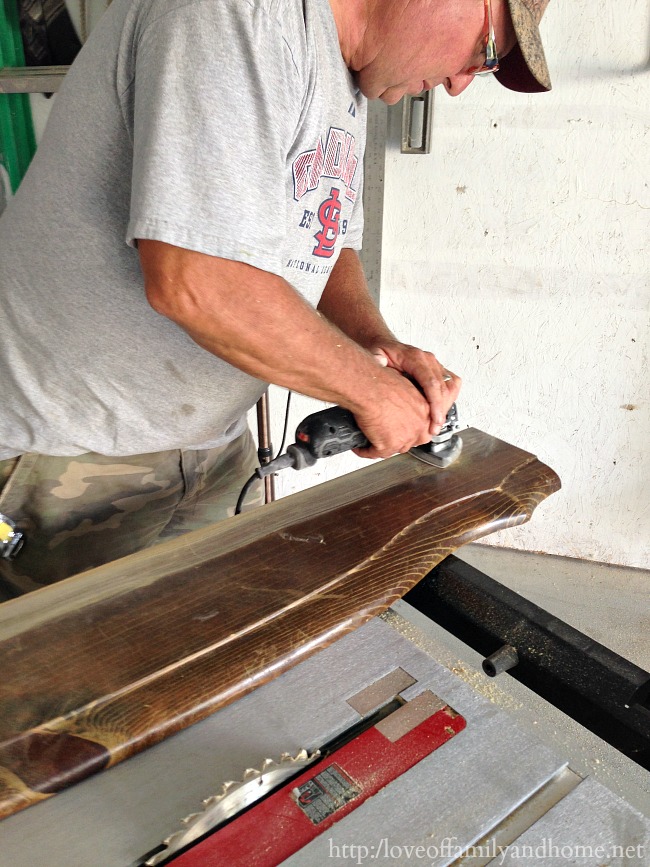
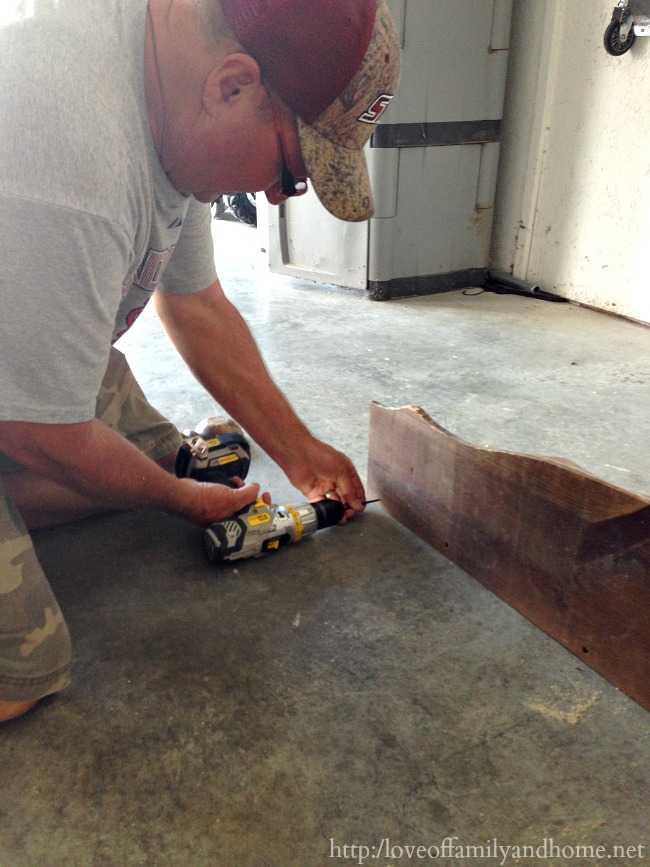
Preparing to attach the two, my dad sanded down the edge of the footboard.
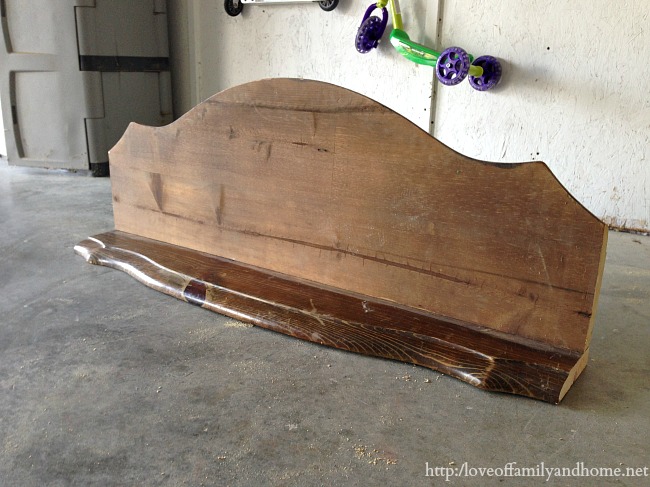
Then applied some wood glue to the sanded edge & attached it to the bottom of the headboard to create a shelf.
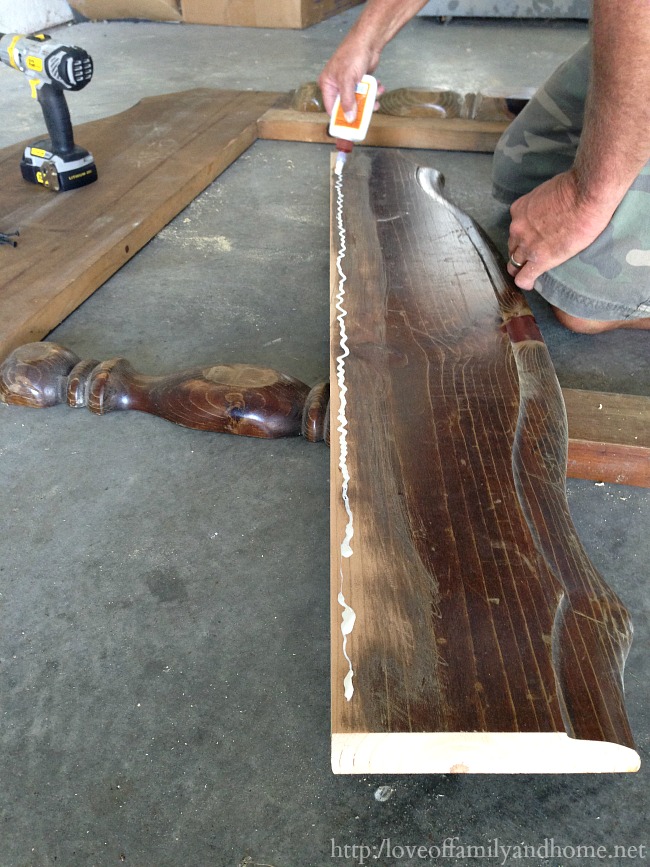
He reinforced the shelf using screws.
We were left with this…..
Then we added the legs to the bottom. Using the scrap wood that came with the bed, we created the leg for the one side of the mantel. Then my dad purchased some new wood to create the other leg & the piece to go underneath the shelf.
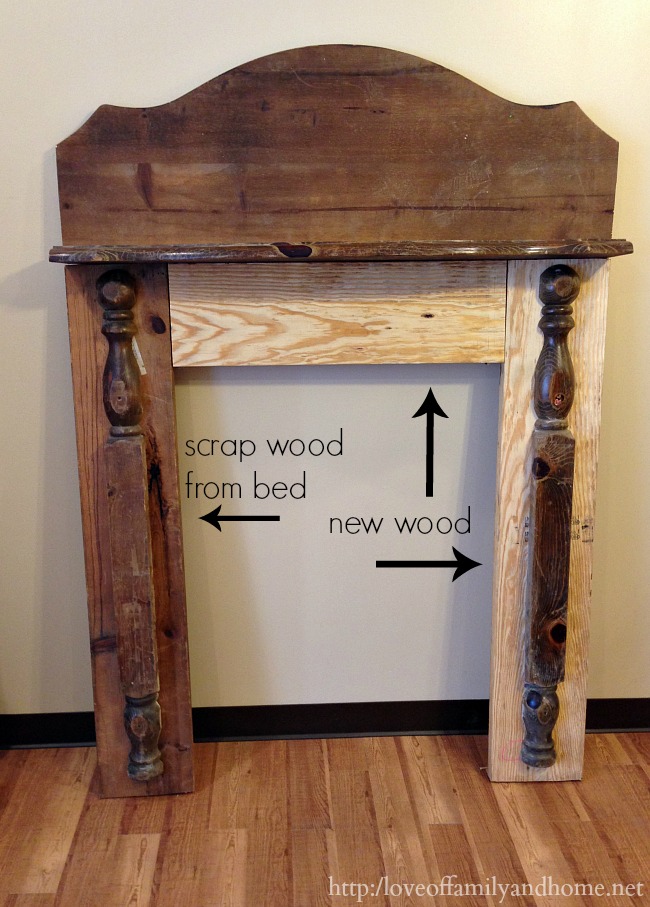
In an effort to match the new wood to the old wood, I went over the entire mantel with Minwax brand “Special Walnut” stain. The picture below shows the mantel after just one coat of stain. I went over the new wood a second time (not pictured) to match the two up a just a little bit better.
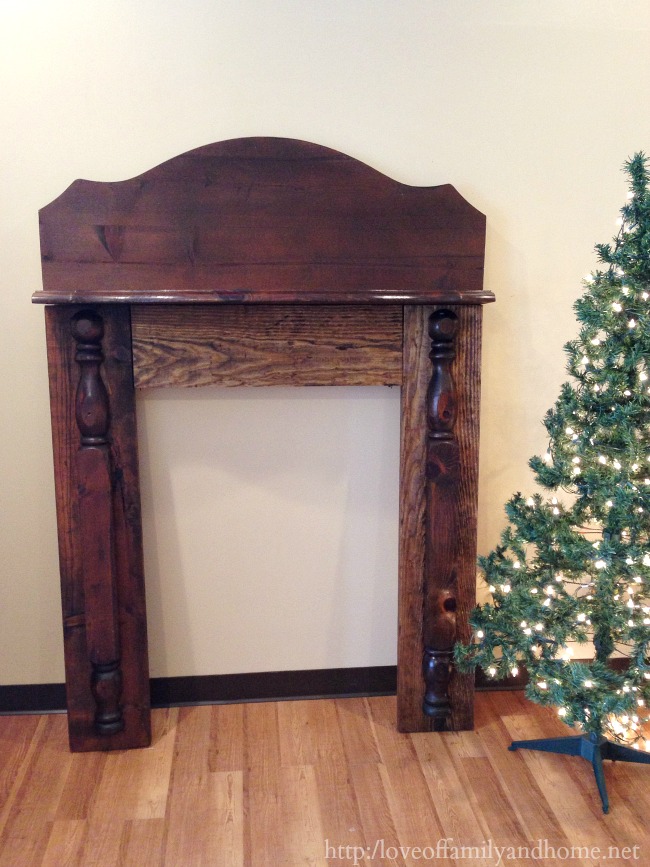
When it was all dry, it was time to decorate!! 🙂
After adding some greenery, lights, a few stockings, and a super cute print from Dear Lillie it was ready for it’s big reveal!

AHHH!!! I’m seriously in LOVE with how it came together! This display is definitely one of my favorites in the store!
While we are at it, why don’t we get a closer look at some of the details…..
This area of the shop is filled with the traditional red & green Christmas decor, while another area is filled with more neutral Christmas. Although I tend to favorite the neutral tones, I’m pretty partial to this little tree! The plaid & burlap mixture is perfection, don’t you think?!
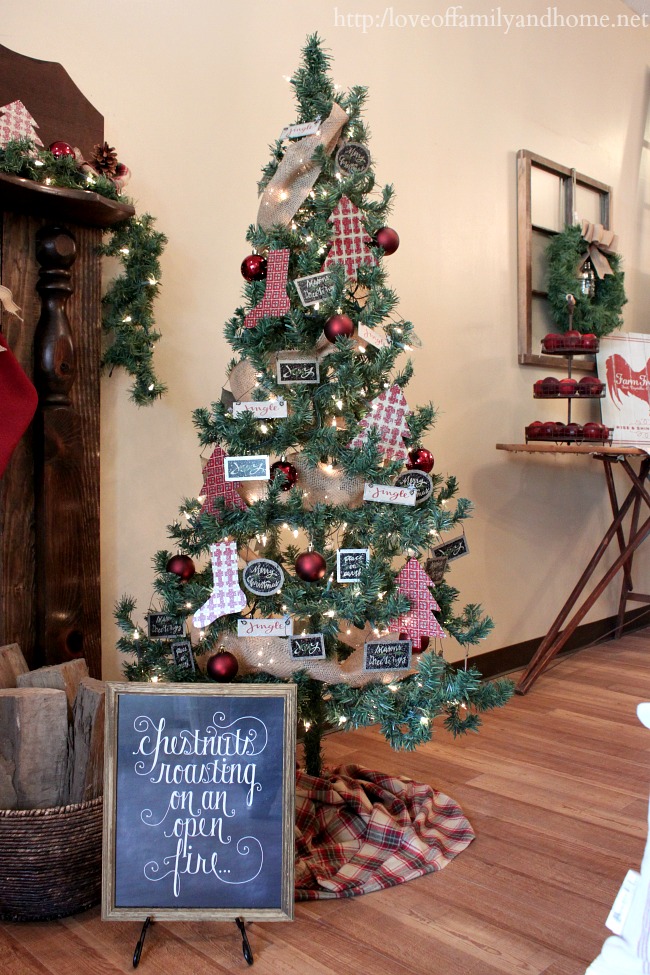
The “Chestnuts Roasting” Chalkboard print is again, compliments of Dear Lillie.
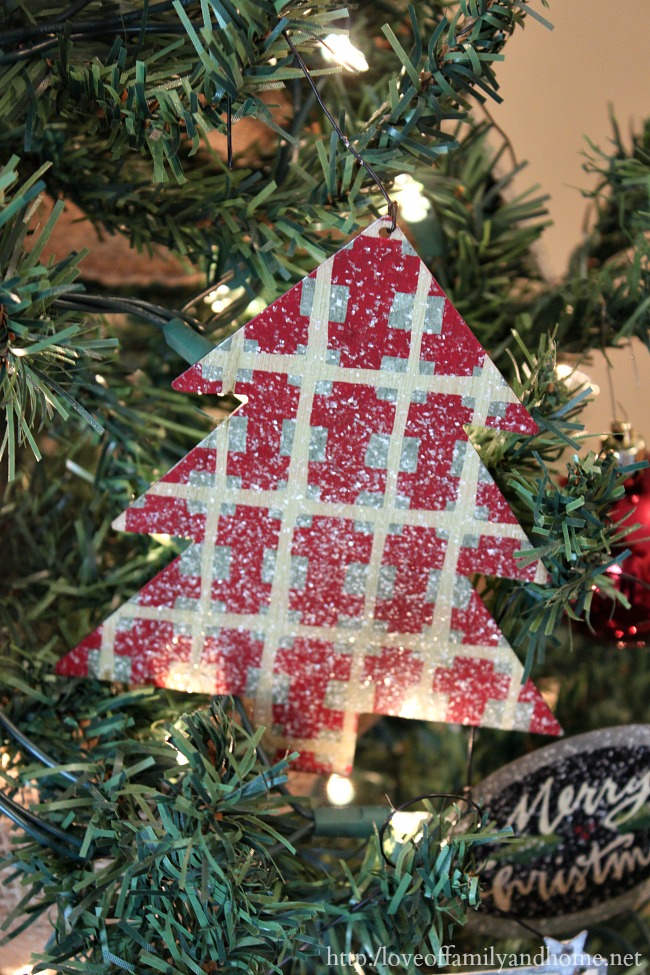
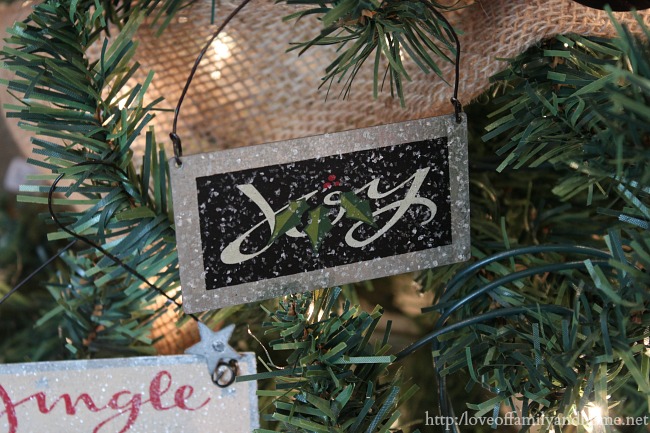
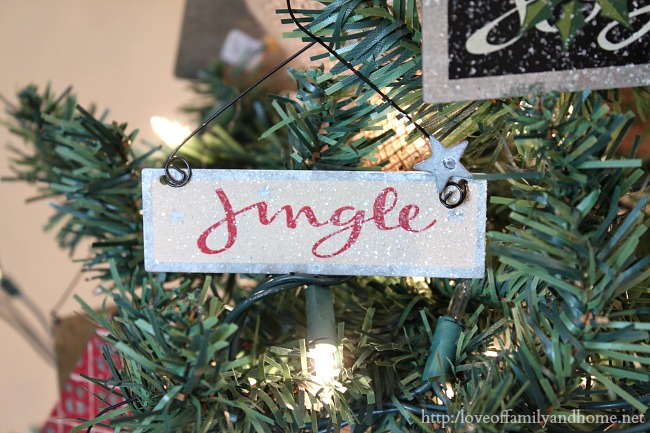
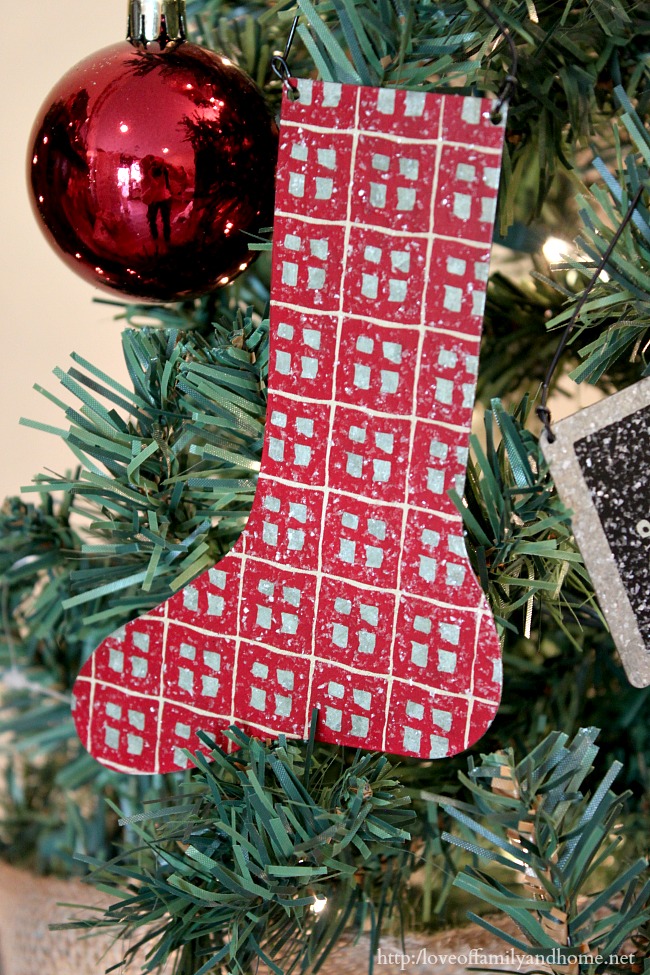
Here are a few close-ups of the ornaments. They are all made out of tin, which I love!

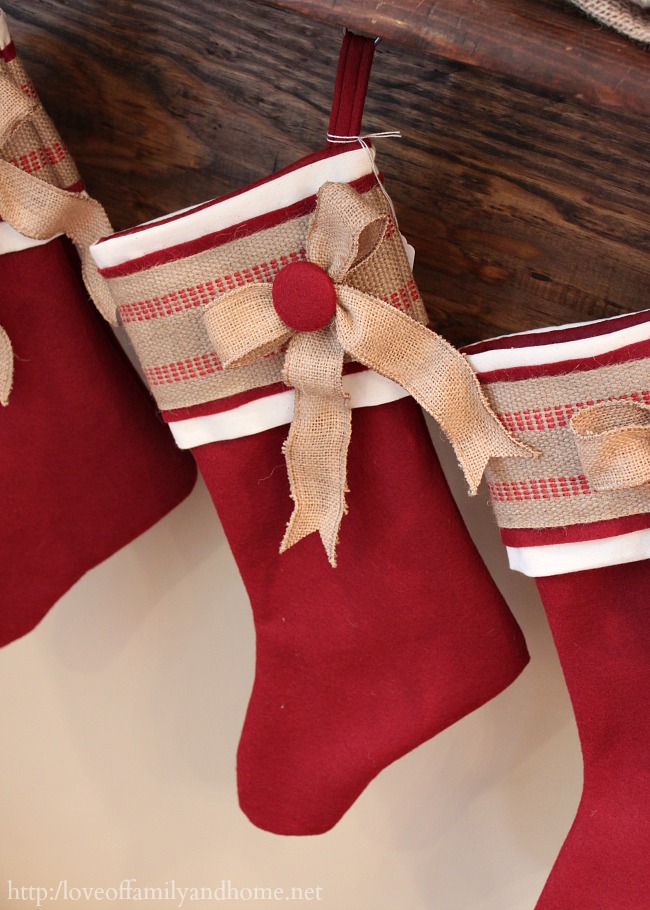
The stockings are compliments of my super talented momma! They were the perfect addition to the mantel!
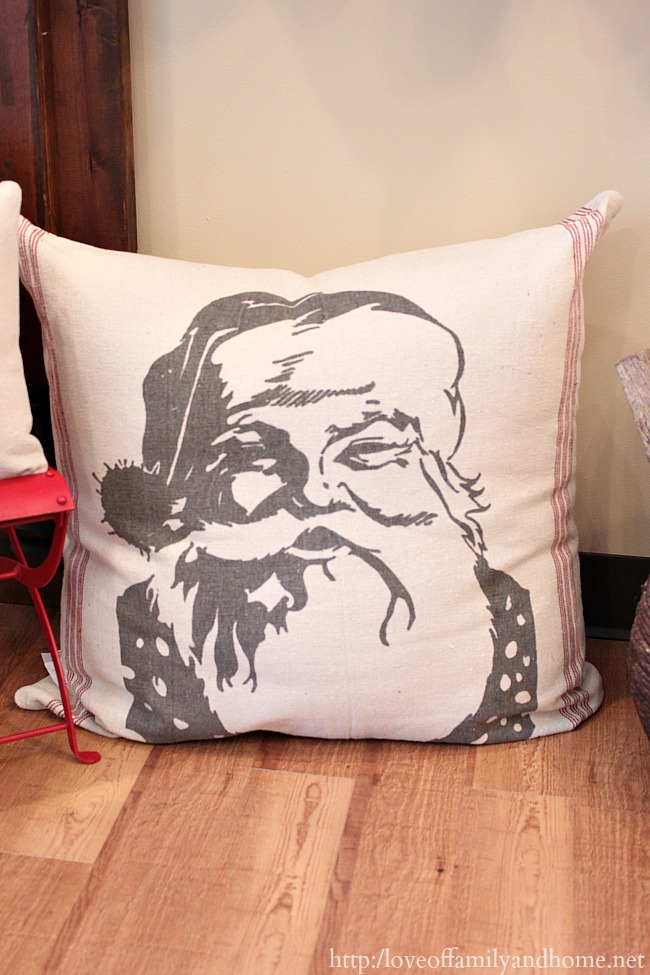
And how fabulous is this Santa pillow?! Seriously, I LOVE HIM!!!
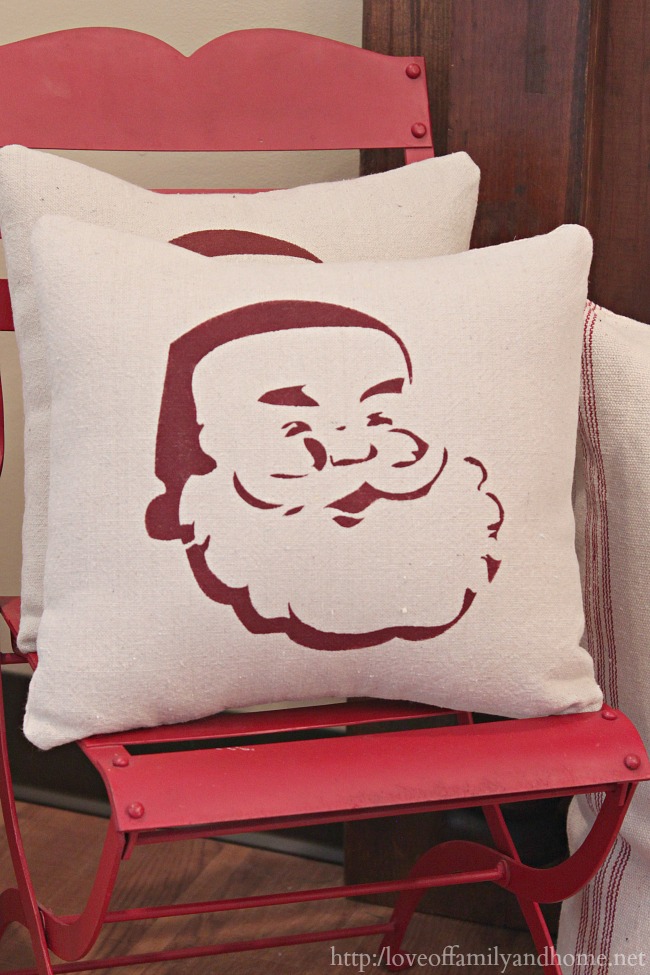
More festive pillows….

These smaller Santa silhouette pillows were also made by my mom! We sold tons of them our opening weekend! Total cuteness, right?!
And that’s pretty much a wrap on our traditional, red & green Christmas display!

I hope you enjoyed this tutorial! If you’ve always wanted a mantel to decorate, but do not own a real fireplace, I would encourage you to create a faux mantel of your own! It was super easy to do & would create so much character to your home this Christmas! All you need is an old bed, a blank wall, & a little imagination! 🙂
For more faux mantel ideas, check out THIS POST from a few years back!
As always, thanks so much for stopping by!!
Hope you Wednesday is blessed! 🙂
Linking up here…
Tutorial & Tips Tuesday at Home Stories A to Z
Wow Us Wednesday at Saavy Southern Style
DIY Projects & Party Time at The 36th Avenue
Link Party Palooza at Tatertots & Jello
Inspiration Gallery at Design, Dining, & Diapers
Furniture Feature Friday at Miss Mustard Seed
Sunday Showcase Party at By Stephanie Lynn
