Hey Friends!! Happy Tuesday!
I hope your week is off to a great start!
Well, Thanksgiving has come & gone and here we are in the month of December?! How is that even possible?!
I’m not exactly sure how we got here, but I’m trying not to spend too much time thinking about it! Instead, I have been busy getting our home ready for the holiday season! I spent much of yesterday decorating our home & I am so happy with how things are coming together! So, if it’s okay with y’all, I thought I would share another Christmas project with you today! 🙂
I hope you’ll love this Burlap Christmas Wreath as much as I do! 🙂

Supplies:
14″ Styrofoam Wreath form
1/2 yard of Burlap (approximate)
Christmas Picks/Sprays/Ornaments
Ribbon
Hot Glue
Jute/Twine
I started with this white styrofoam wreath form that I purchased at Hobby Lobby for $4.99.

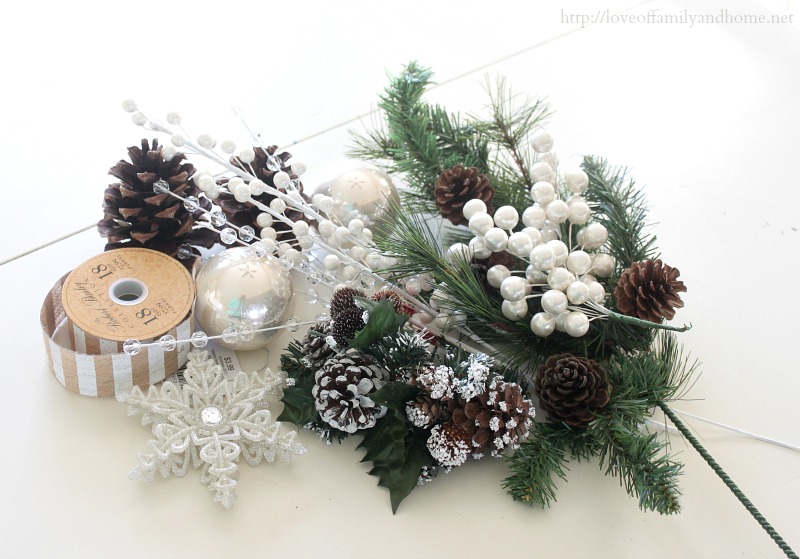
In addition, I also picked up a tree ornament & a handful of Christmas picks/sprays from Hobby Lobby while they were on sale. Then, I used my 40% off coupon to purchase the striped burlap ribbon you see below. I also grabbed a few things from my personal stash at home, but didn’t end up using anything from it.
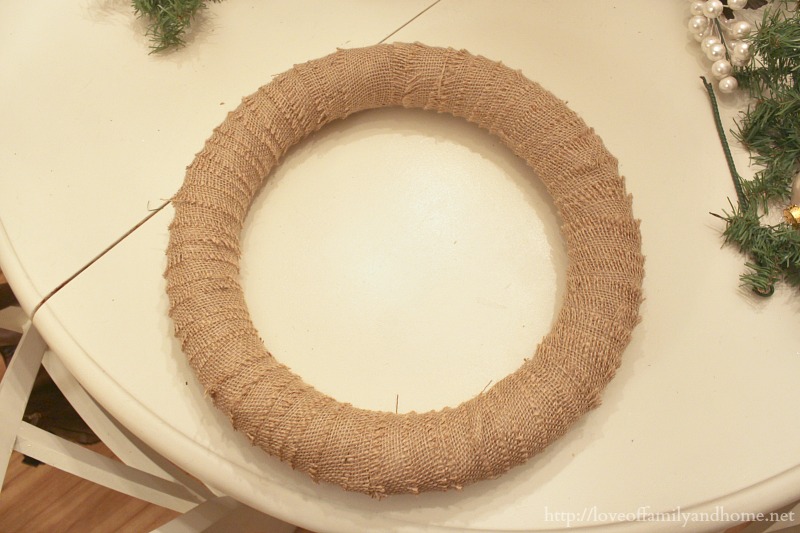
I had about 1/2 yard of burlap on hand & wanted to use it to cover my wreath form, so I cut it into 2″ strips & wrapped it around the wreath form, securing it with hot glue as I went. (My motivation to start this project struck at night, so you’ll have to forgive me for the poor lighting in the next few photos.)
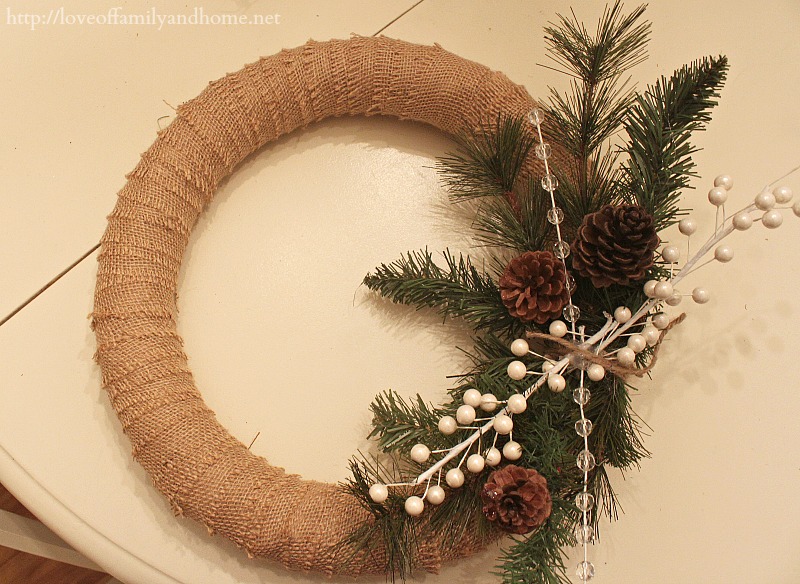
Once the wreath form was covered, I started putting together the floral arrangement for the wreath. I started with my greenery & berries and then added things as I went. I secured the greenery & berries to the wreath by wrapping jute around the arrangement & tying it in a knot. Just for a little added protection, I also added a some hot glue around the knot to make sure it wouldn’t come untied.

Once the greenery & berries were in place, I added my ornament to the center of the arrangement using more hot glue. I also glued in a few loops of the striped burlap ribbon to bring a little more color to the floral arrangement. Using the left-over ribbon, I hung the wreath from our door.
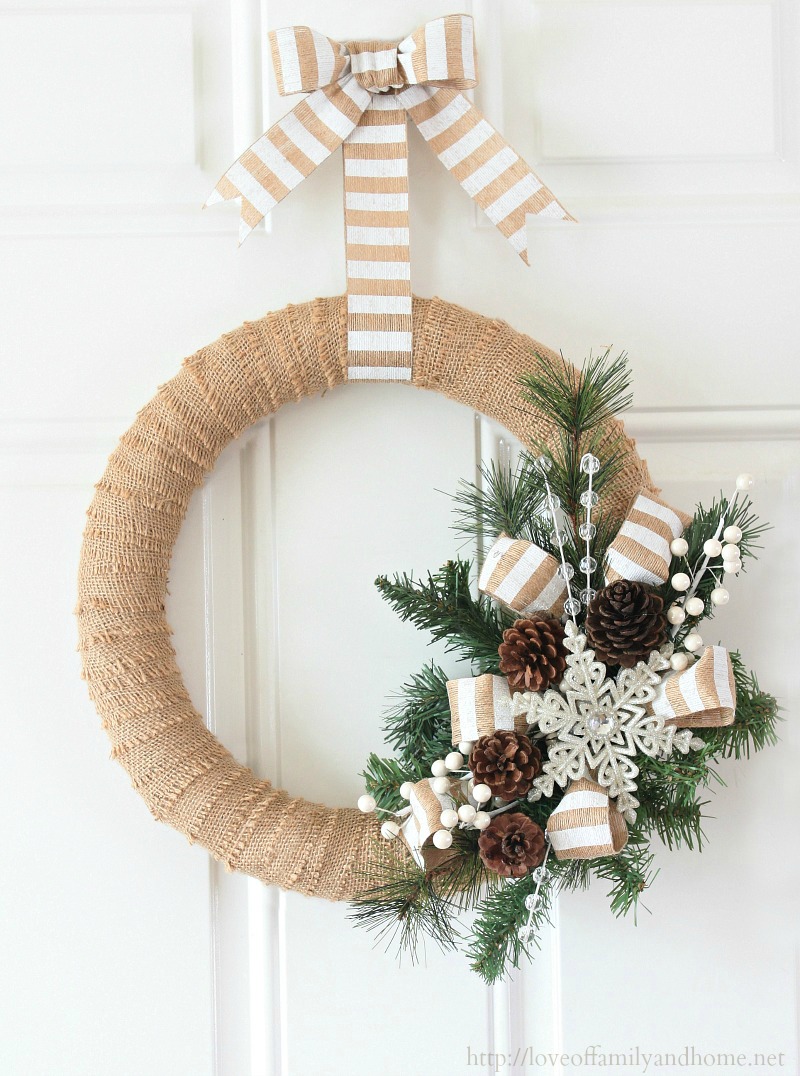
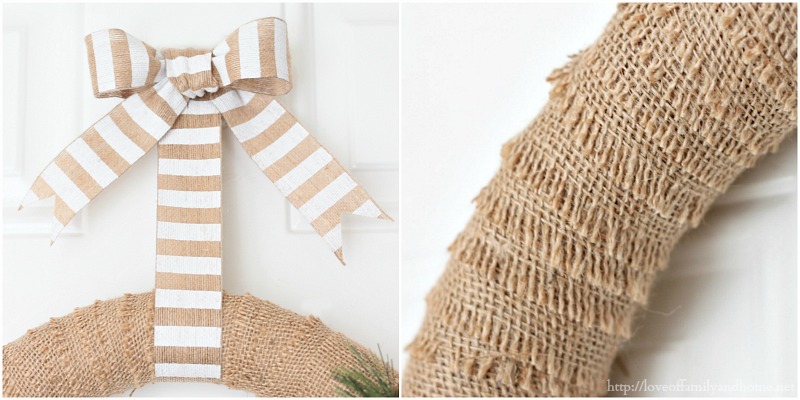
I have had several people ask me how I hang our wreaths, because you can see there is no visible wreath hanger on the door. My secret are these amazing magnetic wreath hangers from Hobby Lobby. They work like a dream! To actually hang the wreath, I take a strip of ribbon & run it through the center of the wreath form until the two ends meet. Then I just cut a little hole in the two ends & hang it from the wreath hanger. To cover up the hole (and the wreath hanger), I make a small bow (seen below) & then just hot glue it on. It comes off easily later & makes the wreath & the bow lay flat & pretty! 🙂
A few close-ups of the floral arrangement…..I love the mixture of pinecones, greenery, & ribbon!
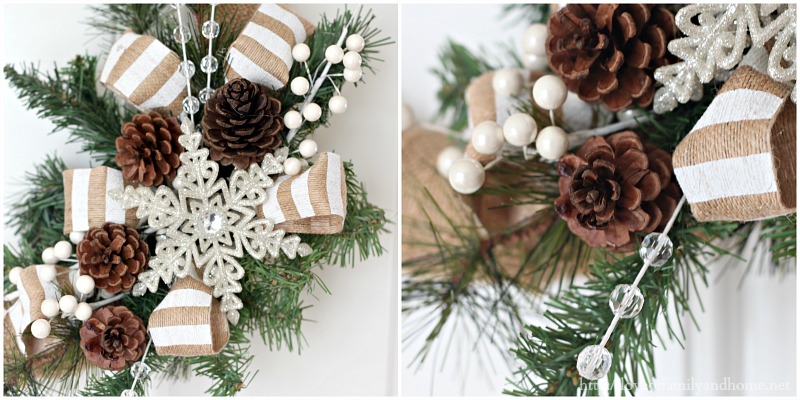
If you can’t tell already, I’m sticking to a neutral color palette this Christmas season and I kinda LOVE it! We bought a new tree this year & it inspired a whole new look for our living room/kitchen area. I hope to share photos of our tree & those living areas later next week! Stay tuned!! 🙂
Well, that’s pretty much a wrap on my Burlap Christmas Wreath Tutorial! As you can see, there really isn’t much to it! 🙂
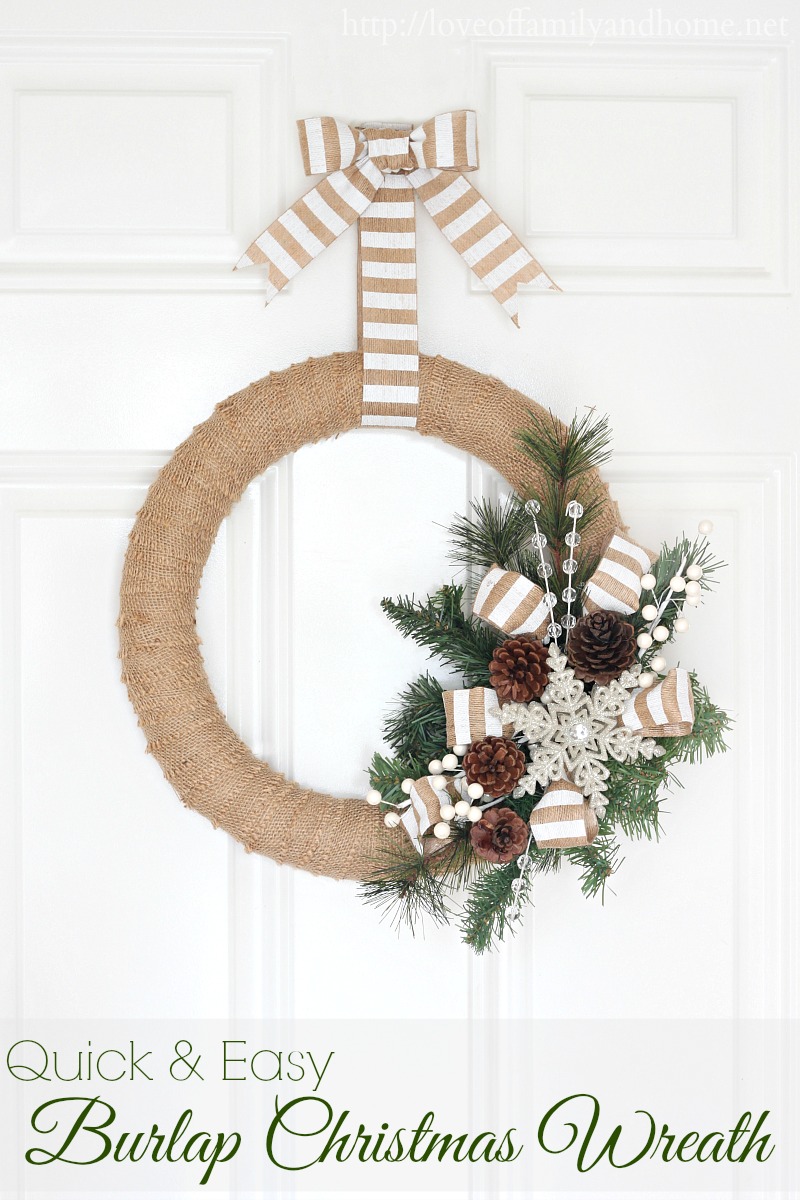
Moral of the story….
Don’t spend the money on a big fancy wreath this year! Just make one instead!!
Truly, anyone could make this! 🙂
And when I say “anyone”, I mean YOU!!
As always, thanks so much for stopping by!!
I hope you have a wonderful day!
Linking up here….
Inspiration Gallery at Design, Dining + Diapers
Tutorials & Tips at Home Stories A to Z
Christmas Extravaganza Link Party at Two Twenty One
Christmas Party at Thrifty Decor Chick







Love this! Definitely going to try this!
Thank you Shana!!
Love these colors together! Burlap is so fun for the holidays!
Thanks Andrea! Yes, I’m really liking the neutral/natural colors this Christmas season! : )
Your wreath is absolutely gorgeous! You make it look very easy to make your own.
Thanks for the idea.
KC
Thanks for the inspiration! I just made mine, I love it!