Archives for August 2011


Back To School Teacher’s Gifts…

Today was Parker’s first day back to Pre-K!
This is his second year of Pre-K and he is returning back to the same class with the same teachers, so we didn’t have the issue of separation anxiety this year as we did last year. Since he was familiar with everything, the first day was NO BIG DEAL for him. He gave me a kiss & said “Bye Mom!”
Can’t believe how big he is getting!! Where does time go?!
I decided I wanted to make his teachers a little back to school gift this year & had seen so many beautiful embellished clipboards from other bloggers & also on Pinterest. I thought it would make a great teacher’s gift, so I decided to try my hand at some of my own!
I went to Hobby Lobby to find some pretty scrapbook paper ($0.59 a piece) & bought the clipboards at Target  ($2.00 a piece.)
I also picked up a cream colored ribbon at Hobby Lobby ($1.00-purchase 50% off.)
I cut the scrapbook paper to size I needed…
And then Mod Podged it too the surface of the clipboard….
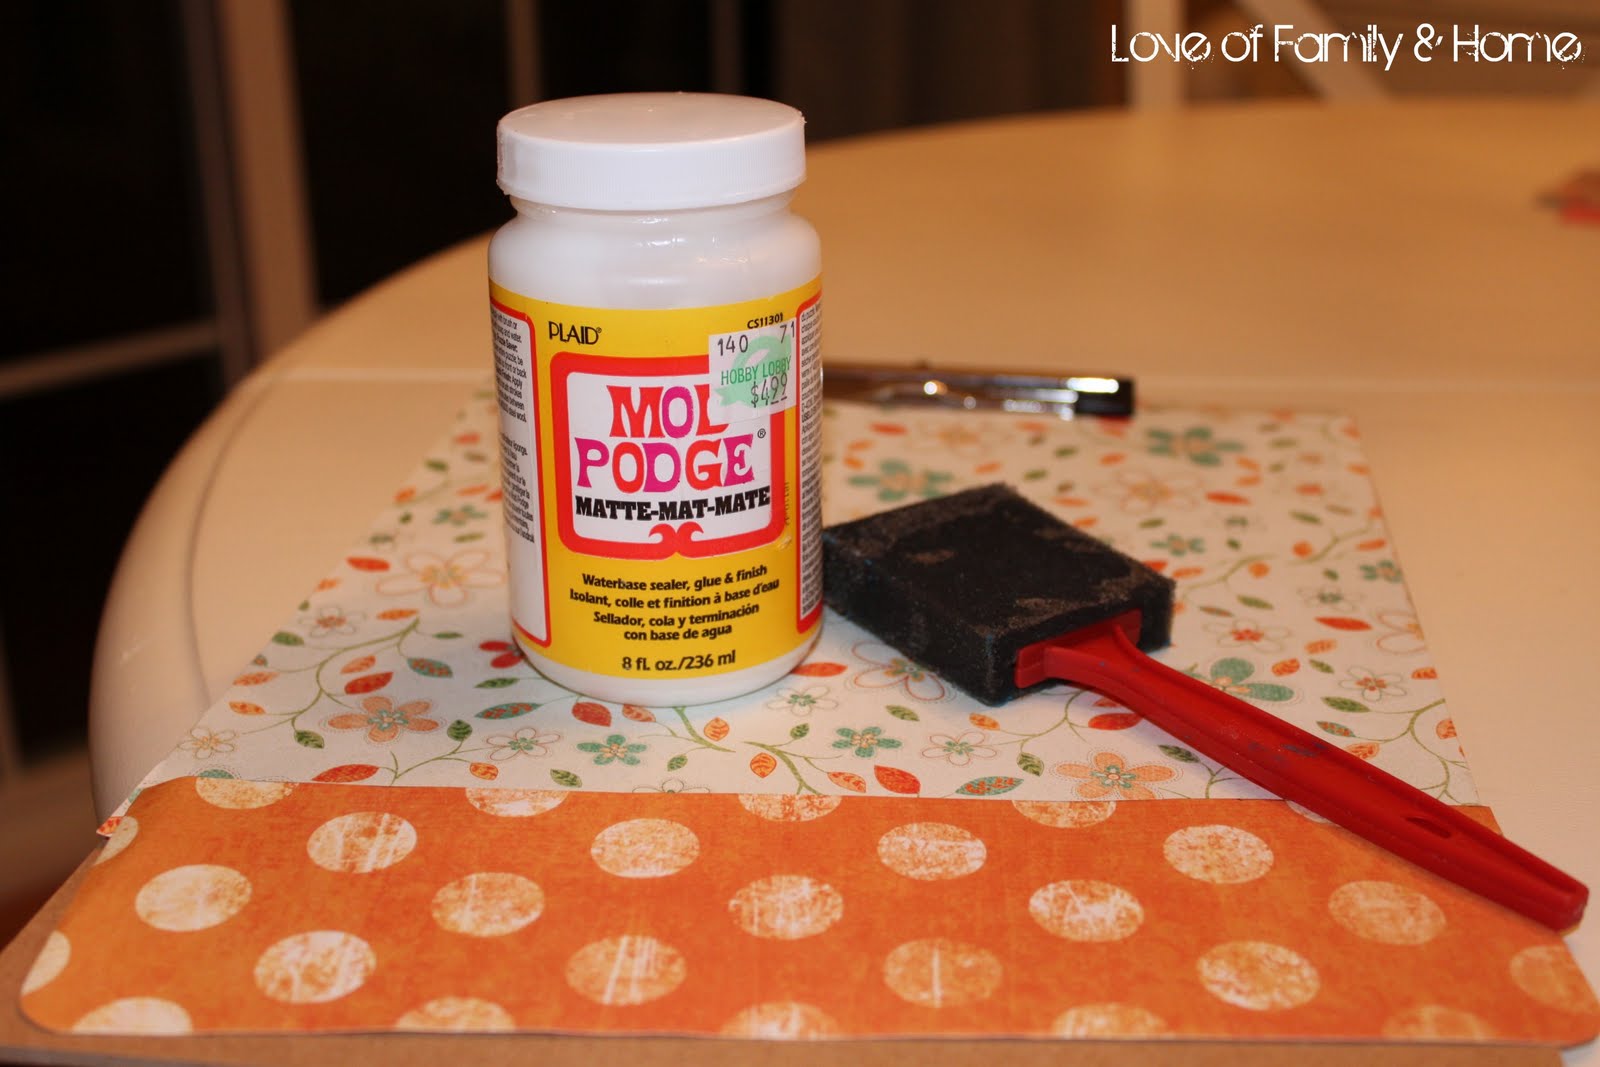
I did wet the backside of the paper a little bit with a water bottle…this makes it a little bit easier to work.  After wetting the paper, I put a layer of Mod Podge on the surface of the clipboard & also a thin layer on the backside of the paper & attached the two together. You will have some air bubbles, but simply take your fingers & smooth the paper out.
Then I took the solid colored paper & cut out the teacher’s name using my Cricut machine. I used the George & Basic Shapes cartridge & cut my letters at 2 inches…
I also used the Mod Podge to attach the letters at the bottom of the clipboard. Parker’s teachers go by their first names in the classroom, so I thought it was appropriate to use them for their gifts, but I think it would also be cute to use Mrs. Smith, Ms. Jones, etc. If you decide to go that route instead you will probably have to cut your letters out in a smaller size.
I used the cream colored ribbon to seperate the two pieces of scrapbook paper, but thought it needed a little something extra so I also cut a thin piece of the cardstock to add to the trim piece. I used the Mod Podge to attach the ribbon/trim as well.
 I let the clipboards dry overnight & then applied a clear finishing coat to them in the morning (this was a tip from my friend Christina at Christina’s Adventures…she sells clipboards) before sending them with Parker to school.
This is what they looked like when they were finished….
Hope you enjoyed this tutorial!!
I also hope I inspired you to make some of your own!!

Linking up here….
Tips & Tutorials Tuesday at Home Stories A to Z
Back To School Ideas at The CSI Project
Transformation Thursday at Shabby Creek Cottage
20 Below Thursdays at Christina’s Adventures
Delightfully Inspiring Thursday at Delightful Order
I’m Lovin’ it at Tidy Mom

Weekend Wrap-Up Party at Tatertots & Jello
Sunday Showcase Party at Under The Table & Dreaming

Sweet Shot Tuesday…The Ray Family

Hey Everyone!! Hope you all are having a beautiful Monday!! I had another photoshoot yesterday evening & have been busy editing pictures most of the day today!  (Just in time for this week’s Sweet Shot Tuesday post!)  My shoot yesterday was with the Ray Family! They were such a CUTE family & were a pleasure to photograph! […]

Before & After Blog Hop

Today I am participating in the “Before & After” Blog Hop at Pixel Perfect. I am sharing one of my favorite shots of Griffin from his 11 month shoot! This is what the picture looked like straight out of the camera…. And this is what it looked like after a few edits on Picnik… Edits: I boosted […]

Burlap Ring Bearer Pillow…A Tutorial

Now that all of the birthday party excitement is over, we will be continuing with our DIY Wedding Series!!! (If you missed the first post of this series you can click here) I showed you in our wedding inspiration post this burlap ring bearer pillow which the bride had pinned on Pinterest… (Source)  I thought […]

Griffin’s Sock Monkey Party Recap…

 Good Monday Morning To All Of You!!! The big birthday weekend has come & gone and  my baby is now ONE year old!! The sock monkey party turned out pretty cute!! I was really thrilled with all of the decorations & the way everything came together! This was my first experience ordering party printables through […]

My Baby is 1 Year Old!!

I can’t believe it!! I knew it was coming… But I am still amazed at how fast it arrived! My Baby is 1 Year Old!! In honor of his birthday, we went out for a little sock monkey (birthday theme) photoshoot this morning!! My mom made his cute little shirt & we found his sock […]

Birthday Party Update & Procrastination…

My baby’s 1st birthday is this coming Friday!! And on Saturday, we are Celebrating…. (The blacked out area is my home address…thought it might not be the best idea to publicize it) Didn’t his invitations turn out sooo cute?!  I used one of the shots from his 11 month photoshoot that I did last month! And […]

DIY Wedding…Framed Monogram Wall Hanging

So, its time to kick off our DIY Fall Wedding Series!! Eeek! I’m so excited!! For those of you who missed our inspiration post, you can check it out here. I showed you lots of pictures to give you kind of an idea of the look we are going for!  Its a rustic, chic fall theme incorporating lots & lots […]

Rustic, Chic, DIY Wedding Inspiration…

So, I told you all that my mom & I have been busy working on decorations for a fall wedding which is quickly approaching… We have been having a great time working & making all kinds of pretty things!!! I wanted to share some inspiration photos with you to kind of give you an idea of the […]

Sweet Shot Tuesday…Engagement Style

It’s that time of the week again… Sweet Shot Tuesday!! This last weekend I had the pleasure of taking engagement pictures for Felicia & Chad! Felicia & I worked together about a year ago before I made the change to being a stay-at-home mom! She is such a sweetheart & I was thrilled when she […]

Related Posts Plugin for WordPress, Blogger...