Hey Friends!!
Can you believe it?! Two posts in one week?!
I’m feeling like a rockstar right now!
I’ve finally found some motivation to get some things done around here and it feels SO GOOD!! Not only that, but I’ve also found the energy to blog about them too! Awesomesauce!
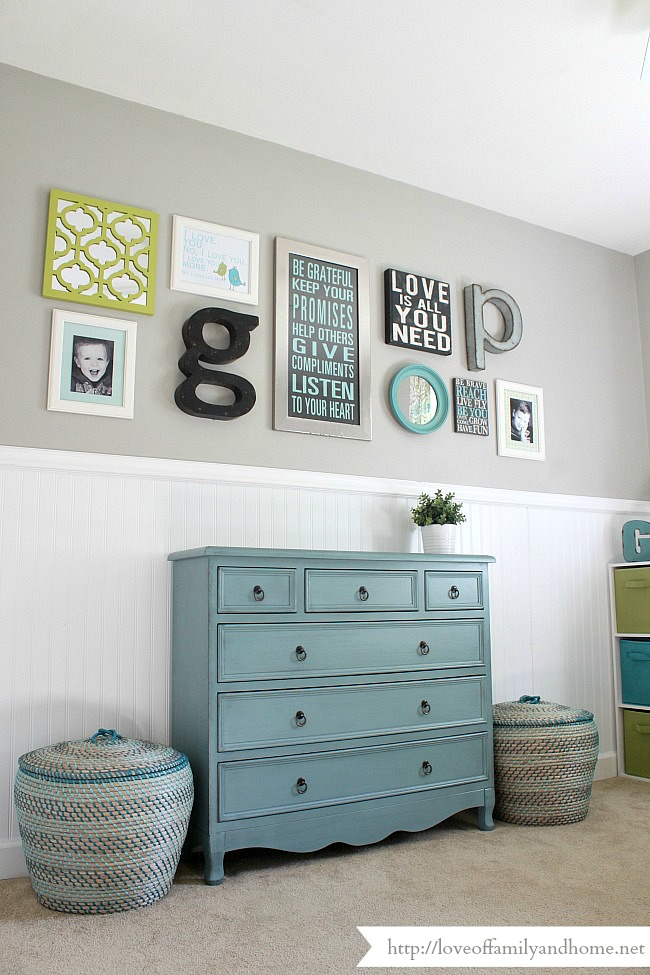
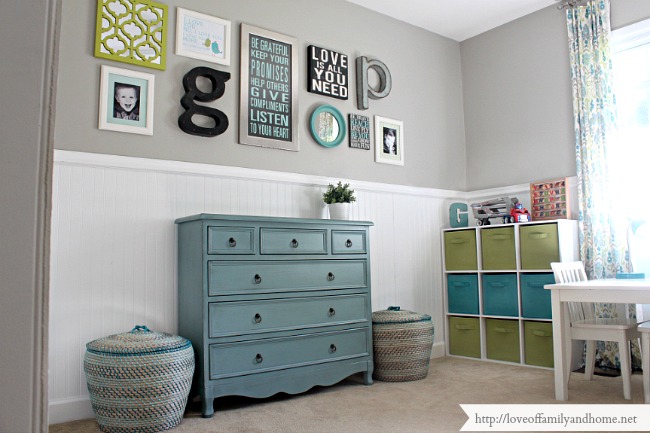
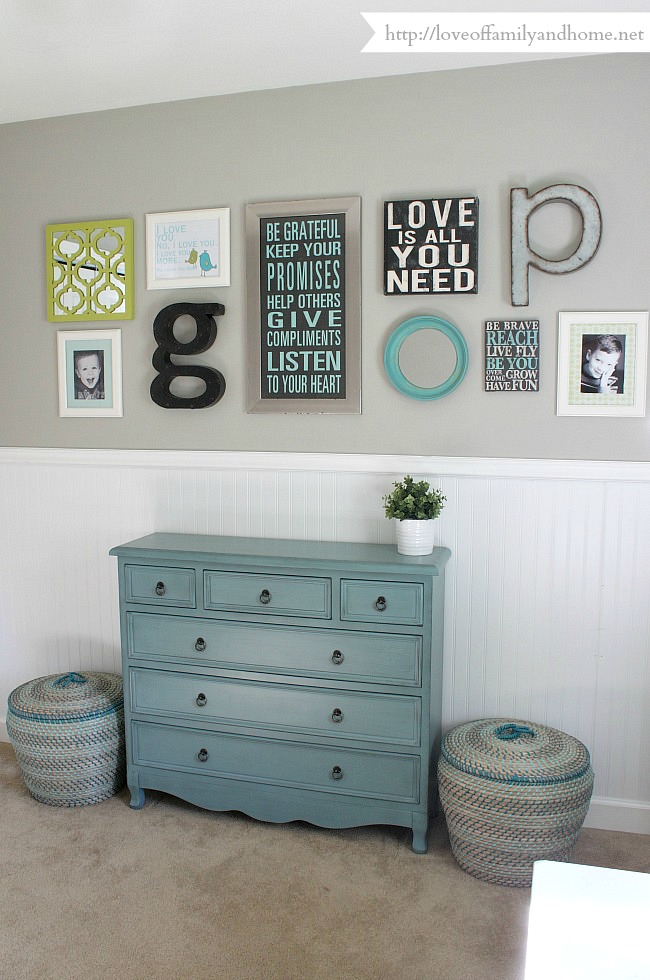
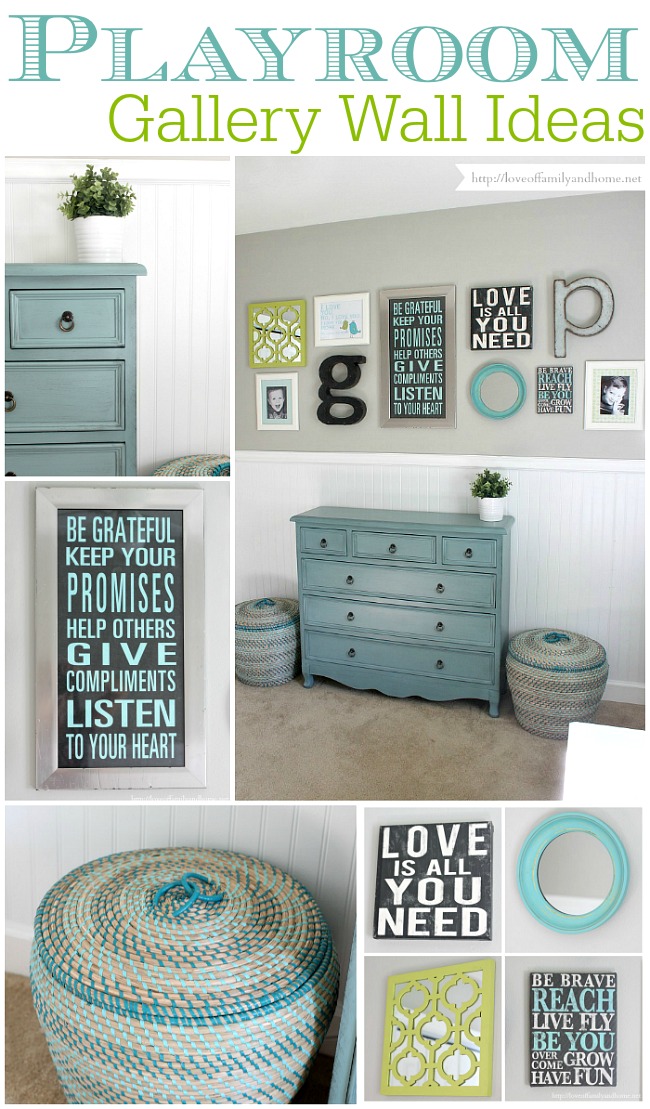
I’ve been working on the playroom again & tackling the to-do list I had made for myself. One of the things on that list was to create a gallery wall. It took me a few weeks to gather all of the right pieces for the gallery, but I finally did it & I’m SO HAPPY with how it turned out!! Take a look…..
Well, what do you think?! Do you love it as much as I do?!
Friends, let me just say…..I have been working on this room for 10 MONTHS NOW! How crazy is that?!
Sometimes I get discouraged because a room transformation doesn’t happen as quickly as I want it to or I find myself so overwhelmed with my to-do list, that I just walk away from a project all together. This project has been one of those for me. But, while I was working on this post & I was looking back at the “Before” pictures of this room, I realized that I really have come a long way! So, I’ve decided that it really doesn’t matter how long it takes. The only thing that matters is that I LOVE the final outcome of the room. And let me just say….I am LOVING this space!! Even though I’m still not done, I can’t see the room completed in my mind & it just might be my favorite room in the house!
Let’s take a minute to reflect, shall we?!
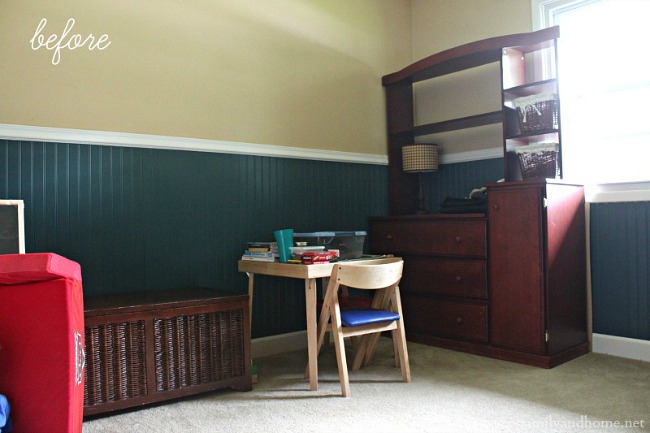
This is what the room looked like in September of last year. It used to be Griffin’s nursery, but I had made the decision to move the boys into a shared bedroom and his old room quickly became a storage room where we were throwing all of our junk & all of the furniture we no longer had room for. We decided to clean the room out, sell some of the furniture pieces, and slap some new paint on the wall.
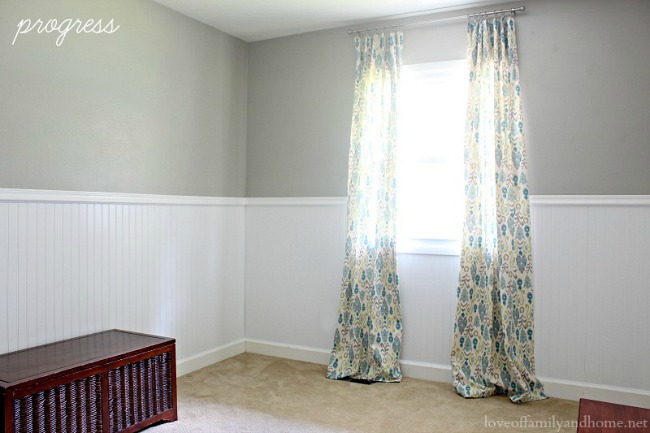
This was the room I was left with. My mom whipped up those curtains for me using some fabric that I found at Hobby Lobby and they set the tone for the color palette I would later use in the space. Other than those curtains, the room was kind of a blank canvas.
Then in January, I bought some storage bins & a table/chairs set for the room. Things were finally coming along! But I hadn’t touched the wall on the left. I knew I wanted a gallery wall on that side of the room, but just hadn’t started looking for the right pieces to create one.
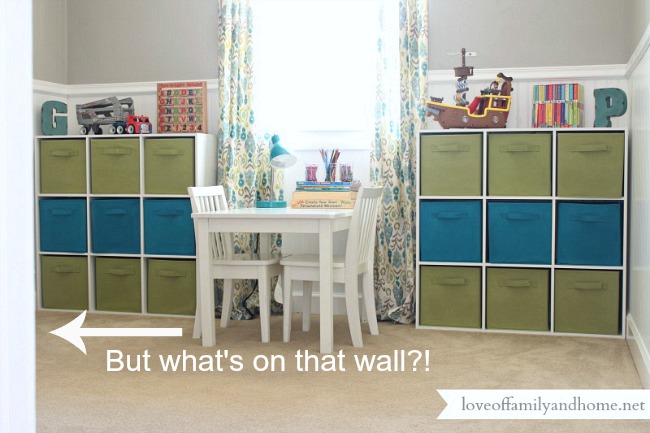
And here we are, now in JULY! Yes, definitely making progress & definitely LOVING every detail!
So, I’ve decided that sometimes it’s best just to walk away from a project when you need to. I’m certain that if I would have forced this a few months ago, things wouldn’t have turned out this well. For me, it’s better just to wait for the creative moment to hit me & then tackle it full force. And let’s be honest….it’s better for the wallet too! 🙂
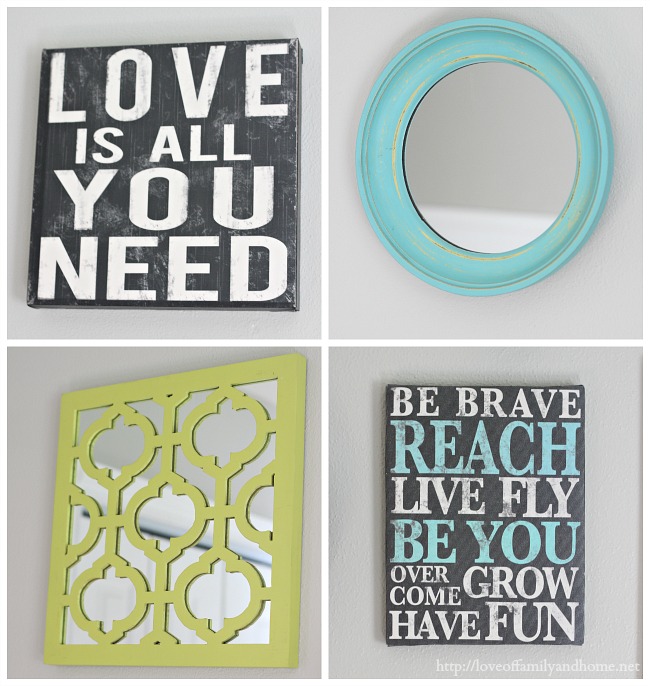
Now that we are finished with are stroll down memory lane, let’s look a little closer at all of the pieces that make up the gallery wall! Clockwise from left to right: TJ Maxx, Hobby Lobby, Hobby Lobby, Walmart.
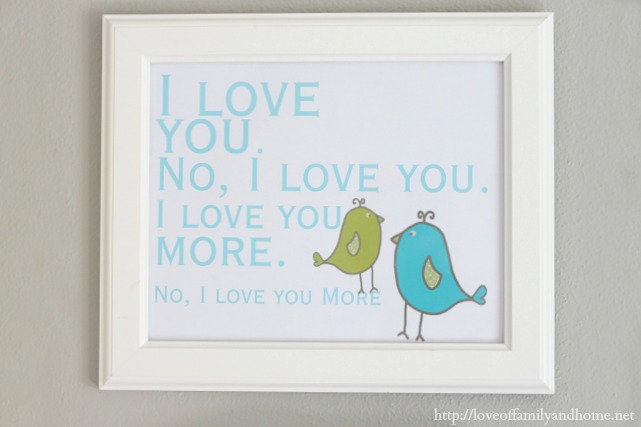
The next print was one that I found online. I simply printed it out on our home printer & framed it. You can find it HERE.
The letters in this grouping were found at Gordmans. The pictures of the boys I already had. I just added scrapbook paper behind them to look like a matte & also to bring out some more color in the gallery wall. 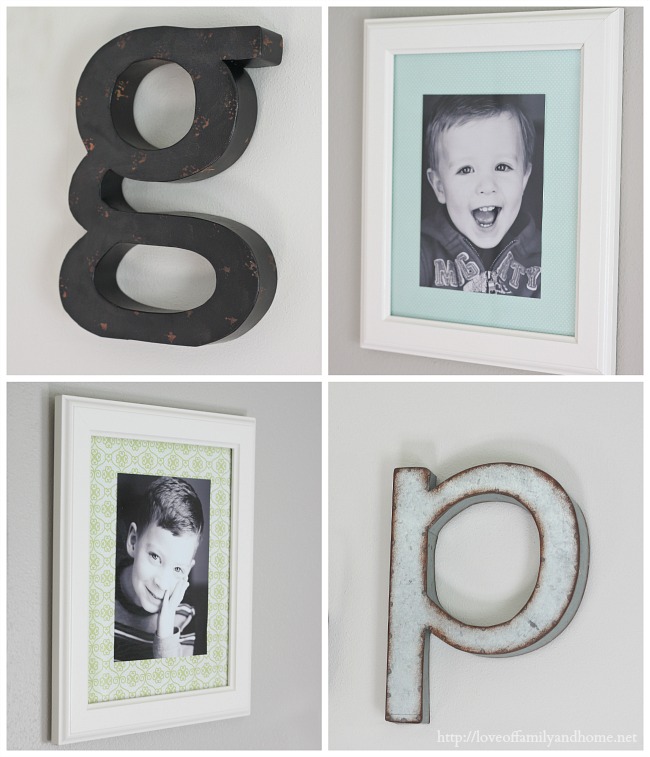
This print was also a Gordmans find. It was on clearance for $15. I know that the frame looks kind of beat up, but that doesn’t bother me at all. The letters have an aged/distressed look to them, so I think it just adds to that look. You can disagree with me if you want…you’re entitled to your opinion! 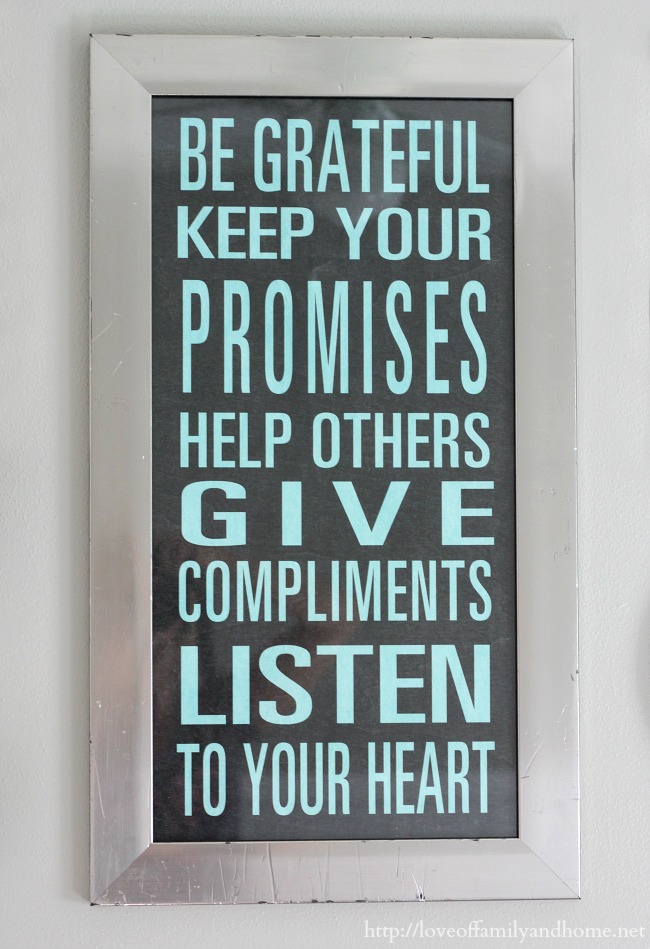
And here is another look at the gallery as a whole! Again…LOVE!!!
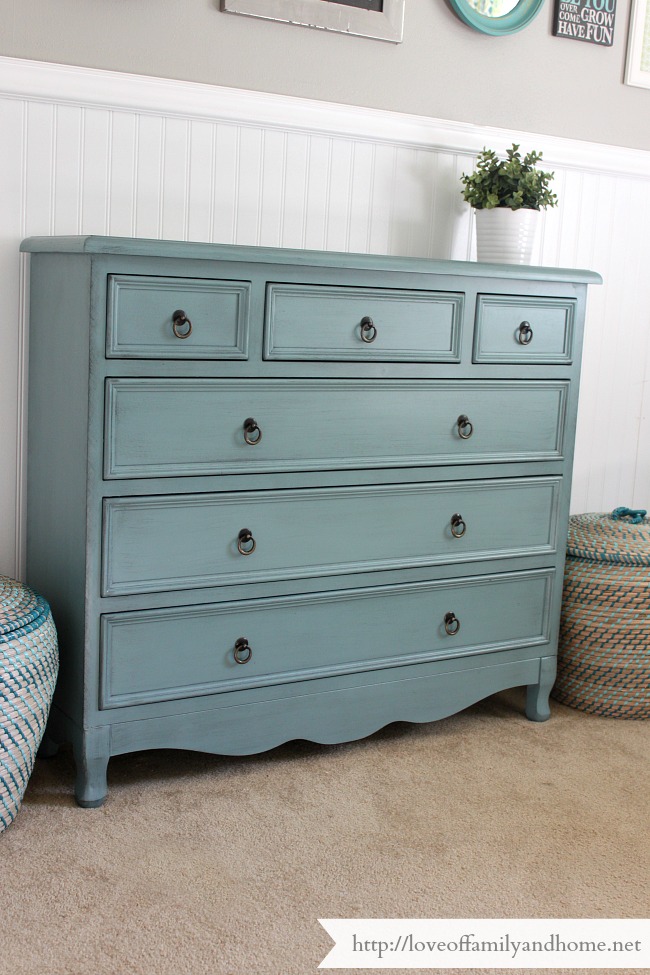
And since my gallery wall was looking so pretty, I decided that I need a statement piece underneath it….that’s when I went to Kirkland’s & picked up this Distressed Blue Chest. It was the perfect addition to this wall, don’t you think?!
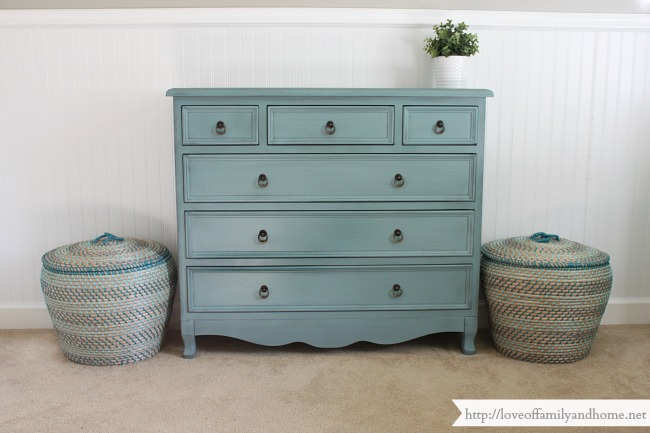
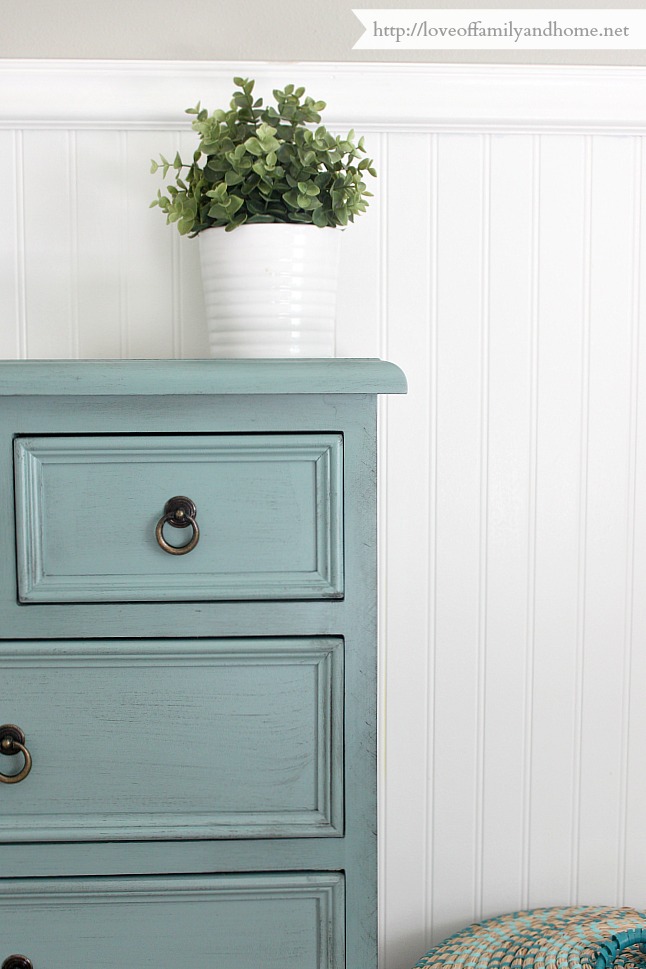
Before, I just had an old toy box on this on this side of the room. It sat really low to the ground & I just felt like I needed something with more height. I also needed a way to organize the boys’ video games, movies, puzzles, Leap Pads, and other games. This chest allowed me to do just that. Here are a couple close-up shots to show you a bit more detail & just how perfect the distressing is.
The other thing I love about this little chest is that it’s only 12 inches deep!! The fact that it is so narrow works out perfectly in this room! The playroom is one of the smaller rooms in our house & had I brought in a large dresser to organize the boys’ things, I would have taken away a TON of floor space which the boys desperately need to play…..or if I’m really being honest….floor space they need to WRESTLE! 🙂
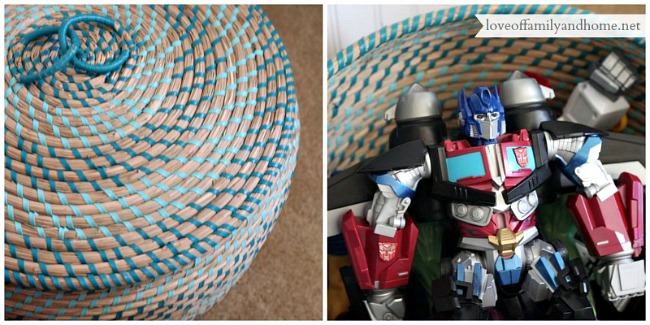
On each side of the chest, I have these storage baskets (which I know I’ve shared before.) I picked them up at Target several months back & I still love how function they are!
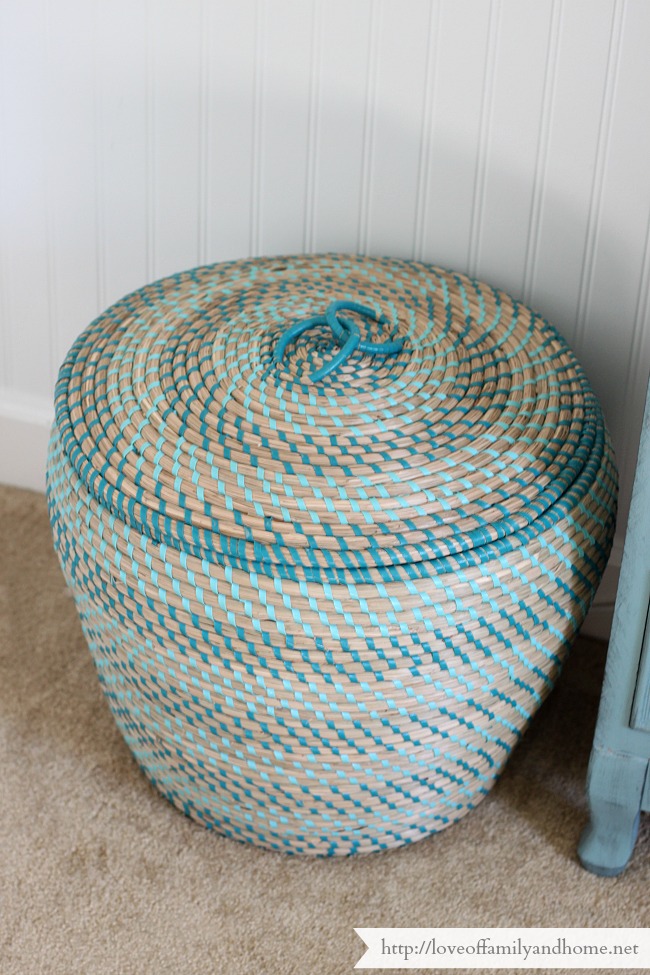
We use them to store all of the boys’ bulky transformers, super heroes, & robot-type toys!
So, that’s all the updates I have at this time! I have a couple more things to complete….which I hopefully will be sharing very soon!! Then I’ll be able to call this room D.O.N.E! 🙂
Then, maybe I’ll work myself into the boys’ shared bedroom……cuz you know I haven’t completed that room makeover either, right?! 😉
As always, thank you for stopping by to visit me today!!
I hope you enjoyed the Playroom Gallery Wall!
To read more about this space & find information regarding wall color, you can click HERE and HERE.
To see more of our home, you can click HERE.
Have a blessed Wednesday!
Linking up here…
Tutorial & Tips Tuesday at Home Stories A to Z
Wow Us Wednesday at Saavy Southern Style
DIY Projects & Party Time at The 36th Avenue
Link Party Palooza at Tatertots & Jello
Inspiration Gallery at Design, Dining, & Diapers
Sunday Showcase Party at By Stephanie Lynn


