Hey Friends!!
How the heck are ya?! It feels like it’s been forever since we talked! I’m gonna attempt to get back to a normal posting schedule this week…..BUT, I’m not making any promises! 🙂
If you’ve been following along on Facebook and/or linking up at our weekly linky party, you know that things have been a little CRAZY around here! I am, however, back to working my normal shifts at work & we are slowly putting our house back together after a small remodeling project that took place last week in our kitchen/living room area. I am SO THRILLED with how it all turned out! I hope to be sharing the before & after pictures with you soon! Stay tuned for that!!
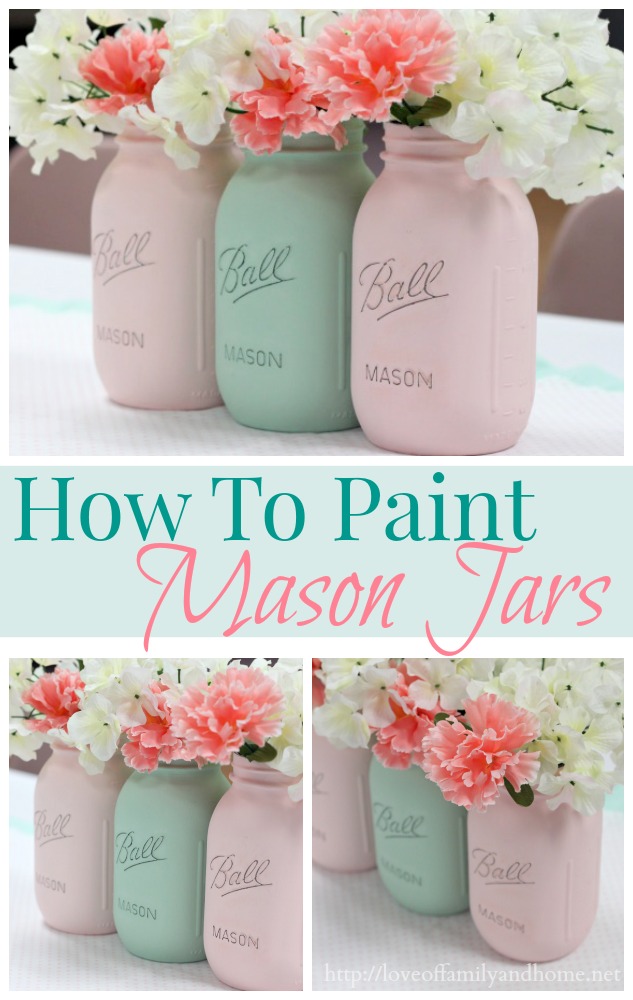
Since I’ve been rather absent, I’d like to rewind a few weeks if we can?! Do you remember the bridal shower that we had for my little sister at the beginning of March? We decided to go with some cute & simple, painted mason jars for the table centerpieces. I had SO MANY questions regarding how we painted the jars, that I thought I would share a little tutorial with you today. Sound okay?!
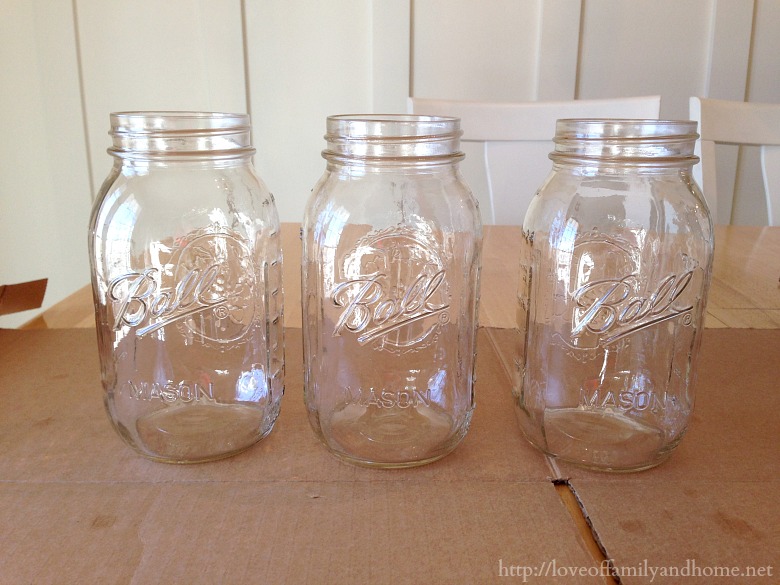
We started out with just some plain jane, quart size mason jars.
And gave them a coat of chalkboard paint using a foam paint brush.
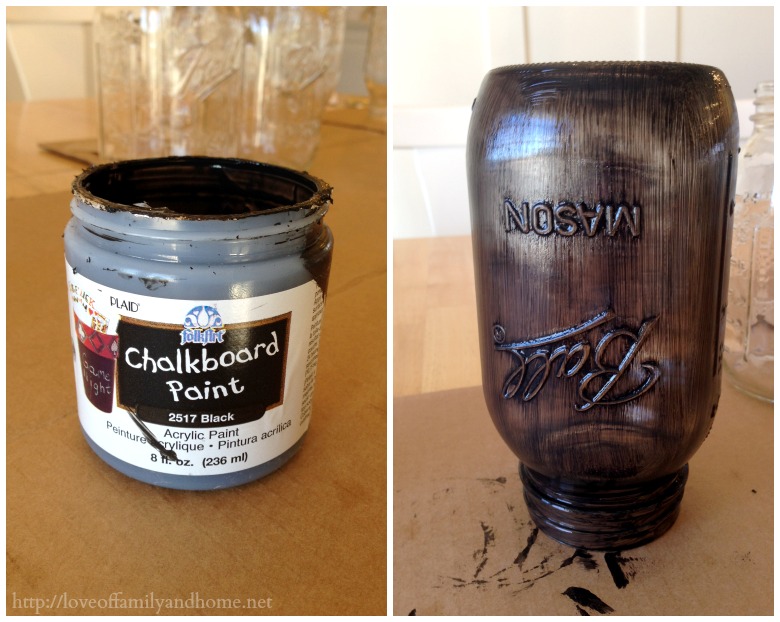 The chalkboard paint kinda serves as your primer, but it also helps to give the jars a chalky finish. The recommended drying time on this particular chalkboard paint, was one hour. This is probably a good general rule to follow, but you could always refer to your bottle/jar to see if recommendations differ. Once the chalkboard paint is dry, then you are ready to paint!
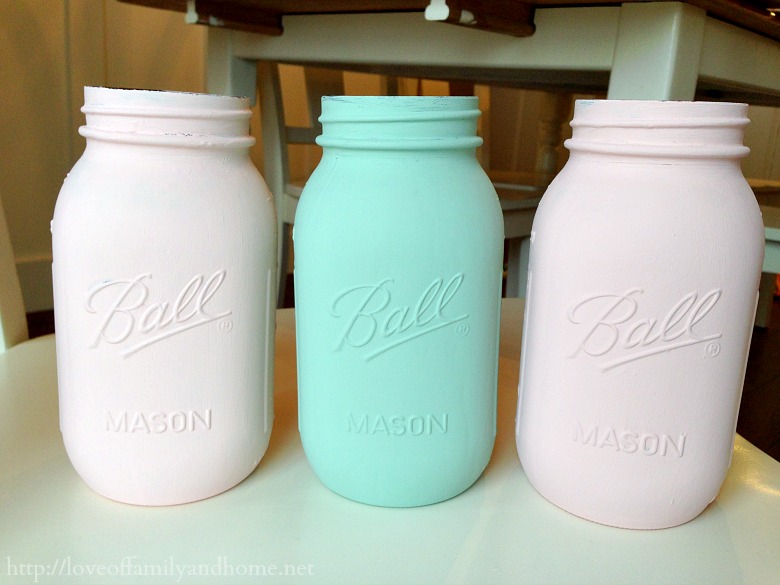
We were going with a pink & mint color scheme for my sister’s bridal shower, so we chose our paint colors accordingly…
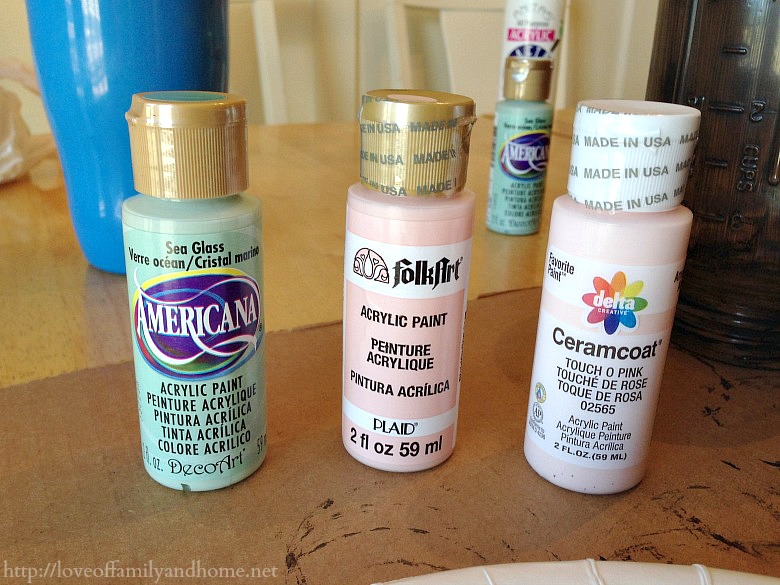
As you can see, we chose a two different shades of pink for the jars. The one in the middle was supposed to be a few shades darker than the one on the right, but when all was said & done, there really wasn’t much difference between the two.
Using your foam brush, you’ll want to brush on a thin coat of paint to the jars.
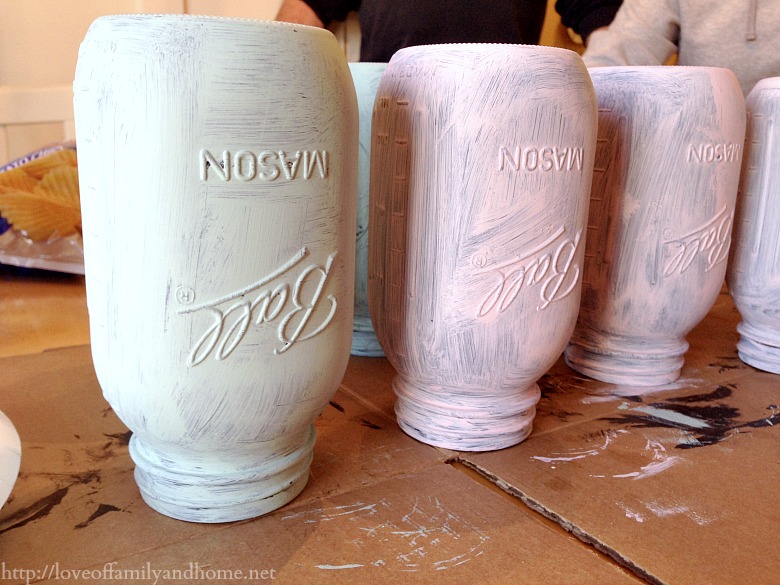
Again, you’ll want to read your paint bottles & follow recommended drying times between coats. Continue painting until the jars are thorougly covered & the chalkboard paint is no longer visible.
The different brands & colors of paint will differ a little bit in terms of coverage. For this particular project, the mint jars took two coats of paint whereas the pink jars took three.
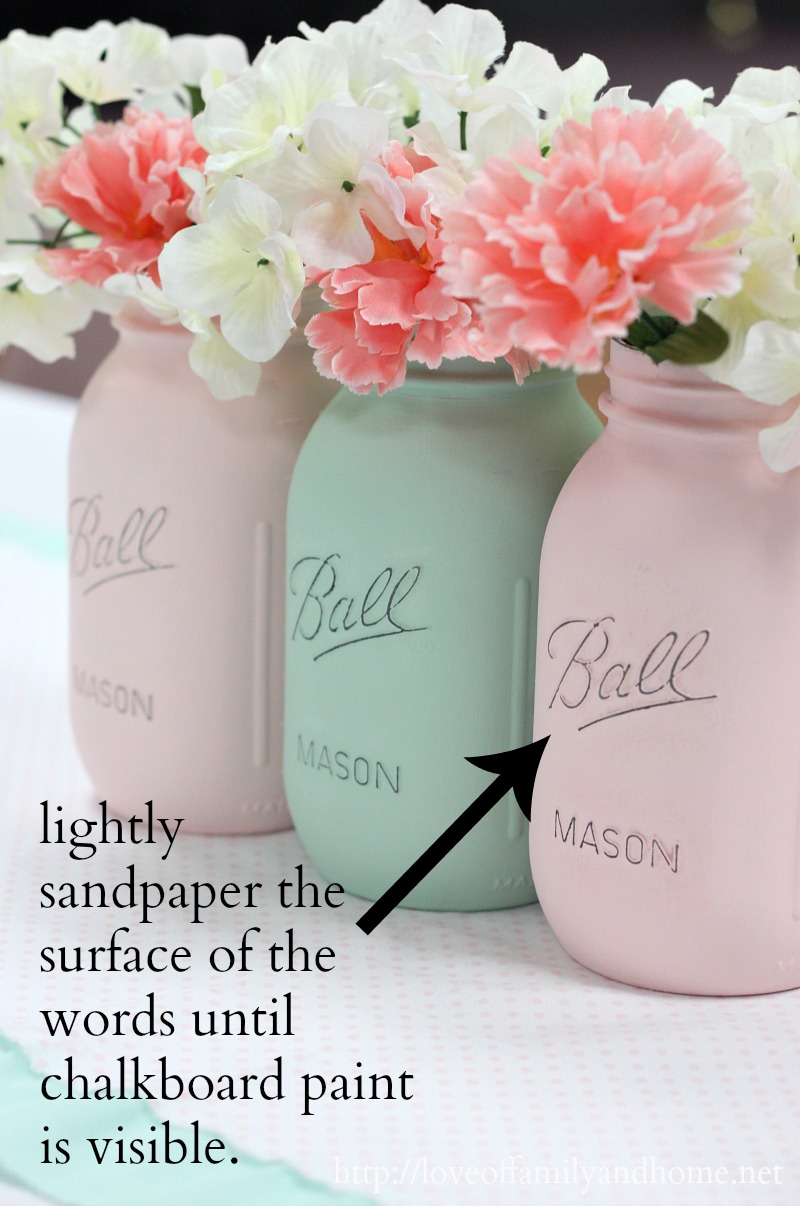
Once the jars are completely dry, you’ll want to grab some sandpaper & just lightly sand across the surface of the words on the jar. This helps to bring a little more attention to the words on the jar, by giving them some dimension & creating some contrast. It also just makes them super cute! 🙂
It’s also a good idea to spray the jars with a clear coat matte sealer when you are finished with the sanding. This will give the jars a protective coat & prevent the paint from chipping!
For my sister’s shower, we were trying to stick to a budget, so we just filled the jars with some inexpensive, artificial flowers from the dollar store. They would, however, be really pretty with fresh flowers as well!
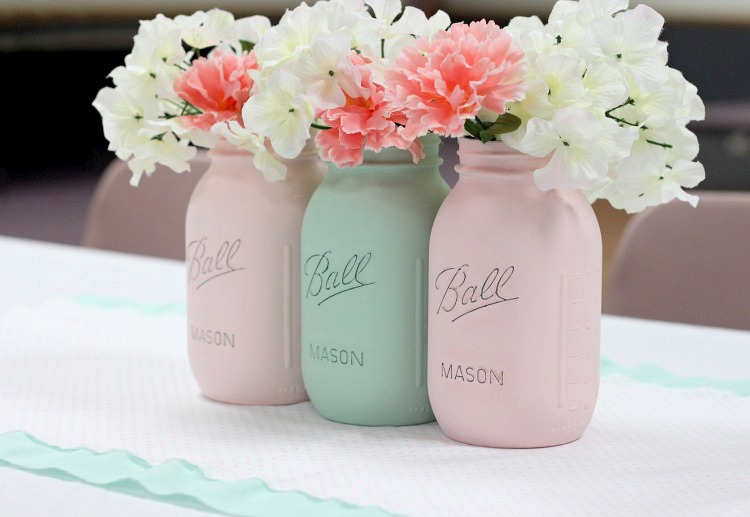
These jars are SO EASY to paint & they make for some really cute & inexpensive table decor.
If you have a baby or bridal shower to throw in the near future, I would totally recommend these! They would even make a perfect centerpiece for your upcoming Easter brunch and/or dinner!
Have you ever paint mason jars before?!
As always, thanks so much for stopping by!!
I hope you have a terrific Tuesday!!
Linking up here….
Tutorials & Tips at Home Stories A to Z
Show Me What Ya Got at Not JUST A Housewife
Wow Us Wednesday at Savvy Southern Style
