Hey Friends!!
How’s your week going?!
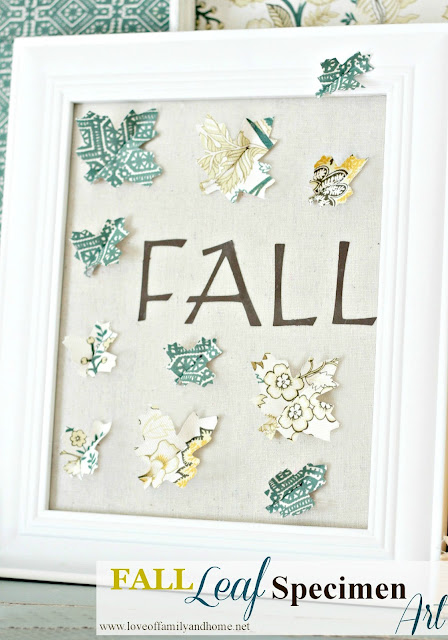
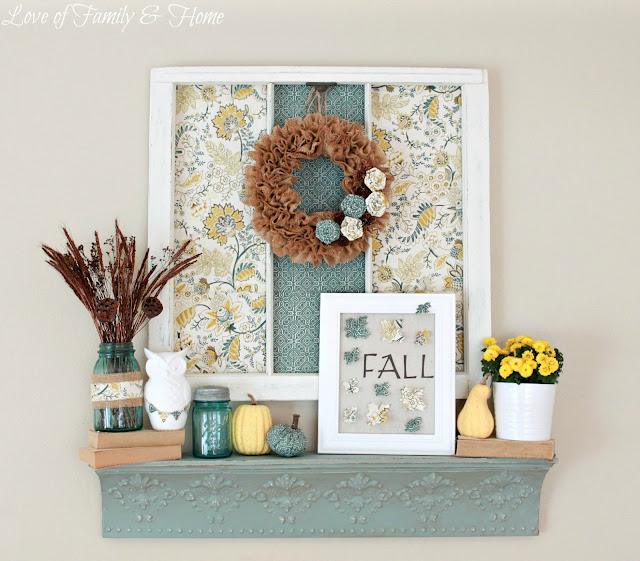
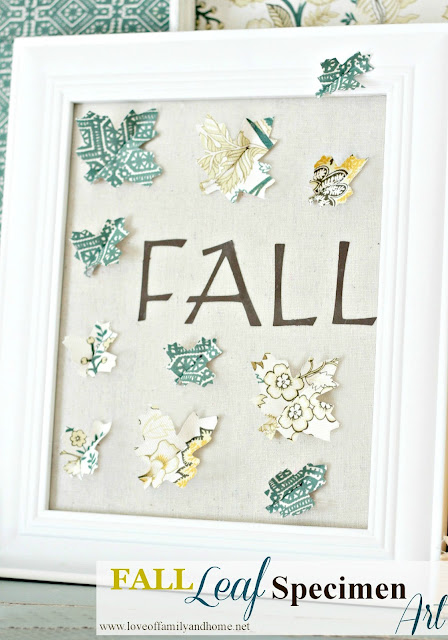
Today I wanted to share a little tutorial on how I made the Fall Leaf Specimen Art for my Teal & Yellow Fall Mantel. This was a quick & easy little project and if you have an ounce of creativity, I’m certain you could make one of your own!
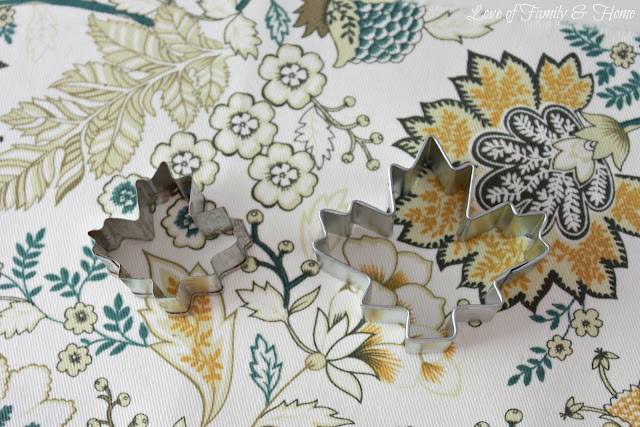
I just grabbed some left-over fabric from the window backdrop of my mantel display and dug out some old leaf cookie cutters to use for my pattern.
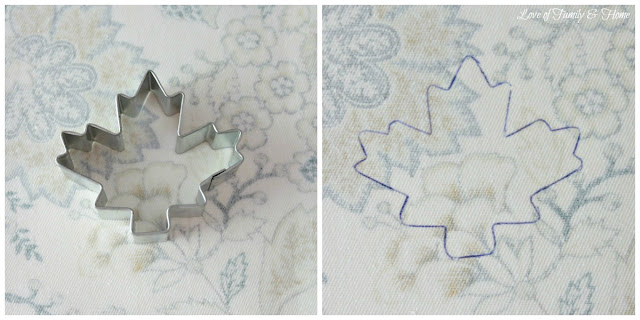
Then, I turned the fabric over & used the back side to trace my leaf shape…..
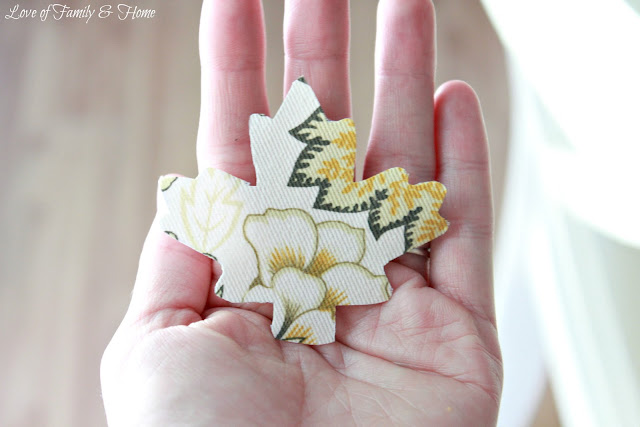
Once I had my leaves all traced, I grabbed the scissors & starting cutting them out one by one…
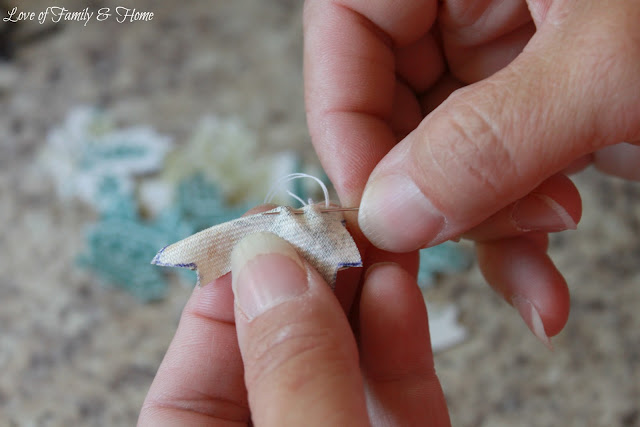
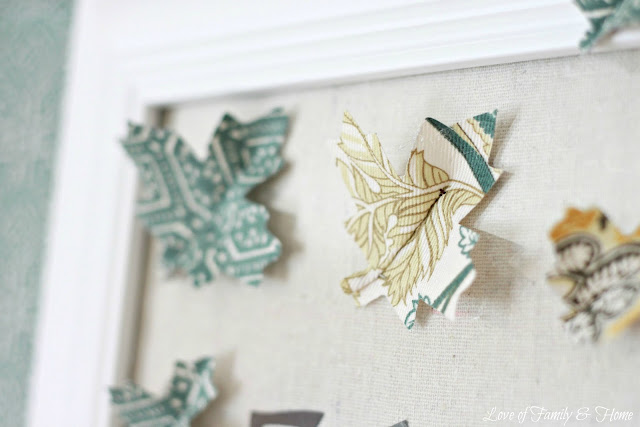
To give the leaves a little dimension, my mom suggested folding them in half & putting a small running stitch up the center of each leave. This just consisted of 3-4 stitches per leaf.
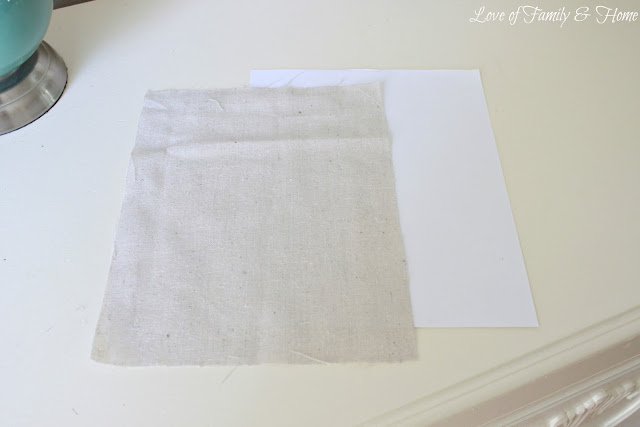
Then I grabbed some tan fabric I already had on hand & cut it to fit the 8×10 frame I would be using. I also cut a piece of white cardstock to go behind the fabric to prevent being able to see through it.
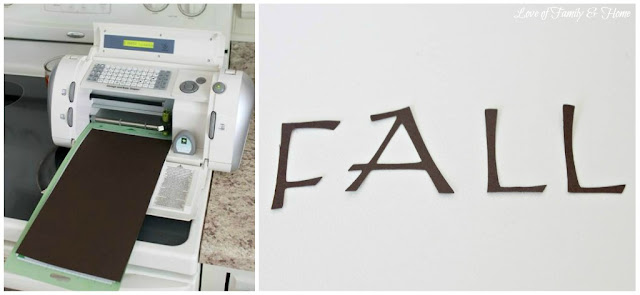
I grabbed some brown cardstock that I already had in my stash & cut out the word “FALL” with my cricut machine to go inside my frame. If you don’t have a cricut machine, you could use a stencil to trace & cut out your letters.
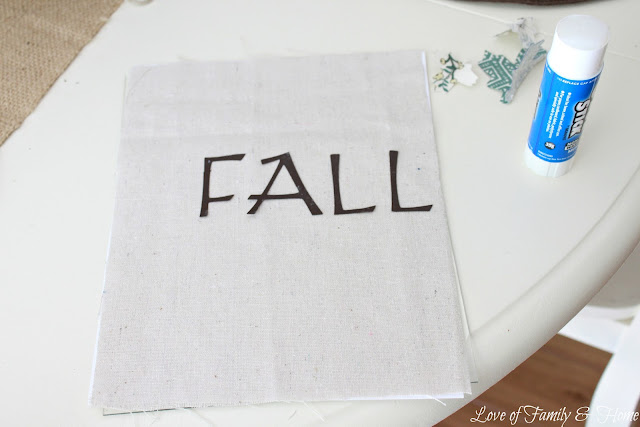
I just used a glue stick (you could also use hot glue) to secure my letters to the fabric. Granted, this isn’t the strongest glue in the world, but I knew that the glass from the frame would more than likely hold the letters in place. I just wanted something to make the letters a little bit tacky to secure them a tad bit more.
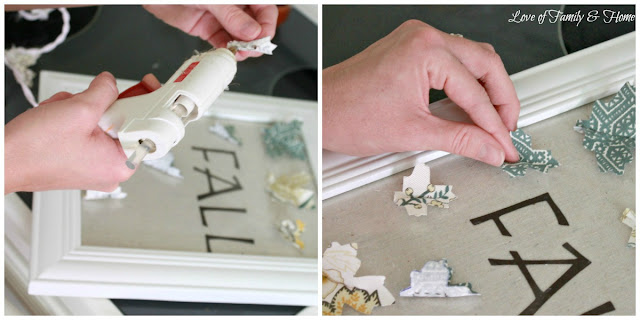
Once I had the letters secure on the fabric, I place the fabric & cardstock backing back into the frame with the glass in place on the front side of the frame as normal. Then, I ran a small bead of hot glue down the backside of each leaf & start placing them here & there on top of the glass.
Here is a close-up shot of one of the leaves. You can see the running stitch going down the center giving it a 3D effect.
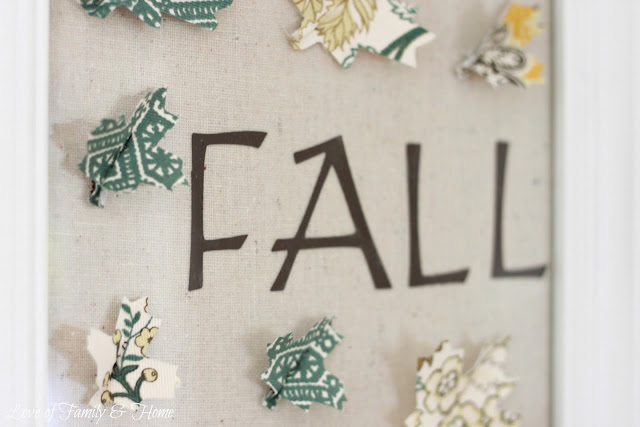
Cute, right?! All of the leaves were attached to the glass with the exception of one. You can see one leaf in the upper right hand corner that was actually glued to the frame itself.
Most specimen art that I’ve seen consists of the items being placed in straight lines or rows inside the frame. With this one, I wanted the leaves to look like they were falling through the air, so I opted for a more sporadic placement instead.
This was a fun little project to complete & since I had everything on hand, it ended up being a free little piece of art to add to my fall mantel….
And we all know that FREE makes it that much cuter, right?!
Have you ever made Specimen Art?!
I’ll be linking this project up over at Thrifty Decor Chick’s Blog today. She is having an linky party for “Easy Fall Decor.” If you are looking for some easy ways to spruce up your home for the fall season, head on over to Sarah’s place for load & loads of inspiration!!
Wishing you all a wonderful Thursday!!
Be sure to come back tomorrow for another segment of
I’ve got another fabulous room makeover to share!! 🙂
Also linking up here….
Weekend Wrap-Up Party at Tatertots & Jello
Tips & Tutorials Tuesday at Home Stories A to Z
Don’t Miss Out – DIY projects, home decorating, crafts & more by checking out my subscribe page






Such pretty colors! I’m really digging pops of yellow right now. Happy Fall!
I just found your blog and I’m blown away at how gorgeous that mantel is! I especially love adorable Fall art. Pinning it now 🙂