So about a week ago I told you all about an idea that I had…
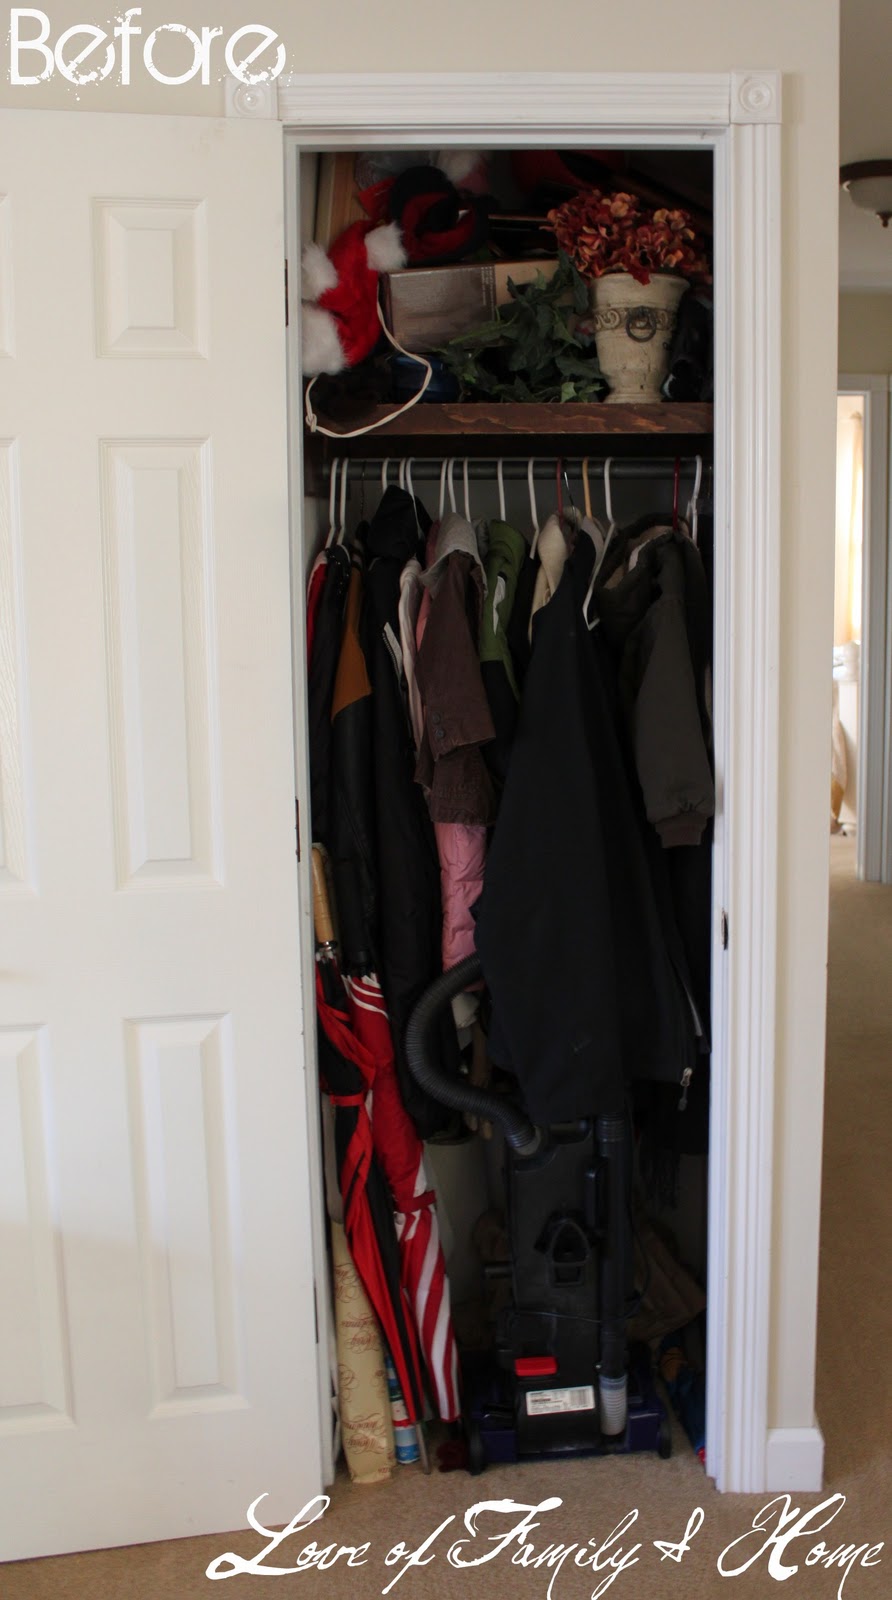
To turn my coat closet into a home office space!
I’m sure many of you looked at this photo and thought…..“There is no way!”
Well hold on to your seats people…
the following pictures are going to AMAZE you…
LOL! 🙂 (I crack myself up!)
Before starting the painting process, I first went shopping for office supplies. I bought some really pretty boxes, trays, and other misc items at Walmart in their office supply section in a plum color, but I was unsure where to go from there. I decided to look in the scrapbook section of Hobby Lobby to try to come up with a color scheme which incorporated plum. I found this beautiful paper…

It had the plum color I was looking for, plus it incorporated blue, sage green, & cream with it. That is how I picked my wall color. The color is called “Distant Valley” and I found it at Lowes.

So here is a picture of what the closet looked like after being cleaned out & getting a fresh coat of paint! A lot of what was in the closet was junk & stuff that just needed to be sorted through. As far as the coats went…I put some in our bedroom closets & then the coats that we use most often got hung on the back of our bedroom doors. I just bought some simple over-the-door hooks at Walmart and hung them.

If you saw my previous post on which I got the inspiration for this project, you saw in the example pictures that a lot of the spaces used wallpaper to add to the look of the office. I liked the look of the wallpaper, but didn’t like the idea of having to hang it! So, I decided to stencil the back wall of the closet instead to get a similar look. I just bought a simple wall stencil at Hobby Lobby which I got for $10.00.

By the way…ALL projects go smoother when you have this handsome little 3 year old helping you…

I mean really….have you ever seen a level used quite like that?!?
You can’t find good help like this anymore…

So this is what the stenciled wall looked like until I ran out of paint! My hubby was kind enough to stop & get me some more on his way home from work!
After the stenciling was complete…it was onto installing the desk & shelves!

I utilized the skills of my handy dandy father to build my desk & shelves for this project. Instead of buying lumber to build these items, I used my old kitchen table which we had in storage. I recently purchased a new table, so this table was not being used for anything. Being able to use it saved me a lot of money on this project!
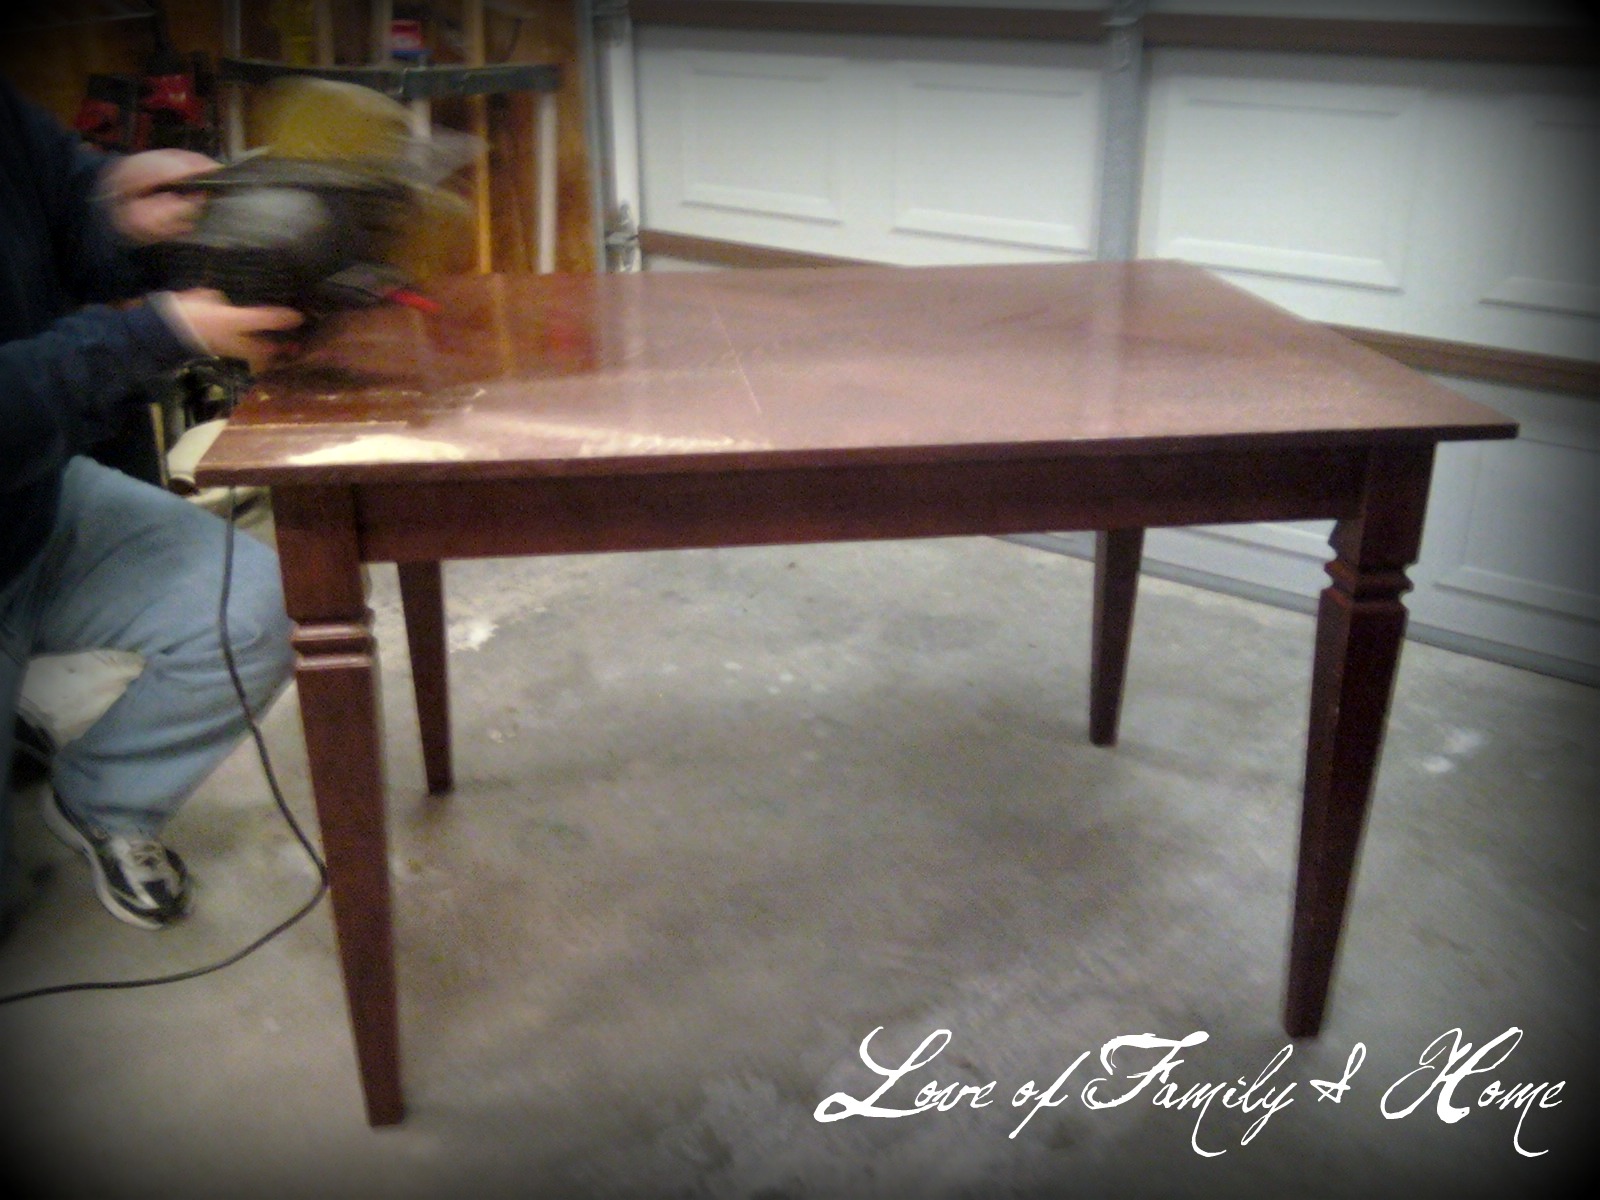
So here it is after my dad finished installing it & after I primed & painted it. We used the legs of the table to add a more decorative look to the desk & the shelves. I just love the way it turned out!

After painting it was time to add all my accessories that I had purchased or made for my new office. After adding all of those items, this is how it all turned out….

Pretty awesome, huh? I just LOVE it!!!
That cute little flower medallion on the first shelf was one that my mom had left over from a previous project…I love the detail it added to the shelf. I just painted it & hot glued it on.

My mom found that little lamp at Pier 1 for me for $10 and the orchid flower in the vase for $3. They added the perfect finishing touches to my desk.

The pencil holders I made out of aluminum cans & wrapped them with the scrapbook paper I bought at Hobby Lobby.

The boxes were again, purchased at Walmart in their office supply section they were $7 a piece. The magazine holders/boxes were made out of cereal boxes & scrapbook paper, you can view that tutorial HERE. I then used my cricut machine to make the labels for them.

The little jars I bought at Hobby Lobby half off…I paid $1.50 for both of them & again made labels using the cricut machine. I used them to hold my paper clips & thumb tacks (which I will used for my cork board…which I have not completed yet… 🙂
Lets look one more time at the transformation….
This was my closet before….
This is my closet after….
And this is my closet after…
Ahhh….LOVE!
As far as the total cost for this new home office space…here is how it all came down!
Paint-$15.00
Accessories (boxes, trays, paper clips, thumb tacks, stapler)-$44.00
Wall Stencil-$10.00
Glass Jars-$1.50
Scrapbook paper-$8.00
Lamp-$10.00
Orchid-$3.00
———————————
Grand Total-$91.50
Not too shabby for a new home office space!
I will be sharing this project here……
31 Days of Organizing Made Fun Linky Party
I’m also linking up at the following sites…..