If you’ve been following along, you know that I am in in the process of making over my laundry room yet AGAIN!
I’d always wanted to try painting a rug & since I already had the paint colors to match the prints I had bought at IKEA, I thought….“Why not just paint a rug to match the space?!”
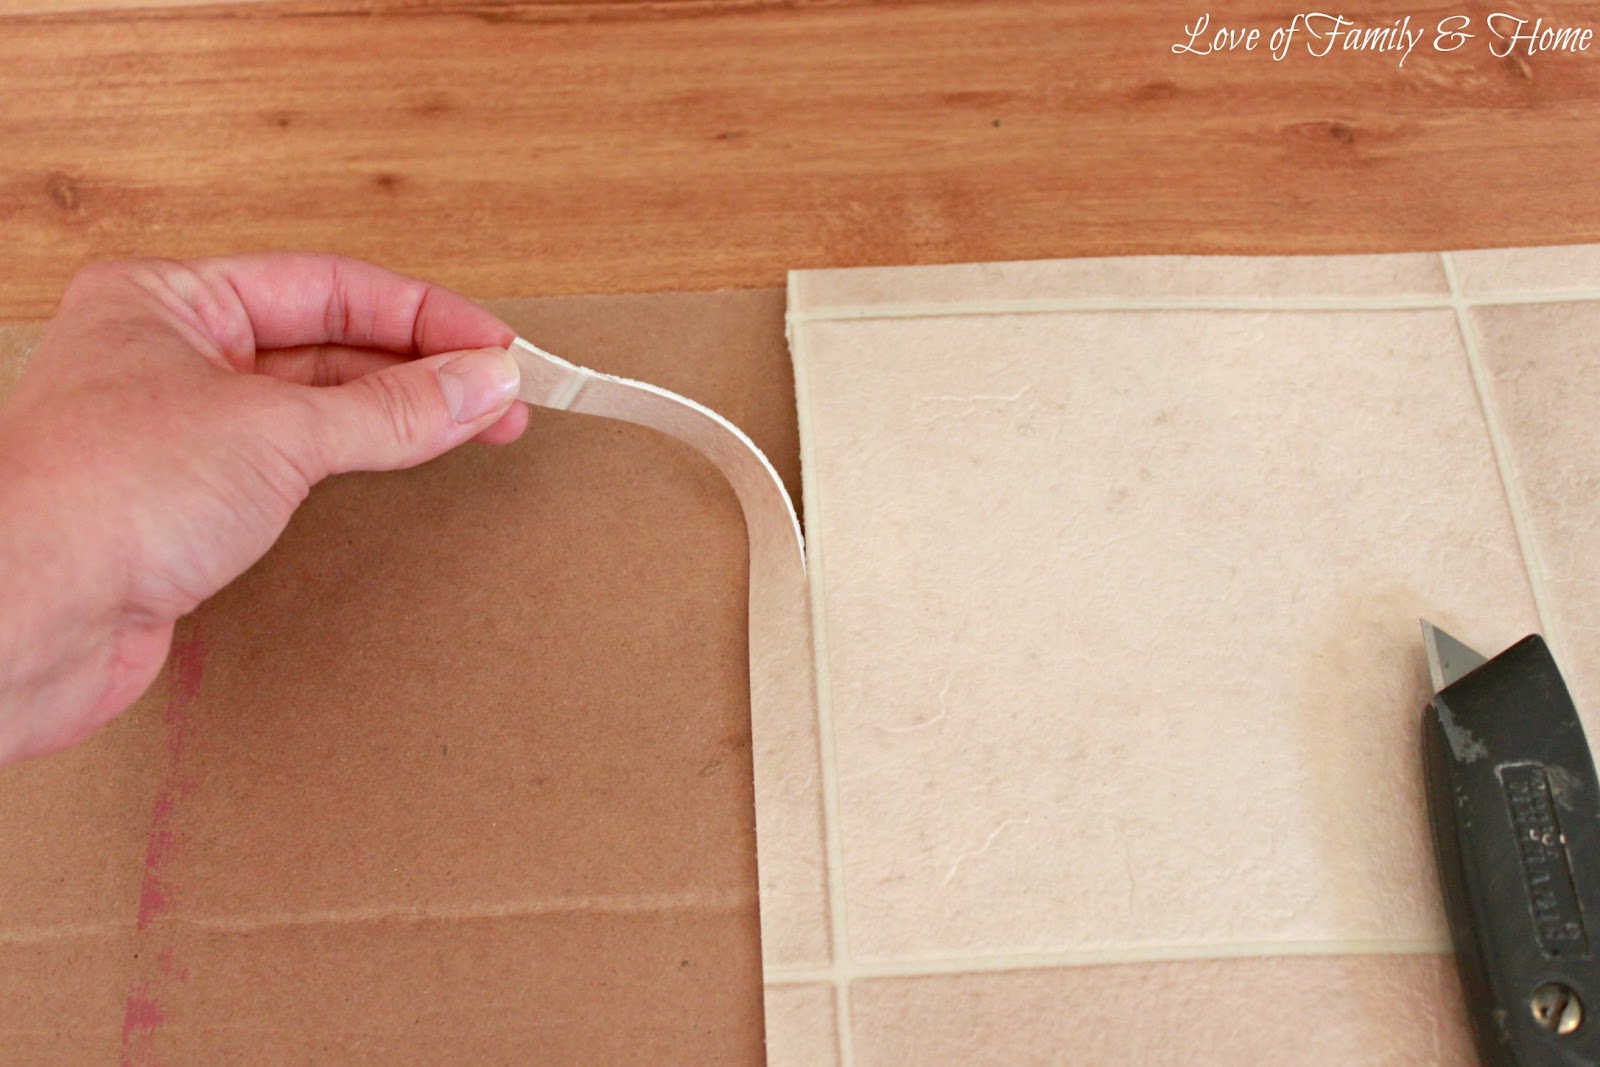
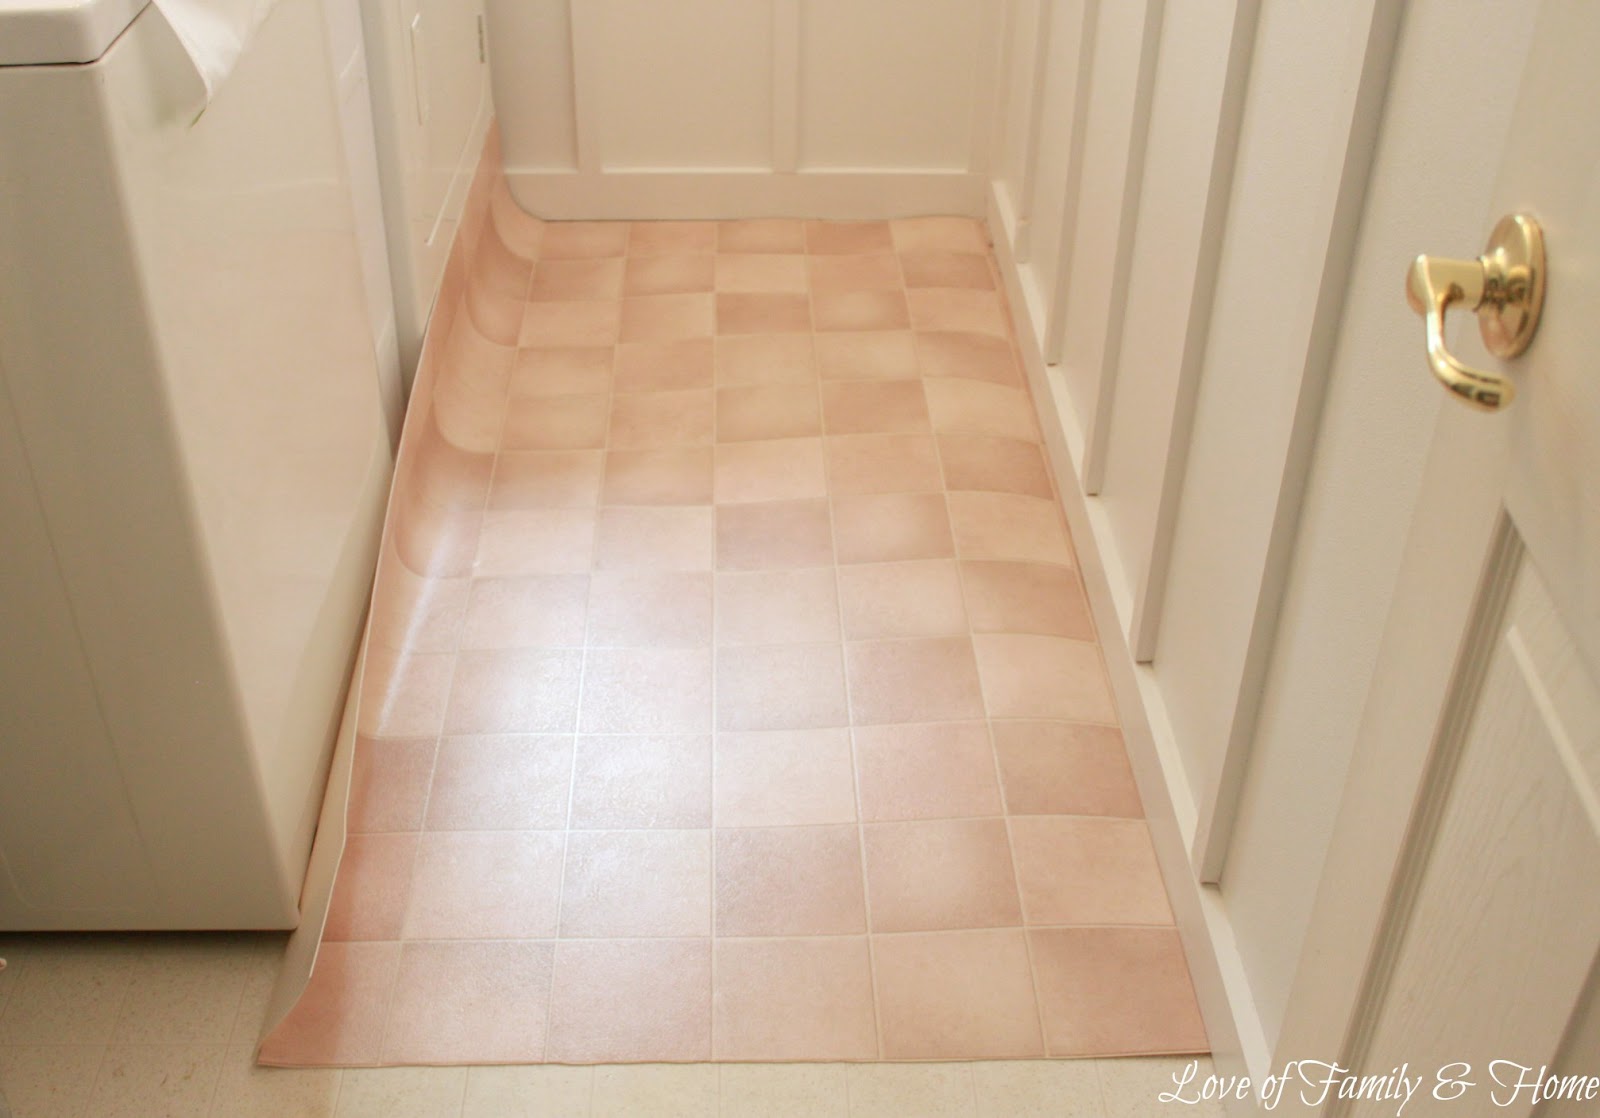
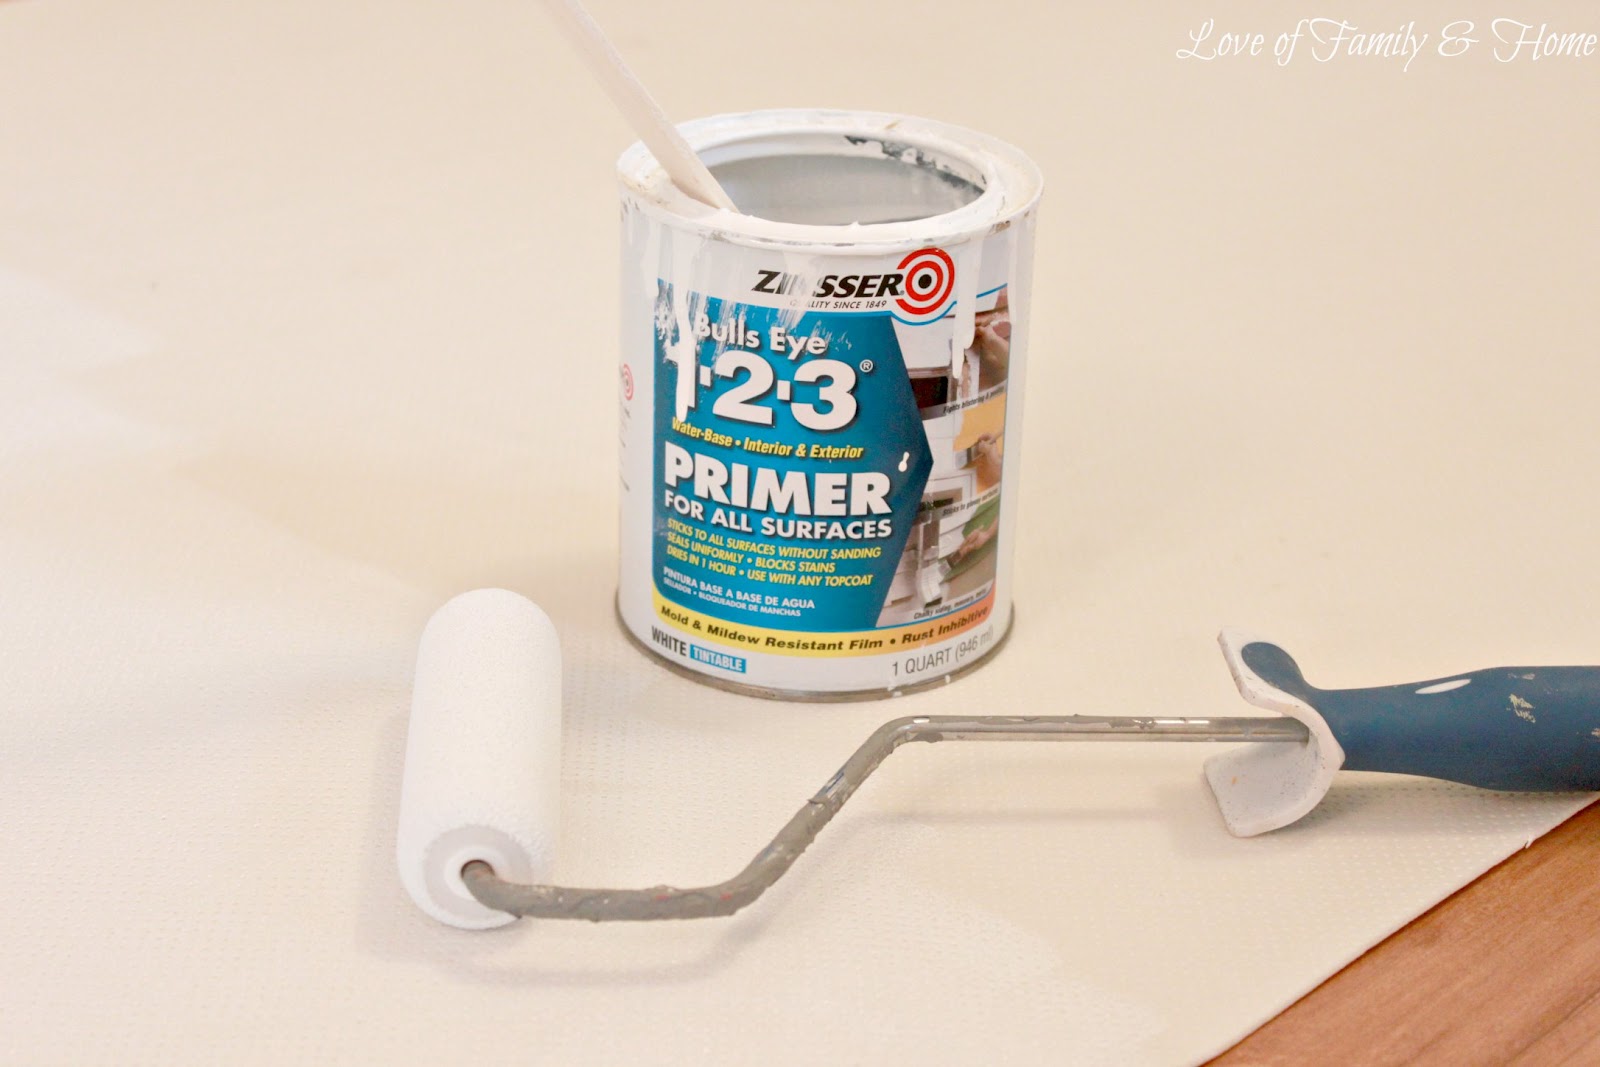
AGAIN, I started looking for a plain rug that I could paint, in the dimensions I needed and AGAIN, I was having trouble! So, I decided to look for a vinyl remnant (you could also use a carpet remnant) that I could cut to size and paint to match the decor of the room. I took pictures of the process & thought I would share the steps with you today!
I found this 12 foot by 3 foot vinyl remnant at Lowes for just $9.00……
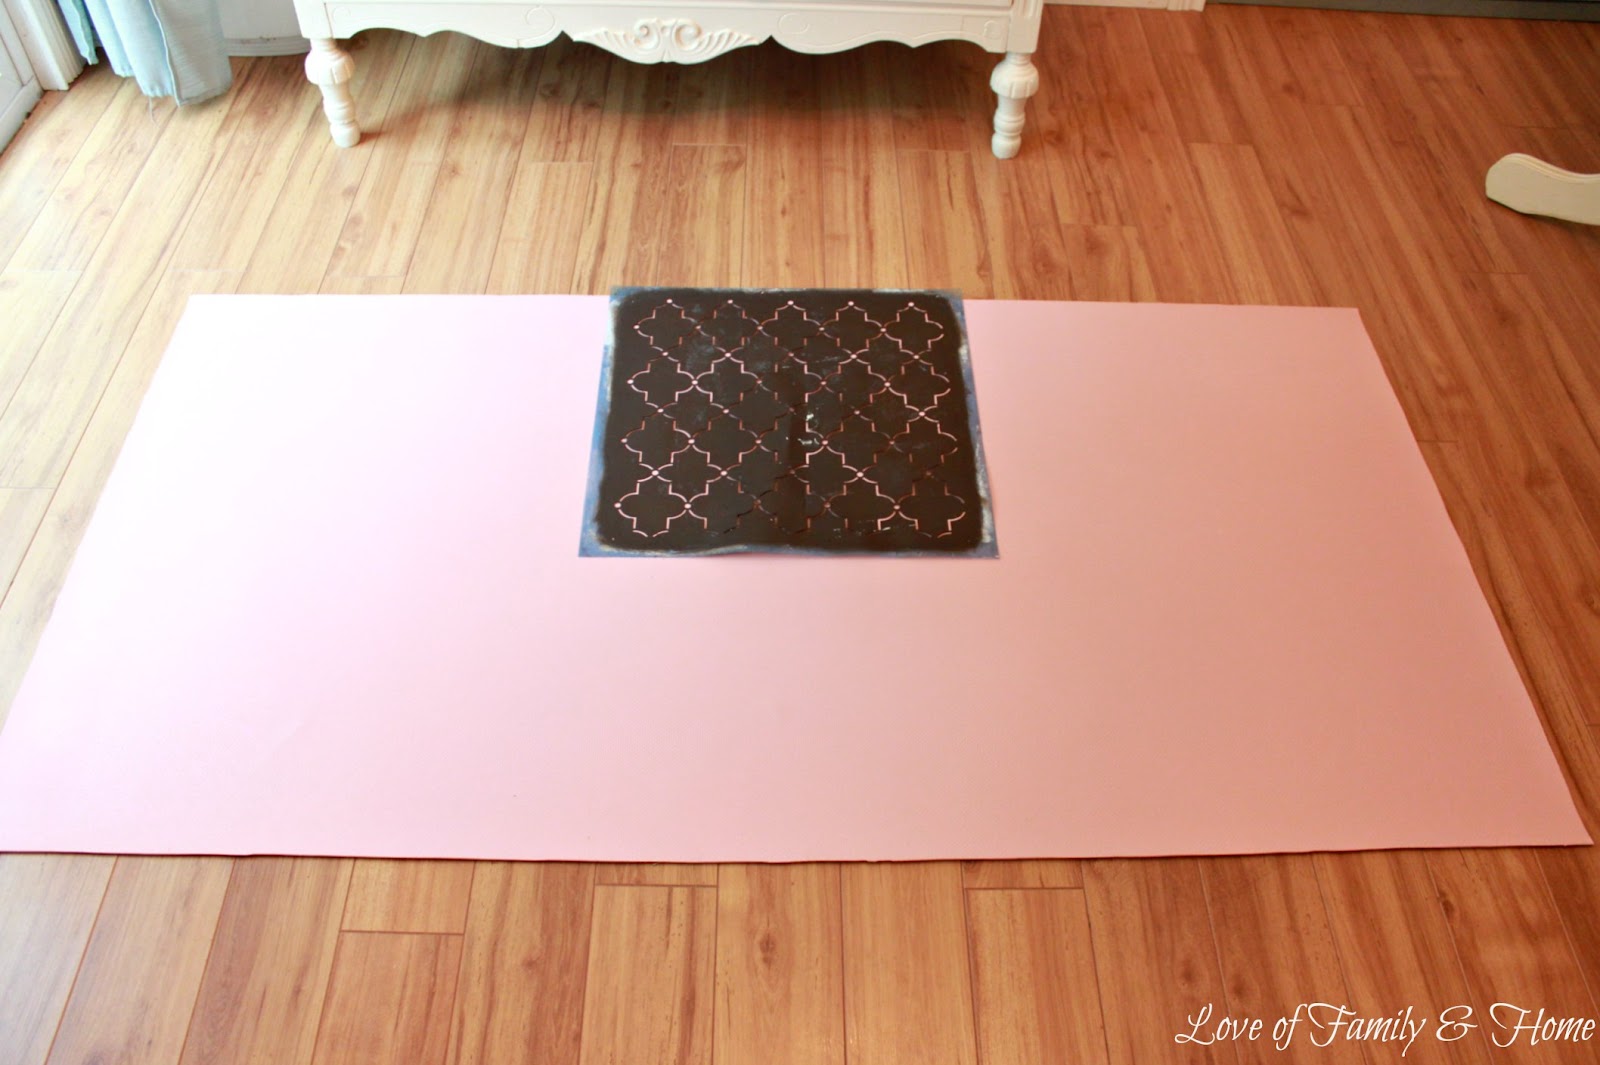
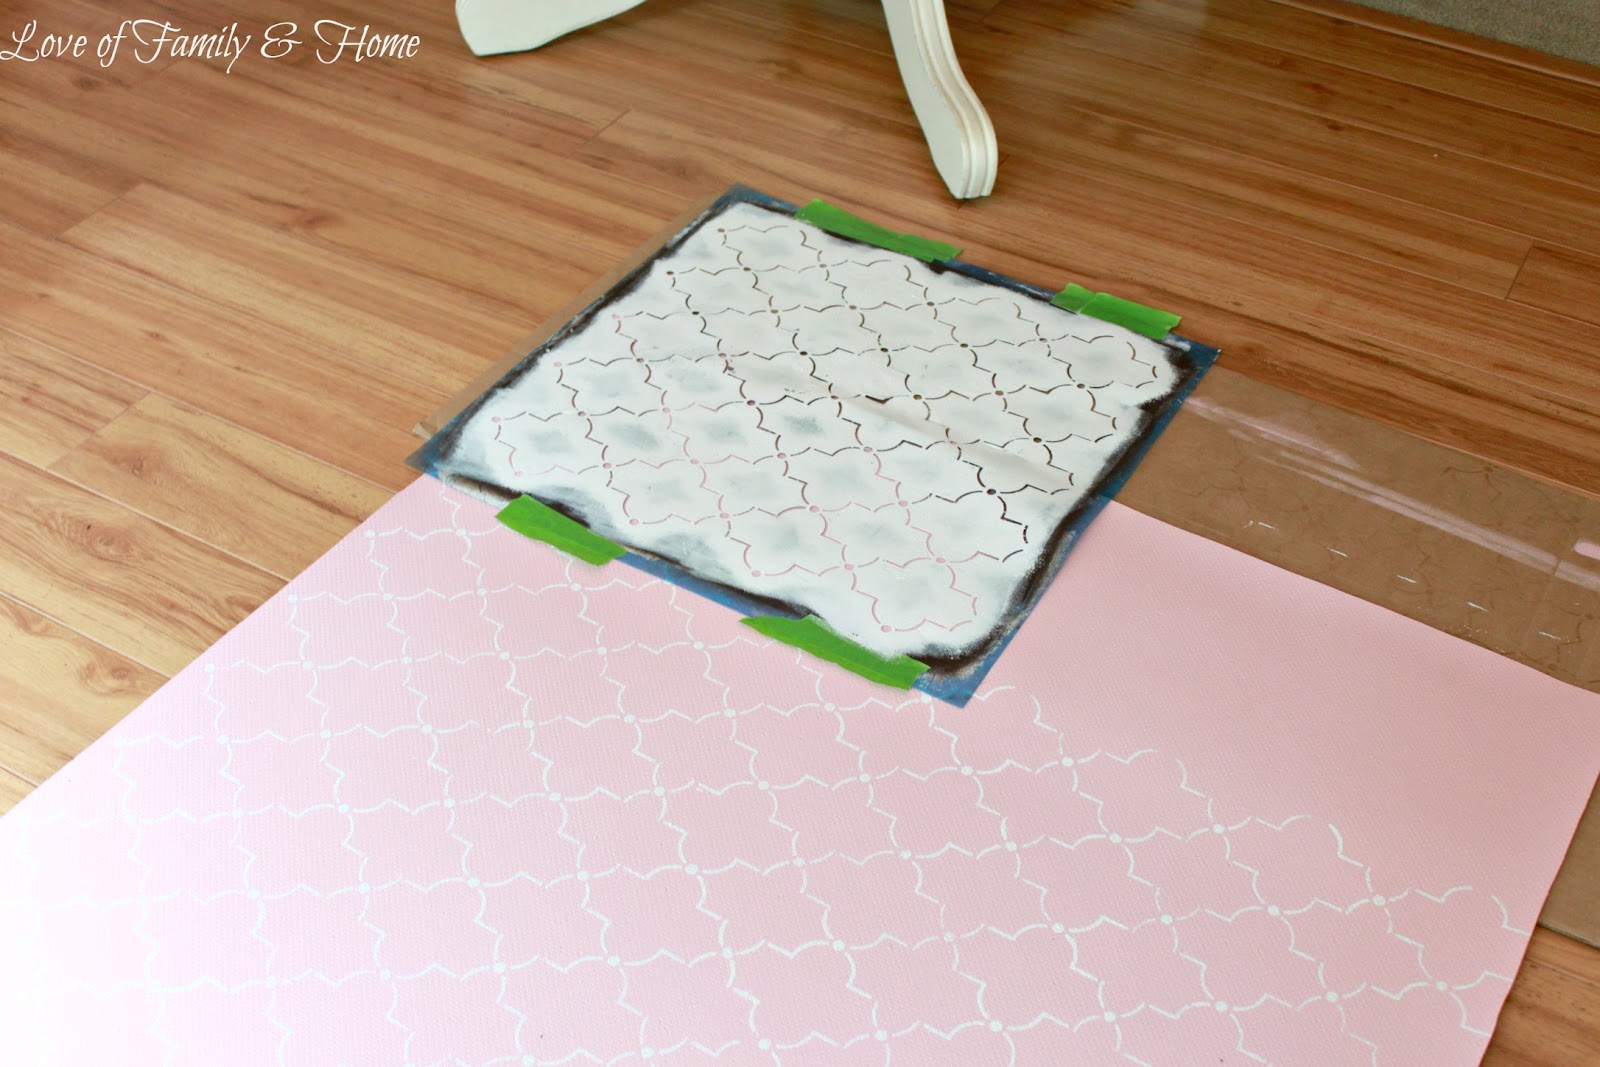
I placed the stencil in the middle of the rug to start, that way the design on each end would be the same when I was finished.
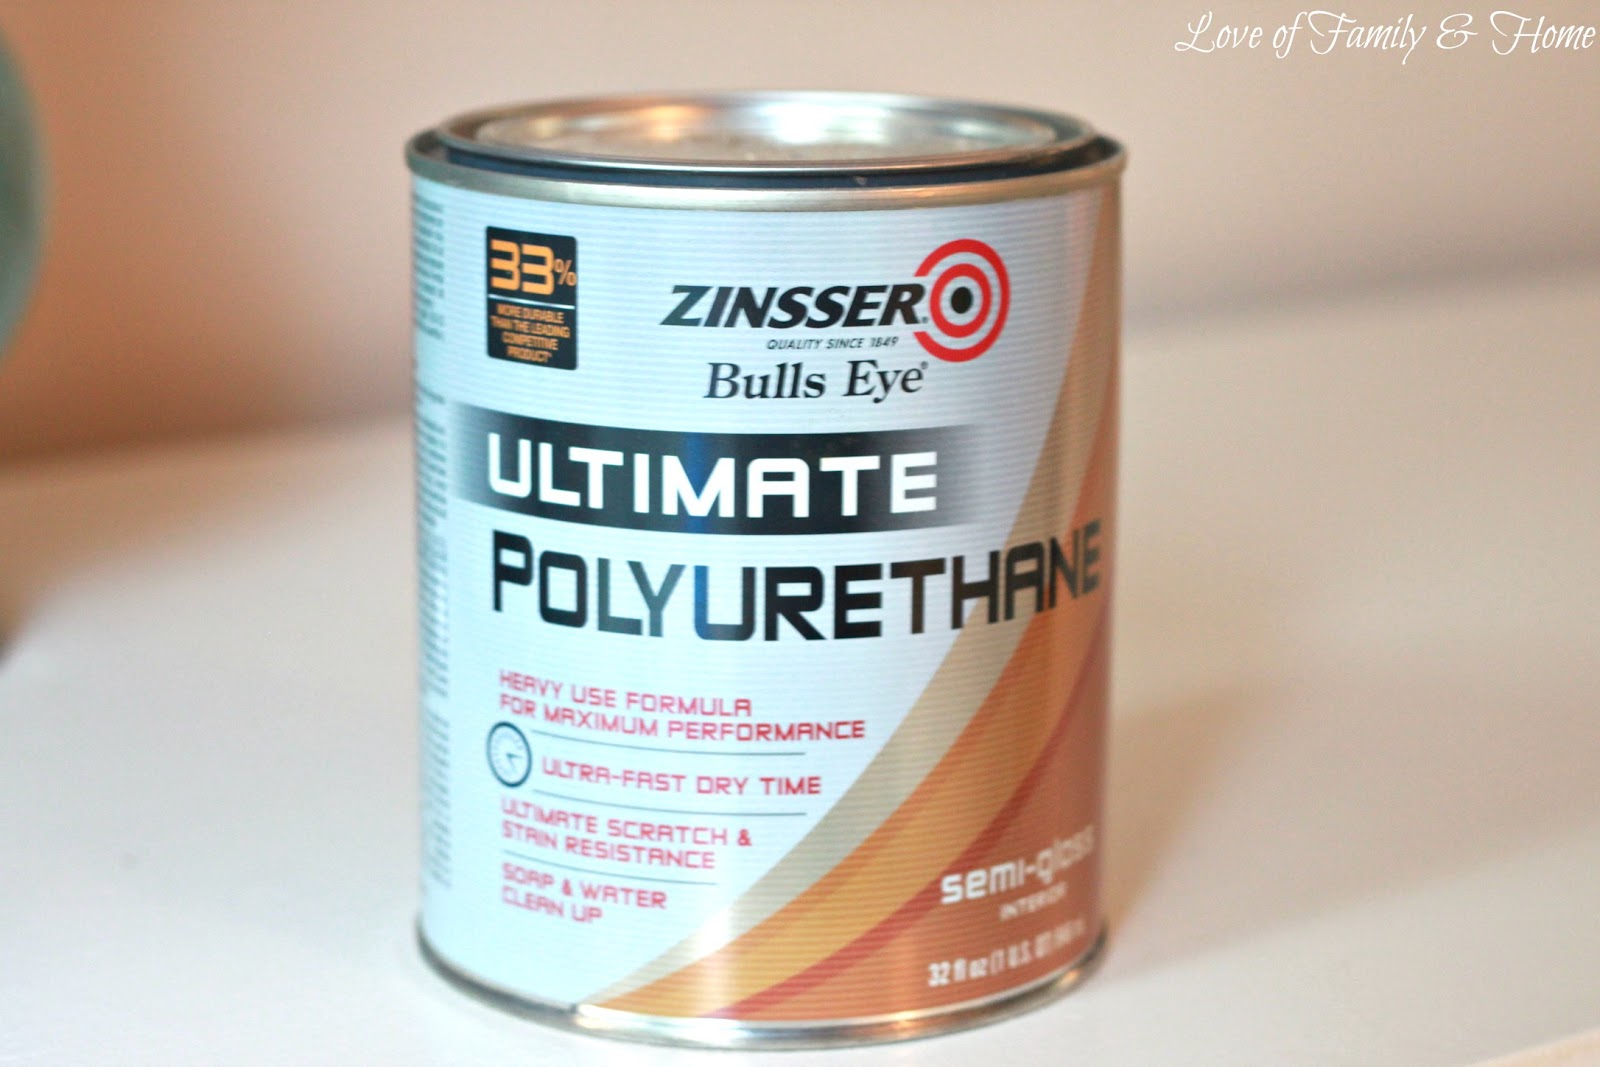
Make sure you follow the dry time instructions on the polyurethane before using the rug or walking on it.
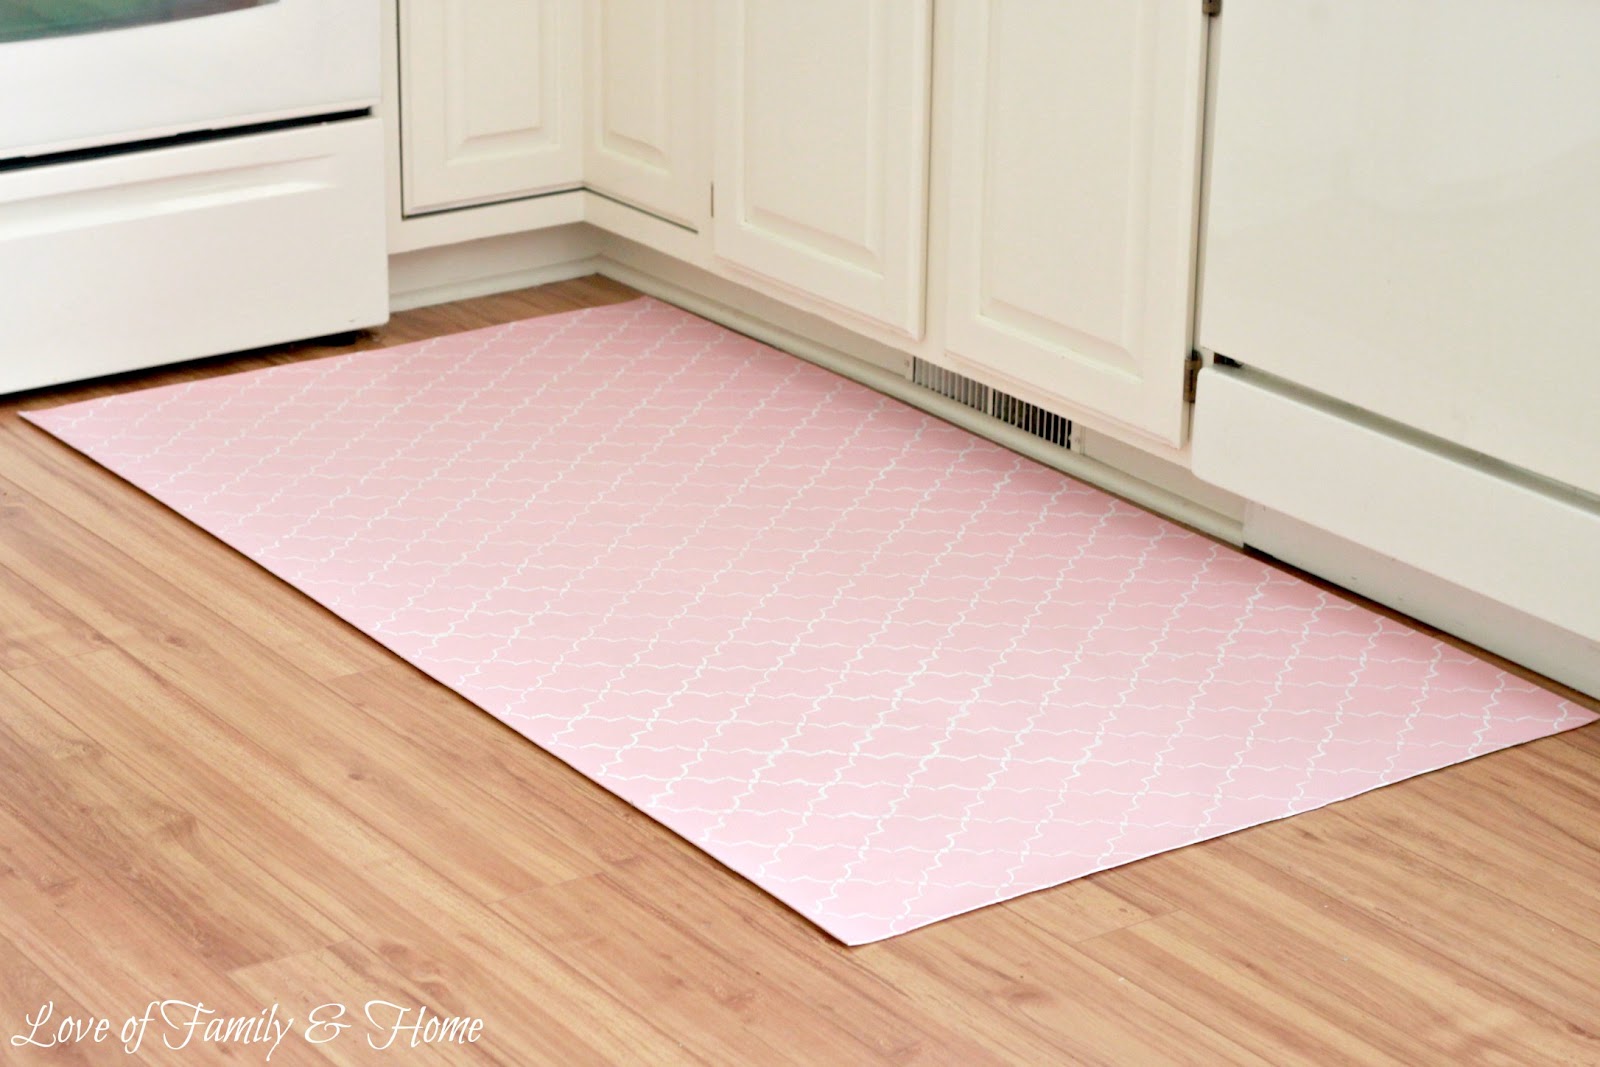
I placed the rug in my kitchen to take pictures of it when I was finished for a couple different reasons: 1) because the lighting was better in this room & 2) because I am still tying up some loose ends in the laundry room & it’s not quite ready for it’s big reveal! 🙂
All in all, I am pretty pleased with how this rug turned out! Not only does it match the room colors to a tee, but I was also able to cut it to the exact size I needed!
And after spending just $9.00 on the vinyl & $3.00 on the pink paint ( I already had all the other supplies on hand), I got the rug I was wanting for just $12.00 total!
Not too shabby!
I even had enough vinyl left over to make another rug, should I choose to do so! 🙂
What do you think?!
Have you ever painted a rug before?!
I would LOVE to hear about it!!
I hope you enjoyed this little tutorial!!
Can’t wait to show you the other project I completed for this room!
Stayed Tuned! 🙂
Linking up here….
Transformation Thursday at The Shabby Creek Cottage
Tutorials & Tips Tuesday at Home Stories A to Z
Weekend Wrap-Up Party at Tatertots & Jello















Such a great idea!! It looks very good!!!
This turned out to cute and you really make it sound easy!
I love this, so clever! I am so going to do this. I have a question, each time you move the stencil to another area how do you clean it so it won’t smear everywhere…
Take a look at the video tutorial I linked to in this post! I think that will help answer your question!!
That looks fantastic! I would love to try it myself…..but I wonder, is it sticky, how does it feel on bare feet, and does it shift around on the floor?
I have it butted up against the wall in the laundry room, so I haven’t had any issues with it shifting around on the floor! You could always buy those “non-skid” things that you can buy for regular rugs to help prevent it from shifting if needed. The rug was a little tacky/sticky for the first couple of days until it dried thoroughly.
I really love this! I have an odly shaped bathroom…. and it’s small 22 square feet, I measured… so I might just have to do this for that space!
It turned out beautiful!!!
Love,
mom
that is adorable! i love the color you chose! 🙂
I have another question, my husband sells flooring, but not vinyl, and he said it would curl up on the edges, is this happening to you? he said that could be a huge trip hazard…just checking
Not at all!! At least not yet! 🙂
the curling is my problem. I wasted a lot of time and effort on vinyl only to find it curled and nothing I could do would keep it flat. Very huge trip hazard. does your hubby have another suggestion? I still have 2 rolls of vinyl that I guess I’ll put out for a garage sale.
Amazing! Thank you!
It looks great, love the color!
Wow Tonya’s that is crazy who would of though you could do something like that with flooring! I love it looks awesome! Cant wait to see the room when finished.
Love ya
Nancy
This is a very innovative and inspiring project! And your idea to use the casserole dish as a paint tray is way cool! I’ll have to remember that….better yet, I’ll have to pin it!
Sharon
wow, first I would have never thought of using vinyl flooring for a rug. But when you are just wanting the pop of color it is perfect! And perfect for the laundry room too.
I REALLY need to try this painting fabric, rug thing. Might do some curtains?? I am seeing it everywhere! 🙂
can’t wait to see your finished laundry room!
This is exactly what I need for my kitchen!! Great idea!! Thanks for the tip.
Great makeover and tutorial, Tonya! I just did something very similar with a squishy kitchen mat that had an ugly design on it. Great to learn that I have even more options for custom rugs/mats in the future!
Visiting from Home Stories A to Z 🙂
That looks amazing. I love the idea of painting a rug. I have got to try this. I would love for you to come and link up to my Fall into Fall party that opens tonight at 8pm EST. Hope to see you there.
Hi-Just wanted you to know I featured this rug on my Saturday favs-Have an amazing weekend-Claire
This is fantastic! So much easier to clean than a fiber rug. I love the stencil you chose! Would love for you to share at the Pomp Party! http://www.createcraftlove.com/2012/09/pomp-party-35.html
This looks awesome! I love the pattern and color as well. Super cute for a kitchen or laundry room! Please keep us posted on how it wears.
looks awesome. I’m just wondering if it is padded or anything?
this is amazing – never thought vinyl could look this good!!!! Great job dear!
Saw this at “Serenity NOw”
I think this is awesome! I agree with the above comment, never thought vinyl could look this good! I think I’m making a trip to HD today to look for some remnants, to do this for my laundry room. Instead of trying to find a funky size rug to fit, I’ll have to make my own!
Stacia@ http://feathersandsunshine.blogspot.com
How great! May i ask you, since we do not have valspar colours in germany, could you tell me what kind of colour that is, e.g. Vinyl, wall colour. Thank you, i would like to try that out in our bathroom.
Best idea ever! Thanks for sharing!
I love how this came out. I am thinking of doing this from an old piece of vinyl from our kitchen. I also love your idea of using foil to line a casserole dish. That is just the best idea!
So excited I found your blog and this post! We have a vinyl remnant that the builders left at our house 4 years ago…I never knew what to do with it. I am so making a rug for my laundry room. I have some turquoise paint and will try a chevron pattern. I guess I just need to get primer and a sealant!
This is awesome! I was just thinking about how to put some sort of water proof “rug” in the kitchen. I was thinking vinyl table cloth, this idea is so much better! Hmmm…. I wonder if a person could paint their whole kitchen floor if it’s vinyl, with your tutorial? I may have to try that out!
Thank you for sharing!
I know I’m really late to the party on this but THIS IS A MIRACLE!!!! I love rugs, love love love, but I also have a very stubborn bulldog who also loves rugs…..to pee on. So every single rug that was in my home has been dropped at the dump and left me with a whole lot of wood floor. This is going to change my world, thank you so much for posting this. I’m curious, how did it hold up? Did you have the curling edges problem after all?
Thanks again, you’ve blown my mind.
I agree with the others! This is SO cute! I’m curious, after all this time has passed, about how the rug is holding up?? Curling, peeling, yellowing? If not, then I’m so doing this for my new place. 😀 Thanks for the inspiration!