Last Friday, we talked Summer Fashion here on the blog & I had a question from a reader that I thought I would answer today…..
First of all, the “groupings” (or mood boards) from last Friday’s post were NOT ones that I put together myself! They were groupings I had found on Pinterest & had pinned to my style pinboard. However, they ARE easy to make, so I thought I would show you how to make your own today!!
Polyvore is an awesome online tool for creating fashion, as well as interior design mood boards! It is the web’s largest fashion community, where you can create fashion boards & browse thru other people’s creations as well! You can even follow your friends & they can follow you back! I will tell you, that I really didn’t play around on the website too much until this weekend, but after experimenting a bit & creating a few boards….I think I may be addicted!!! Today, I am gonna show you how to create an Polyvore account & walk you through how to create your own “set” or outfit mood board.
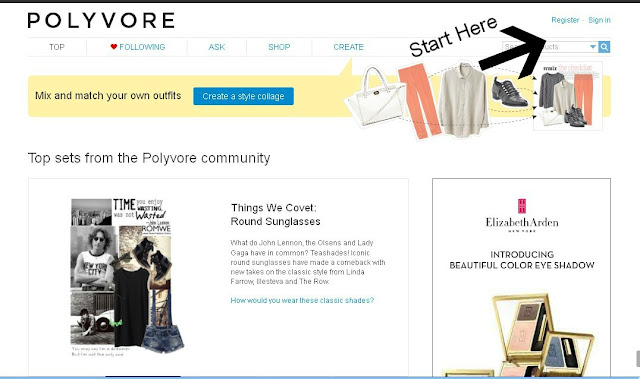
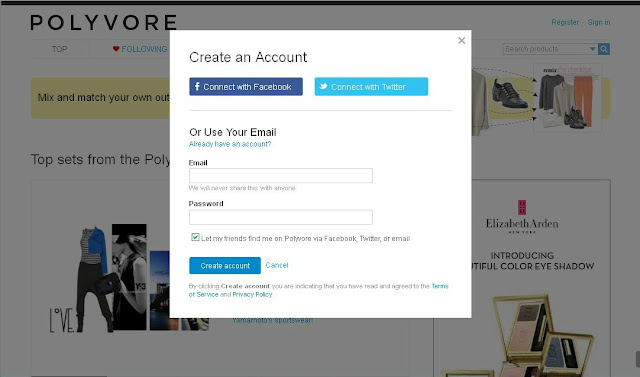
First, you will need to go to www.polyvore.com and set up an account or you can log-in using your Facebook or Twitter account.
I opted to sign in using my Facebook account, but you can register or sign-in however you would like…
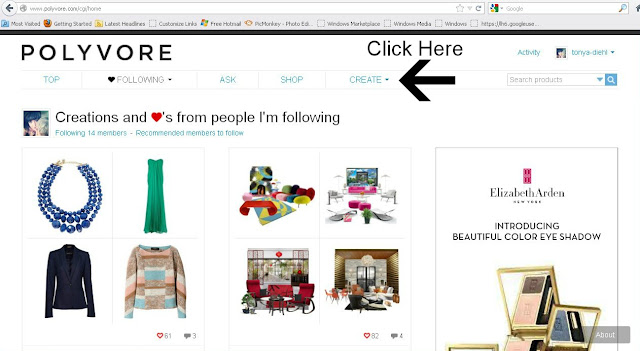
Once you have created an account, you are ready to starting making your fashion mood boards!! Just click on “CREATE” to get started!
You will be taken to a new screen at that point, then you will need to select a category to browse or you can search for something specific by using the search box & typing in what you are looking for!
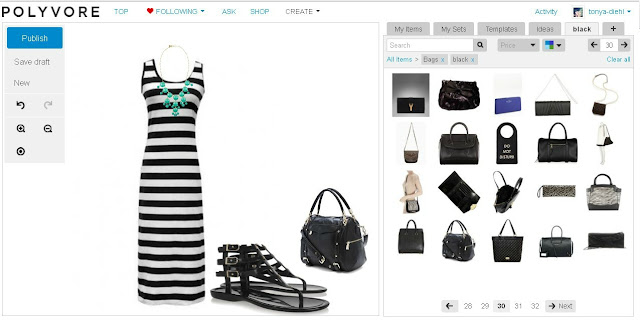
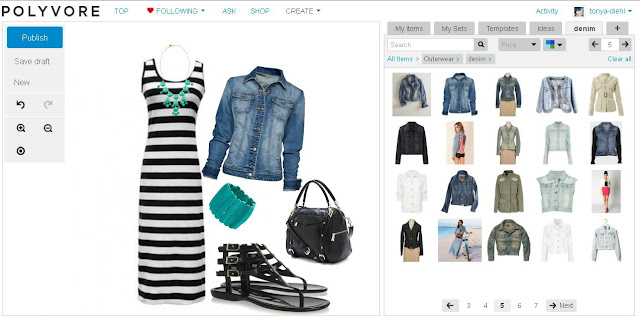
For this tutorial, I am gonna use a board that I created this morning. I started by typing “striped dress” into the search box. A selection of dresses came up, once I found one that I liked, I just clicked on it & dragged it into the empty collage space…
If you are interested in where you can buy the item you’ve selected, or how much it costs, when you click on it, Polyvore will give you all of that information. You can even purchase it through their website!!
Cool, right?!
Once I had my dress, I then started looking for ways to accessorize it. You can click on the “accessories” or “jewelry” categories, or if you are looking for something more specific, then again, just type it into the search box. I clicked on “jewelry” & then typed in “J Crew bubble necklace.” These necklaces have been super popular this summer…..why I have yet to purchase one I have no idea!! You can purchase the knock-offs thru ebay for around $15.00 a piece!!
Anyway….I found one that I liked & added it to my board….
Then I found shoes & a handbag to go with my ensemble….
I talked in my post last Friday about denim jackets and how much I liked incorporating them into my wardrobe, so I thought “why not throw a denim jacket into the mix?”
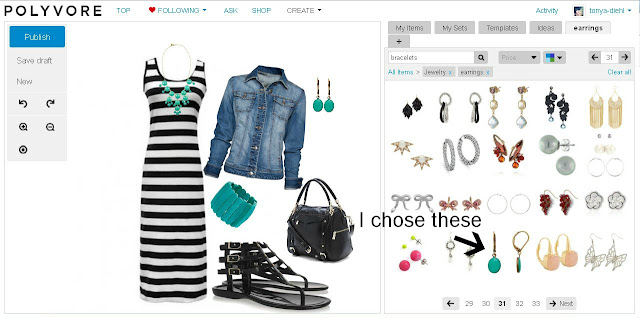
I also found a bracelet to coordinate with the necklace & bring out more of the teal color in the outfit. Then I decided that I needed some coordinating earrings as well….
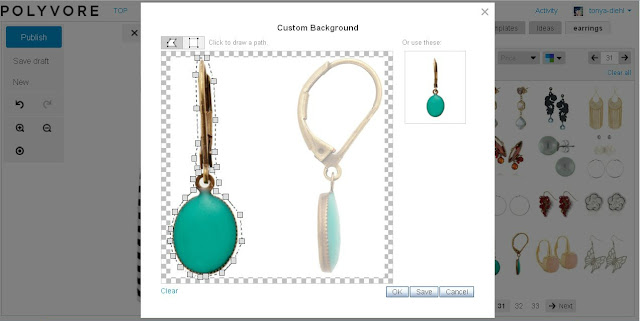
When you add an item to the collage, they will appear on your board just as they appear in the results box on the right (see above). If you want to change the way it appears on your board, you will have to click on the it inside the collage & then click “CUSTOM”. I did this for the earrings, because I did not want a sideview of the earring.
You have to use your mouse pad to draw a path around the part of the item you want to use. For this example, I again, didn’t want the sideview of the earring showing, so I just selected the earring on the left, drew a path around it, & clicked “ok.” Then I just added to my collage twice, so that I would have two earrings or a pair in my collage….does that make sense?!
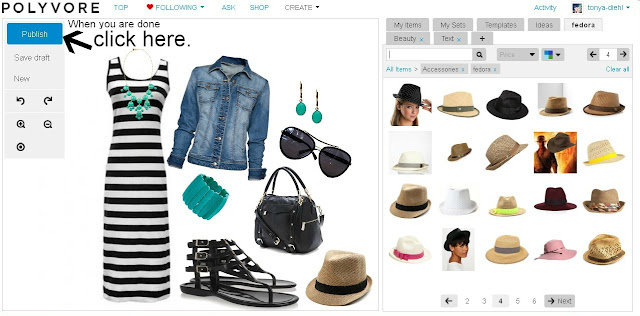
Once the earring situation was taken care of, I decided just to added a pair of sunglasses & a cute fedora hat to the board to finish off my outfit….
When your board is finished, click on “PUBLISH” in the upper left hand corner of the screen to publish your board for others to see!
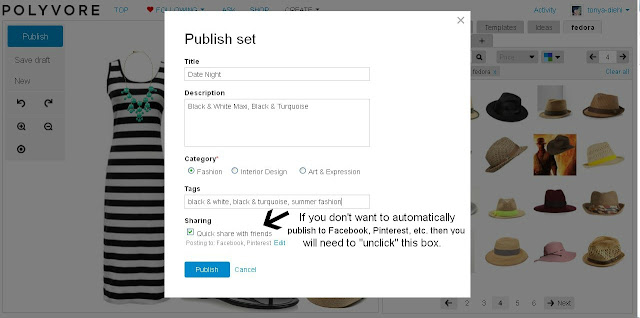
After clicking “PUBLISH”, you will be asked to give your board a Title, a Description, & a Category. This just makes it easier for others when they are searching for different boards on the polyvore site to find you & your creations….
If you logged in using your Facebook page, then your Polyvore account will be synced with your Facebook account allowing you to share your creations with your Facebook friends. It will do so automatically unless you “unclick” the box shown in the picture above. When you have finished filling in all of the blanks, again click “PUBLISH.”
It will then take you back to your profile page where you can see your most recently published board, as well those previously published. If you want to make any changes to the board or share via social media, you can also do so on this page.
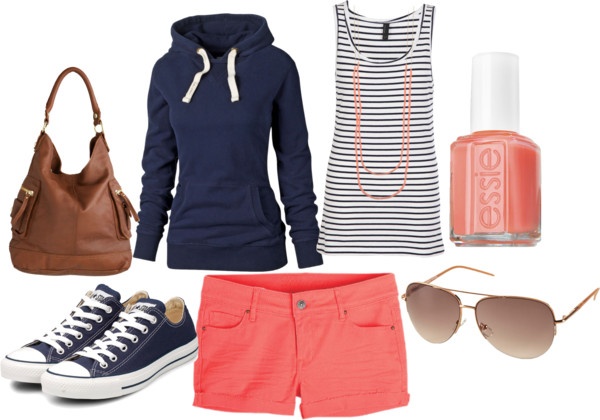
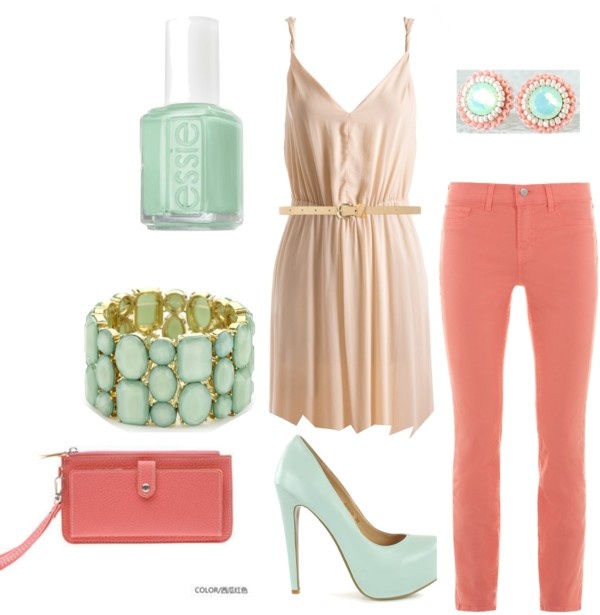
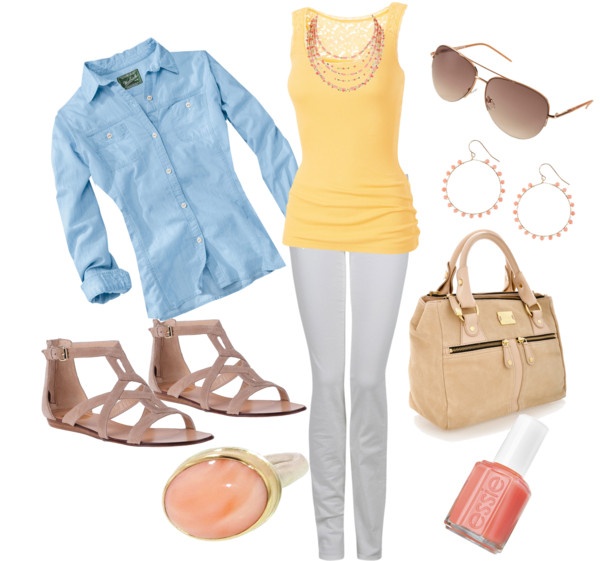
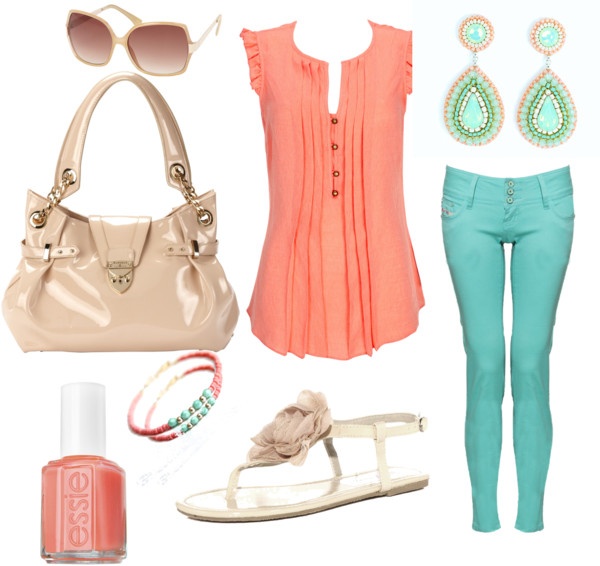
Here are a few other boards I made this weekend….











Oh my goodness…I love your tutorials! I had no idea how these outfits got put together or really what polyvore was even though I’ve pinned tons of outfits from there! You really do such a good job of creating step by step details and instructions which I need because I’m “old” and don’t have great computer skills! Your pic monkey tutorial was a wonderful gift as well. I LOVE YOUR BLOG! Thanks so much! Your biggest fan, Julie
I can’t wait to play…thanks, just what I need…something to do! LoL!!
ok this is so fun! And really addicting haha thanks for sharing!
How fun! Something new to play around with in all my *spare* time (i.e. when I’m procrastinating!)… thanks for sharing, Tonya!
xo Heidi
Thanks, Tonya!! This is so helpful! We’re leaving for a 2 week vacation on Saturday, so I’ll have some time to play around with this!
I love what you put together! I want all of those clothes and accessories 🙂
Hugs,
Bj
love the outfits! I’m going to try and stay away from this toy! It looks like a lot of fun!
love the outfits you put together – Polyvore is so addicting!! My site is: http://christinasadventures.polyvore.com/
It contains truly information. Your website is very useful. Thanks for sharing. Looking forward to more! Great visualization and unique informative article indeed.
Thank you for the helpful post! I have a question! I would like to input my own accessories (I am an Independent Consultant with Paparazzi Accessories, where everything is $5 or less). What is the best way to do that?