Now that all of the birthday party excitement is over, we will be continuing with our
DIY Wedding Series!!!
DIY Wedding Series!!!
I showed you in our wedding inspiration post this burlap ring bearer pillow which the bride had pinned on Pinterest…

I thought it was really cute & it definitely keeps with the burlap/rustic theme we are going for. I also thought that since my mom is kind of a pillow expert, that this would be no problem whatsoever!!!
She looked at the picture, gathered her supplies & literally whipped this baby up in a matter of minutes!
Here is her version….
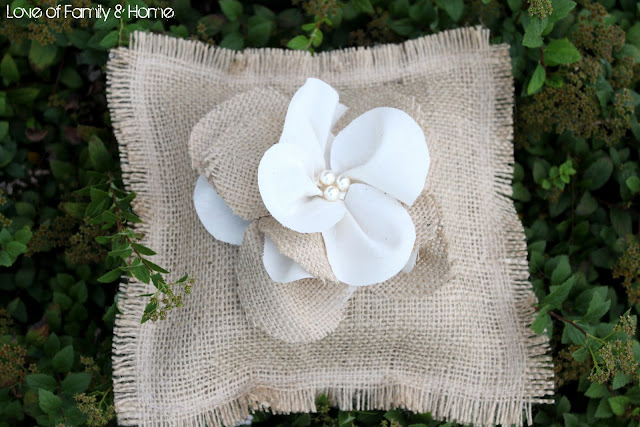


Pretty cute, huh?!
I know I am probably a bit bias, but I actually like this one a little better!!
I think the pearls add a touch of class to the rustic pillow!
So what do you think?!
Wanna make one of your own?!
Wanna make one of your own?!
Here is a step-by-step tutorial!!
You will need….
Burlap
Tan Colored Cotton Fabric
Cream Colored Muslin Fabric
3 Cream Colored Pearls
Fiberfill
Fabric Glue (if desired)
Hot Glue gun
Burlap Pillowcase
1.) Cut one piece of burlap 9″x9″


2.) Cut one piece of burlap 9″x 13″ and then cut in half, making two 9″ x 6.5″ pieces.


3.) Take 9″ x 6.5″ pieces of burlap & fold burlap under 1/2 inch on the 9″ side and sew it down.


4.) Pin together the 9″x9″ piece of burlap & the two 9″ x 6.5″ pieces wrong side together. The 9″ x 6.5″ pieces will overlap to create an envelope.


5.) Sew in 3/4″ all the way around the edge of the pillow.


6.) Fray edges of burlap approximately 1/2″ around the edges of the pillow.


This is what it should look like when you are done….
Front:

Back:

Pillow Form
7.) Cut two 8″x8″ pieces of tan colored cotton fabric to make pillow form.


8.) Sew the 2 pieces of tan fabric all the way around with a 1/2″ seam, leaving a 4″ opening on one side to allow you to turn the pillow form inside out.


9.) Stuff pillow form firmly with fiberfill & hand sew opening closed.


10.) Insert pillow form into burlap pillowcase through the opening/envelope in the back.


Flowered Center
11.) Cut 4 pieces of muslin into 2.75″ diameter circles & 8 into 2.5″ diameter circles.
12.) Cut 4 pieces of burlap into 2.75″ diameter circles & 4 into 2.5″ diameter circles.
13.) Starting with the larger muslin circles, pinch together in the center & sew a few stitches to keep in place.


14.) Begin adding additional muslin circles repeating the step above until you have 4 sewn together to make a flower.


15.) Add larger burlap circles on top of muslin & repeat steps 13 & 14.


16.) Keep repeating steps #13-15 until all circles have been used using all the large circles before going to the smaller ones. Continue alternating layers of muslin petals & burlap petals.
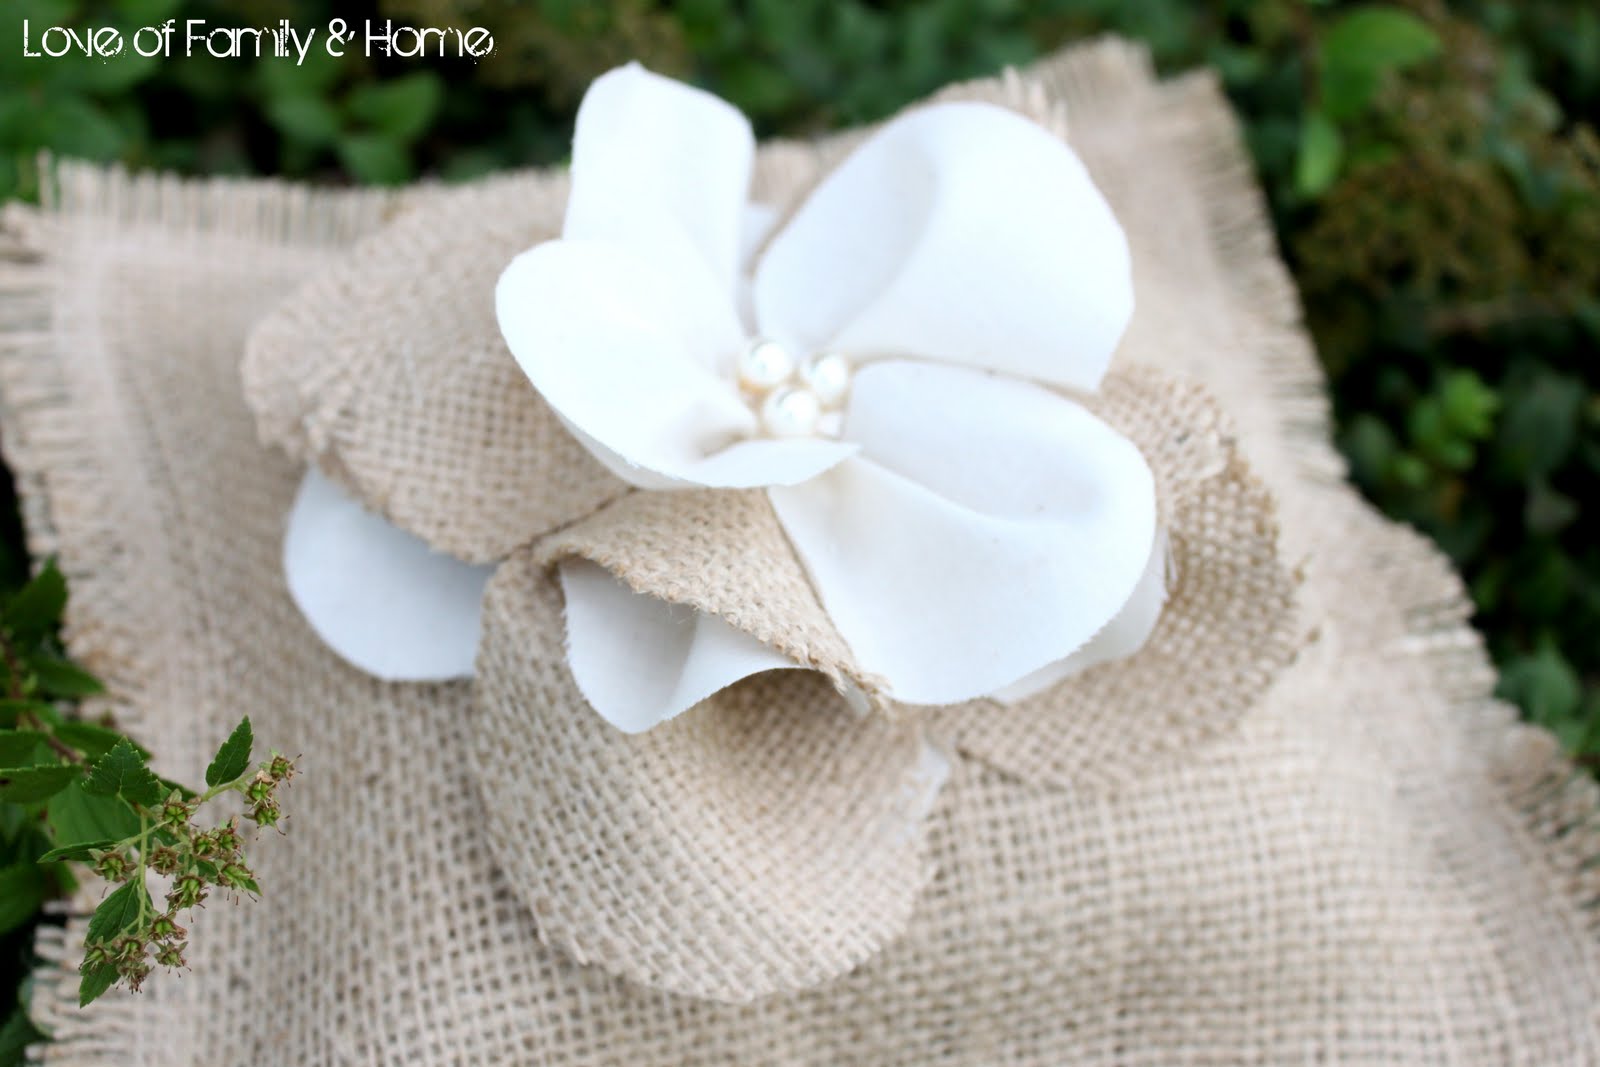
17.) Sew 3 pearls in center of the flower.
18.) Hot glue flower to center of burlap pillow.


19.) Dab fabric glue along the edges of frayed burlap & smooth in using your finger to prevent further fraying.


20.) Sit back & admire your hardwork!!
And then maybe take it outside for a photoshoot! 🙂

And if you have 2 ring bearers like we do, go ahead a whip up another while you’re at it!!

Hope you enjoyed this project!!
Thanks for stopping by!!
Linking up here…
Tips & Tutorials Tuesday at Home Stories A to Z
20 Below Thursdays at Christina’s Adventures
Delightfully Inspiring Thursday at Delightful Order
Transformation Thursdays at The Shabby Chic Cottage
Flaunt it Friday at Chic on a Shoestring Decorating
Weekend Wrap-up Party at Tatertots & Jello
Sunday Showcase Party at Under the Table & Dreaming


