I am proud to be a 3M, Behr®, and Wooster® – sponsored blogger, and, as part of my responsibilities, I get the opportunity to evaluate products. Opinions are my own and additional product used in the project were selected by me.
Hey Friends!
I hope you are having a great week!
I’m so excited to share today’s post with you!
I get many questions about where I purchased the pedestal table in our kitchen.
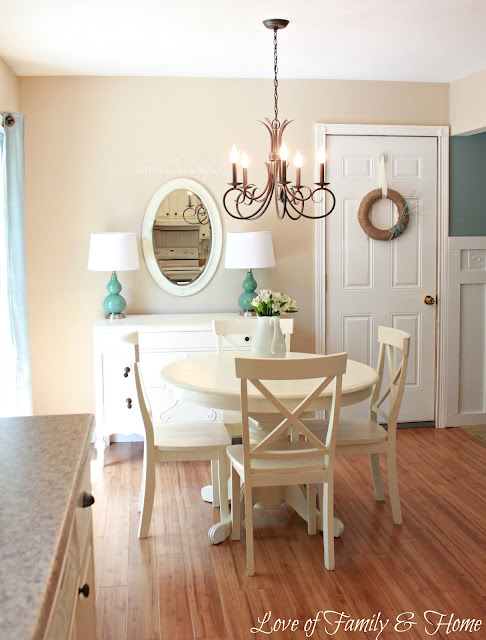
It was actually a Craigslist find a few years back. I had been wanting a round table for our kitchen and after stalking Craigslist for a few months, I ended up finding a listing on that was within my price range & as luck would have it, the owner lived right down the road from us! Small world!
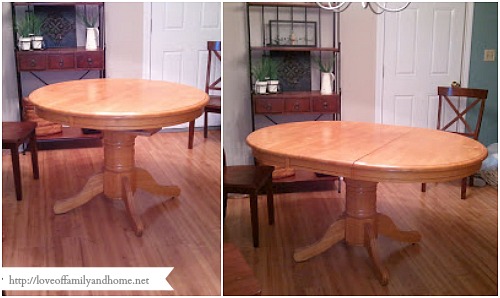
The table was a light oak color when I first got it. I knew that I wanted to paint it to match to match our kitchen cabinets, but didn’t really have a ton of experience painting furniture. However, I decided to just follow the basic rules….sand, prime, paint! The table turned out really pretty, but there was one step that I left out and that was sealing it. Even though it held up pretty well for a few years, it is definitely starting to showing the abuse we have put it through….or mostly the abuse I have put it through. You see, this little table gets used for everything, including all of my crafting! The kids color on it and also work an occasional craft project as well. Things always get messy and over the years, the table has gotten destroyed…..
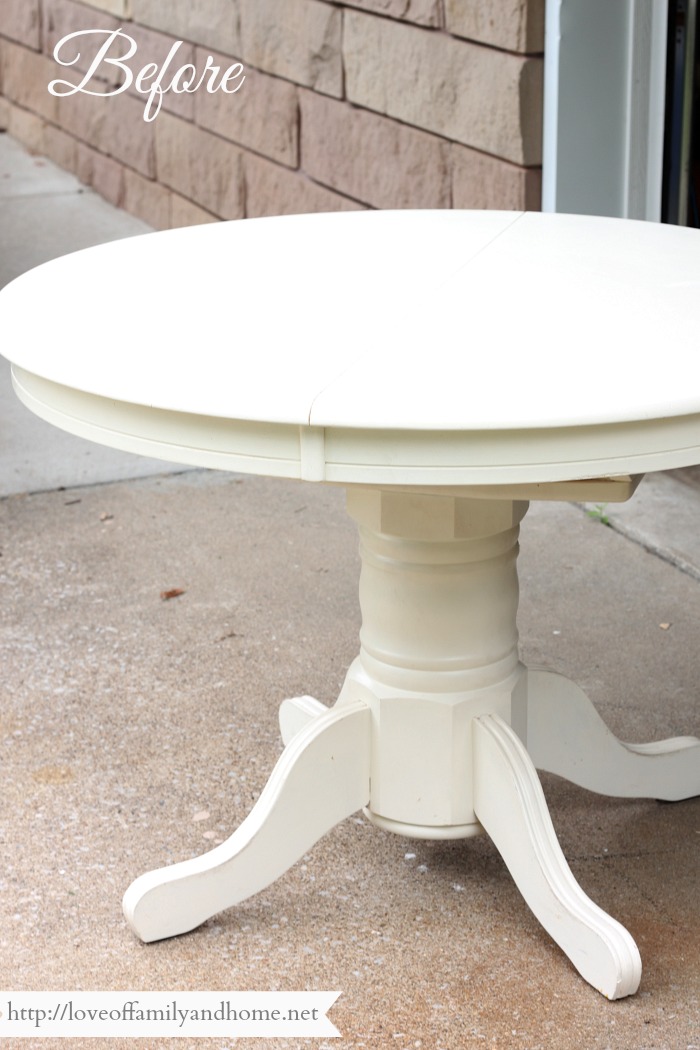
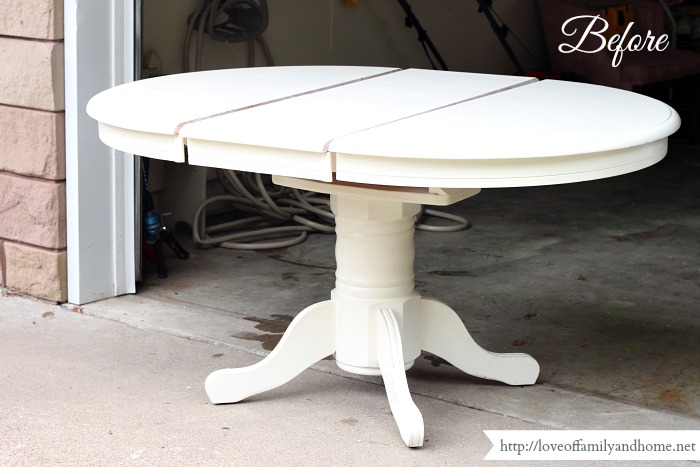
Now I know what you are thinking…..looks pretty good, huh?!
Well, let’s get a little up close & personal, shall we?!
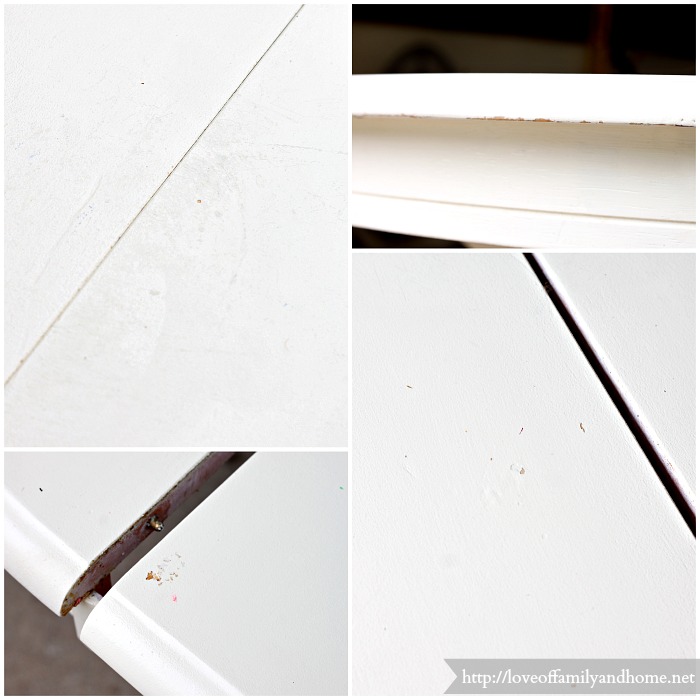
See what I mean….chipping paint & scratches GALORE!!
I’ve been wanting to refinish the table for quite some time, so when the The Home Depot & ScotchBlue™ Painter’s Tape contacted me to see if I had any kitchen projects I would like to share, I knew this was the motivation I needed to tackle this project & get things DONE once & for all!
The first thing I had to do was remove the old paint from the table. I accomplished this by using a palm sander with coarse sandpaper.
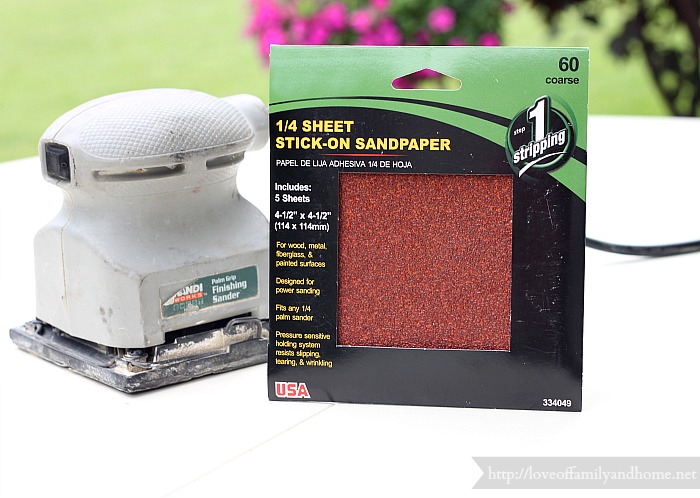
This part of the project was probably the most time consuming. Although the sander did a good job removing the paint, there were several layers of paint to remove.
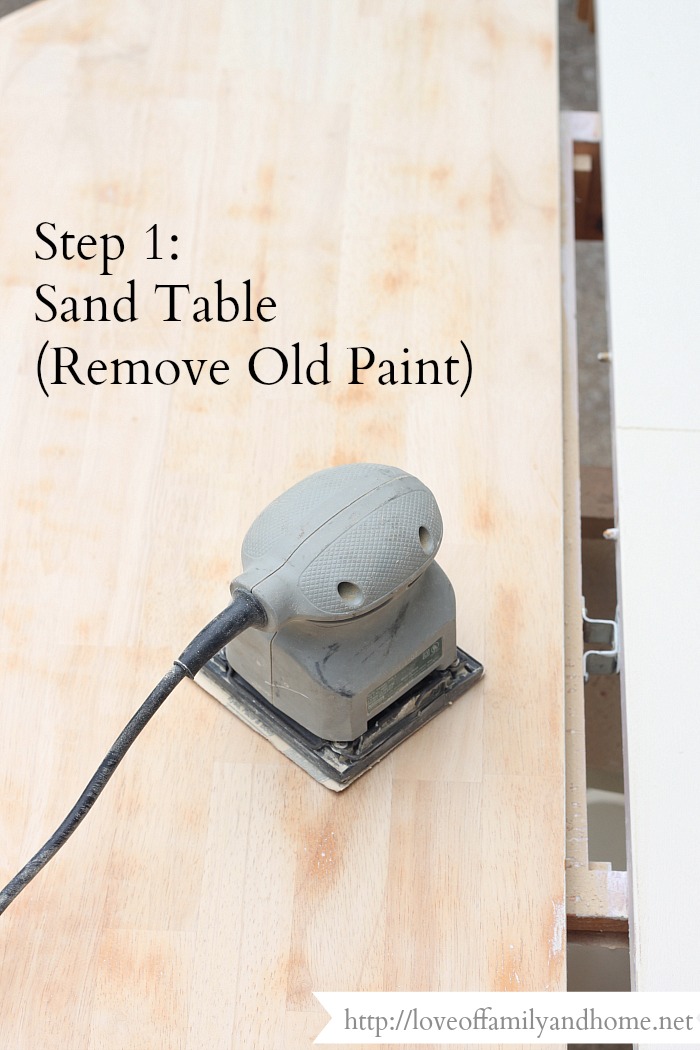
Being the weirdo that I am, I somehow didn’t mind the fact that it took me a few hours to strip the paint from the table. If I’m being completely honest, I kinda found the process therapeutic. There was something about stripping the old paint & revealing the beautiful wood underneath that was strangely rewarding.
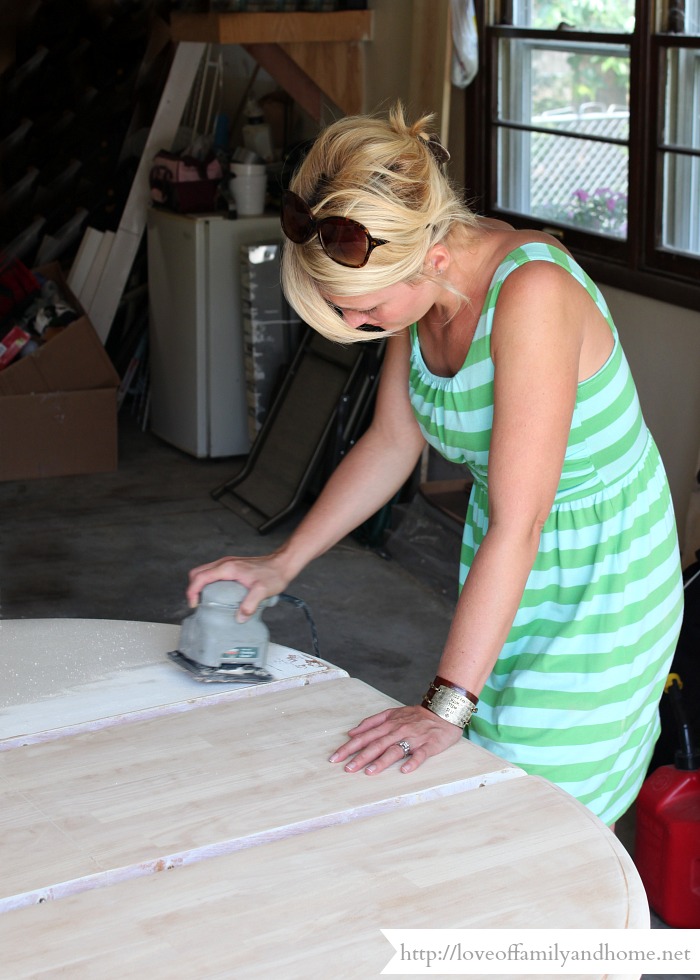
Here is a look at the table once the paint was completely removed…
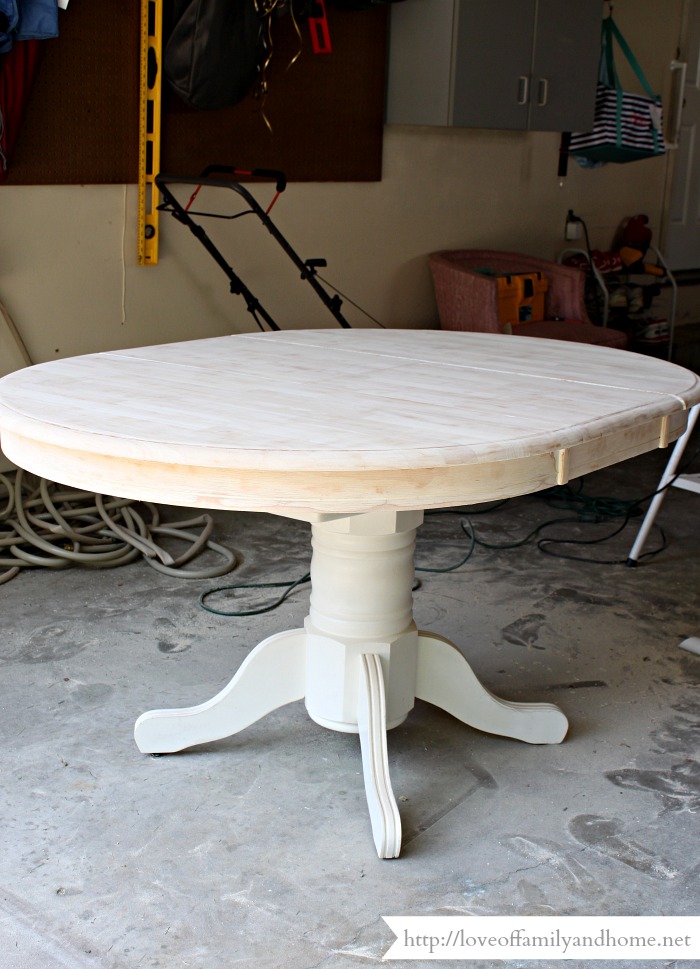
To prep the table for priming, I took a damp rag & thoroughly wiped down all the table surfaces. I wanted to make sure that I cleared the table of any left-over dust that the sanding had left behind. Then, I grabbed my Wooster® Brushes that were provided for me & got to work.
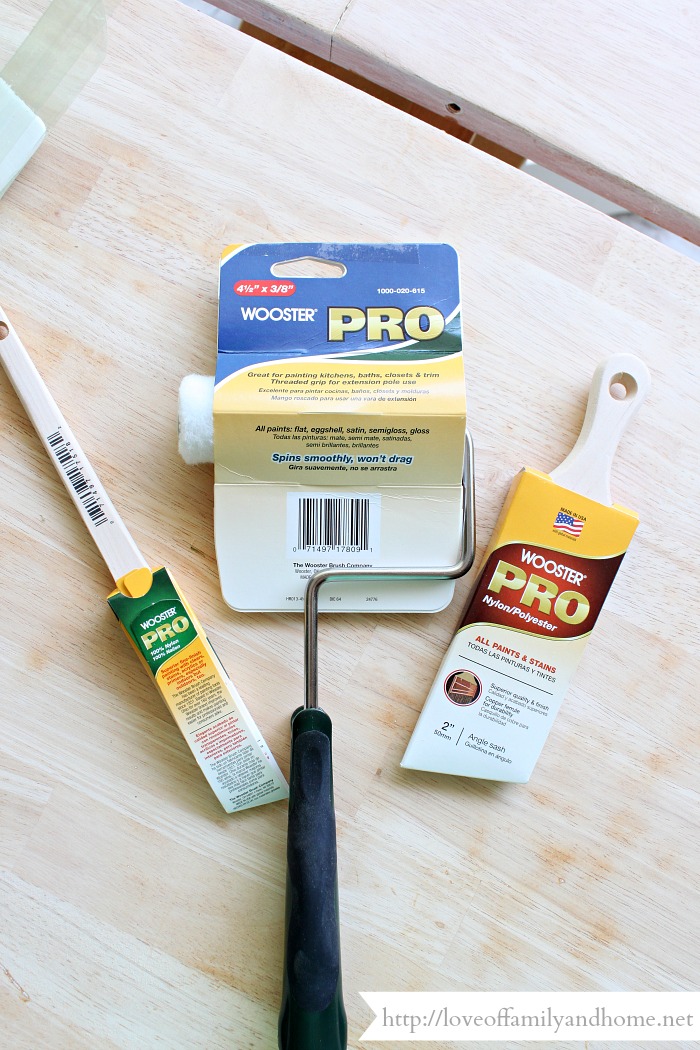
I used the Wooster® Pro Roller to apply the primer to the table top.
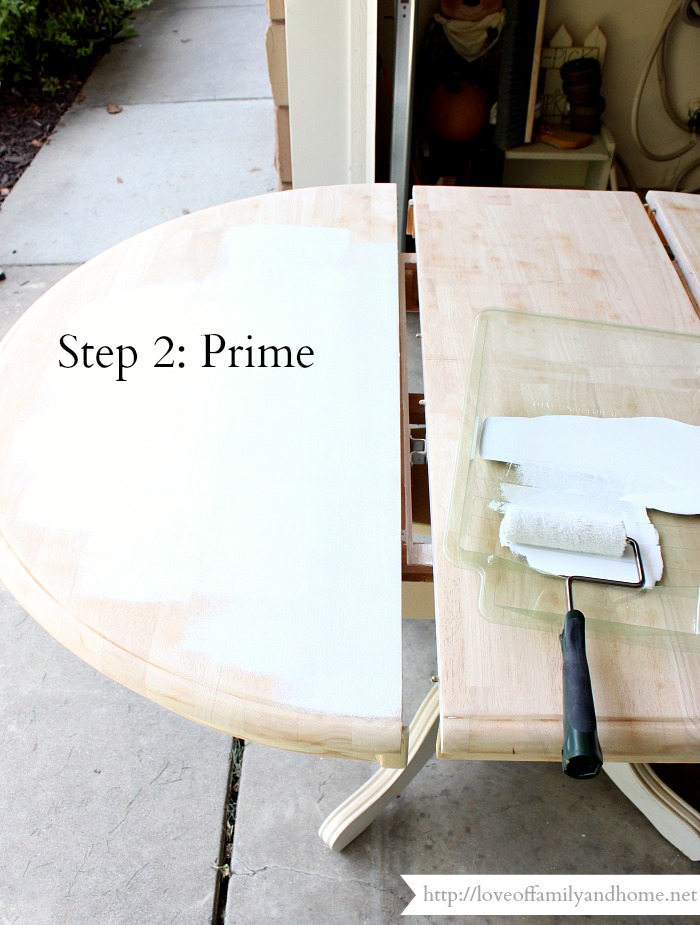
And used the Wooster® Pro Brush to cover the smaller, more detailed aspects of the table. I applied two coats of primer to the table in all & was careful to follow the recommended guidelines for dry time in between coats.
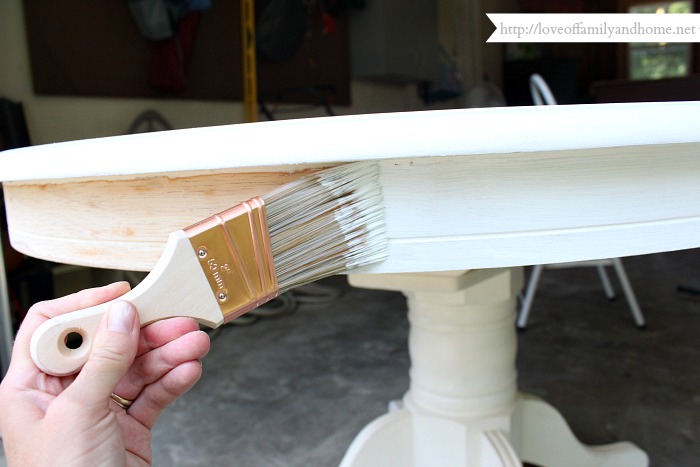
Here is a look at the table after I was finished priming.
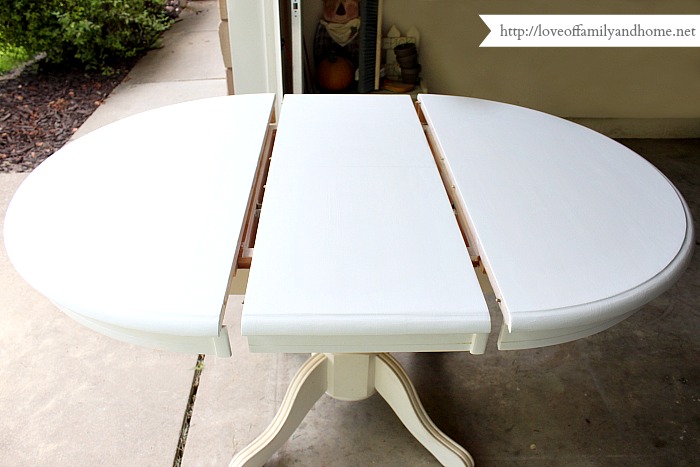
Then, I was ready to start painting! I used an off-white, enamel based paint that I already had on hand. It was a custom color that I had previously mixed to match our kitchen cabinets. I applied 4 coats of paint in total, and again waited the recommended time between coats.
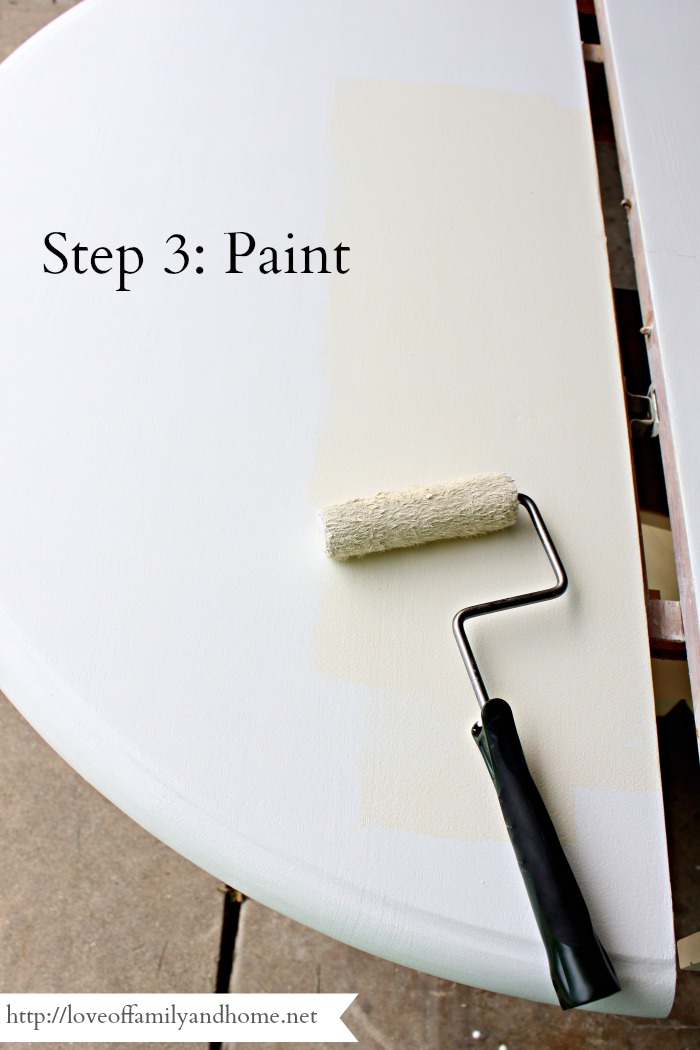
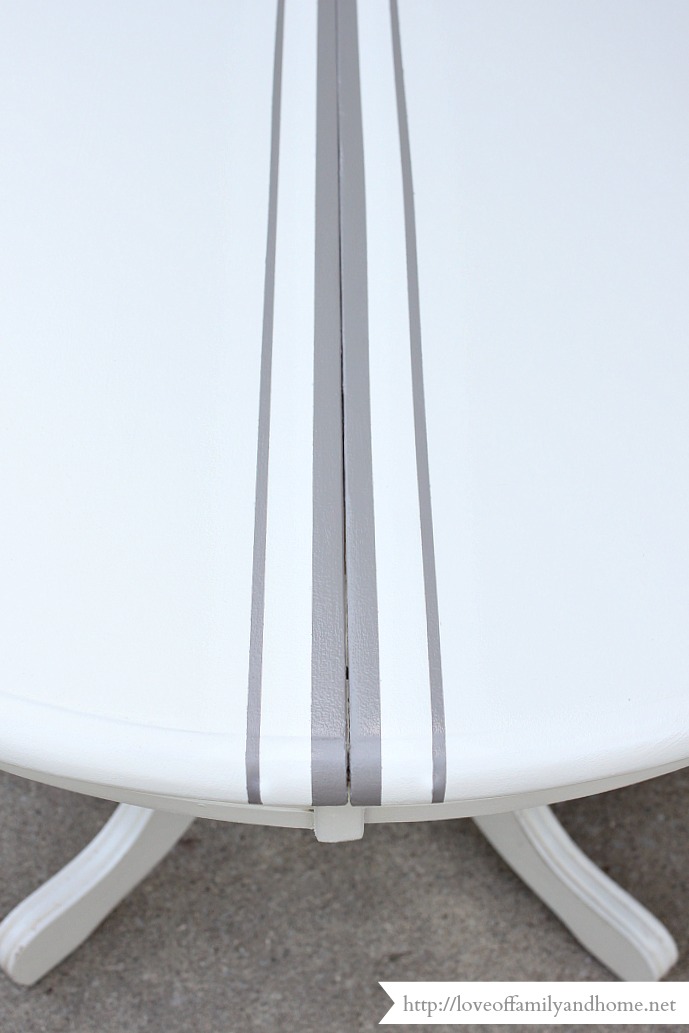
Once I was finished painting, I decided to add a little grain sack inspired detail to the table top. For this portion of the project I used ScotchBlue™ Painter’s Tape Delicate Surfaces with Advanced Edge-Lock™ Paint Line Protector 2080EL. This tape is great for freshly painted surfaces (24 hours old.) It allows you to achieve the crisp, sharp lines that you want without doing any surface damage.
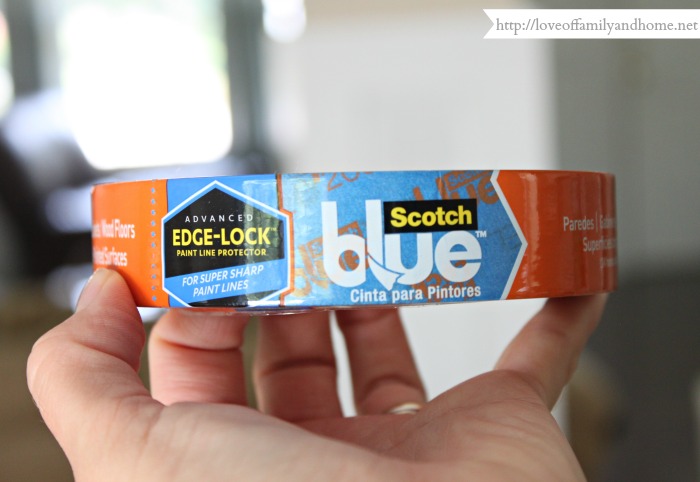
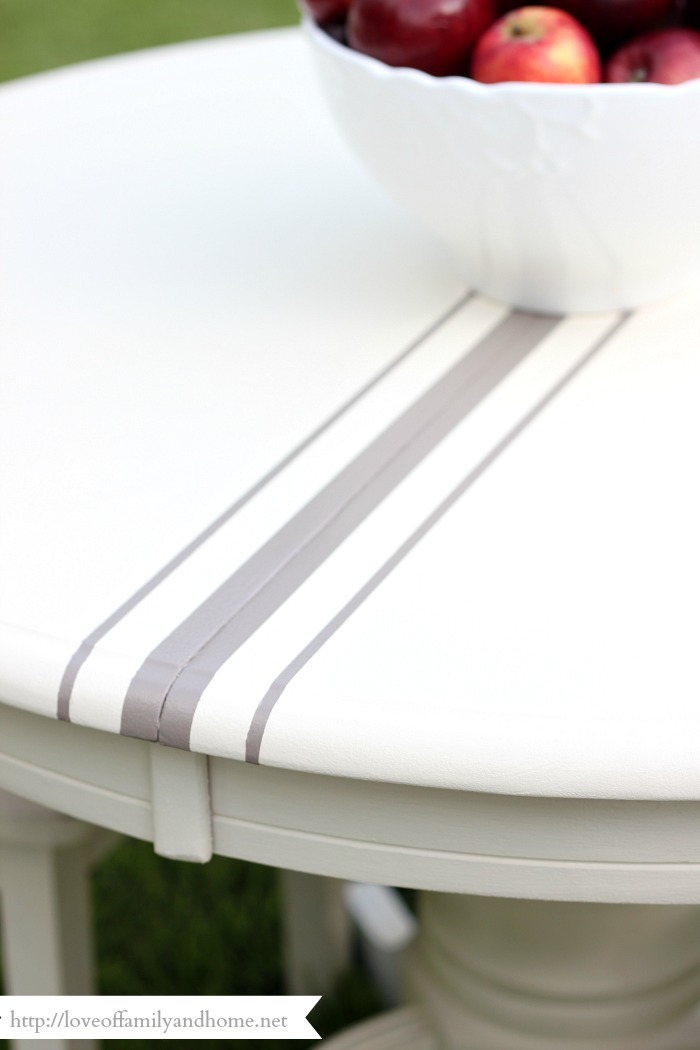
I applied the tape to the table in a grain sack pattern. The widest strip in the middle ended up being 1 and 1/4″ wide and the thinner, outside stripes, 1/4″ wide. I have no exact reason for choosing those measurements. I simply eye-balled it to see what I thought looked good. However, once, I determined what my widths would be, I measured them out along the entire length of the table & made tiny pencil marks to serve as a guide when it was time to put the tape on. Once the tape was placed, I pressed down on it firmly to ensure I had a good seal .
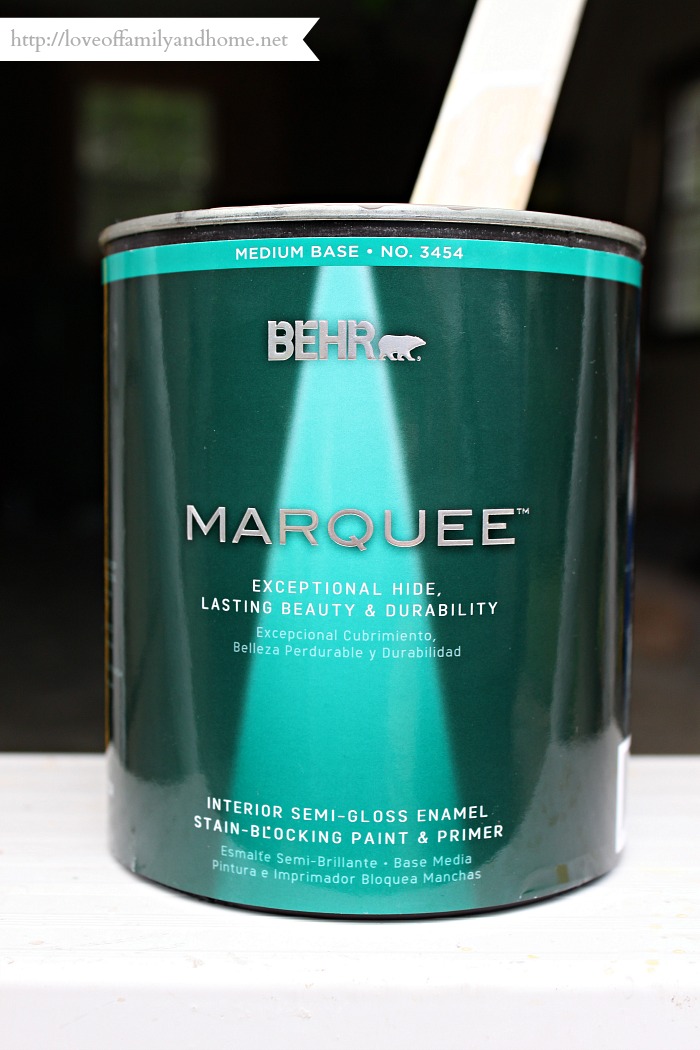
For the grain sack stripes, I used Behr® Paint’s Marquee™ Line. The color I chose was “Art District”, color code: MQ2-57.
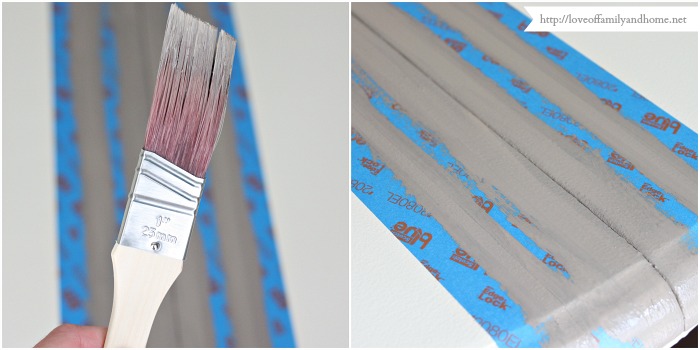
I used my 1″ Wooster® Brush to apply the paint for this part of the project. I applied two coat total and waited patiently for it to dry! 🙂
Once the paint was dry to the touch, I slowly began removing the ScotchBlue™ Painter’s Tape at a 45 degree angle.
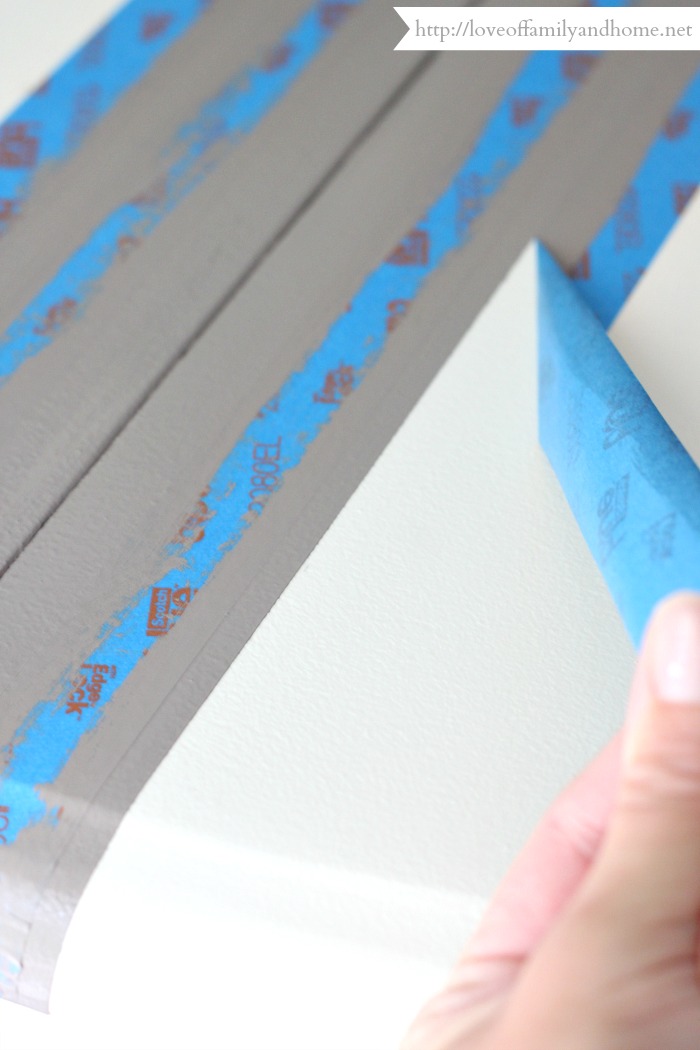
I was so pleased to find nice, crisp, straight lines below the tape’s surface! In addition, there was no damage to my freshly painted table top either thanks to the ScotchBlue™ Painter’s Tape for Delicate Surfaces with Advanced Edge-Lock™ Paint Line Protector! SCORE!!
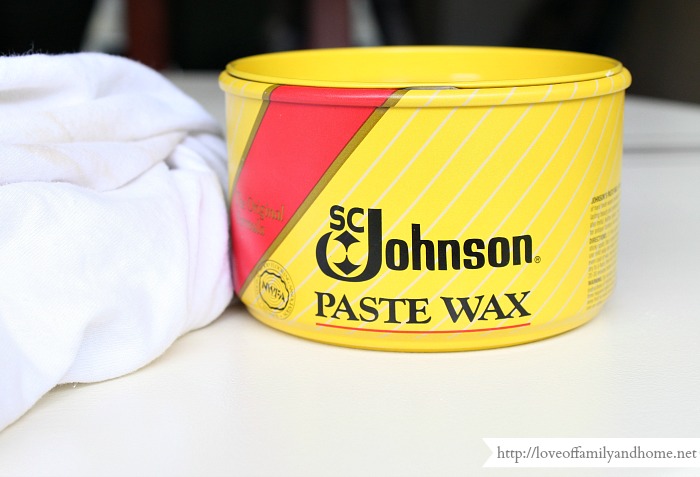
I waited two days and then decided to apply a few coats of wax to seal my table & give it extra layer of protection. For this, I used Johnson® Paste Wax which I found at The Home Depot . This was my first time using any kind of a furniture wax. I went with this brand after doing some research online. Several articles I read advised using the Johnson® brand if you were sealing white furniture because it dries clear & doesn’t leave a yellow or orange tint. I found this brand super easy to be inexpensive & super easy to work with. It does however have a very strong smell, so you’ll want to make sure you are working in a well ventilated area.
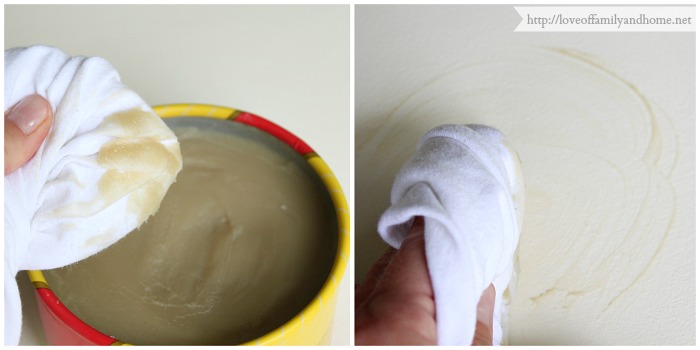
I used an old t-shirt to apply the wax to the table. I just got a little bit of wax on the shirt & started applying it to the table in a circular motion. I applied a thin coat and then waited one hour to let it dry. Once dry, I came back with another old t-shirt & buffed the table out. I repeated these steps three times total.
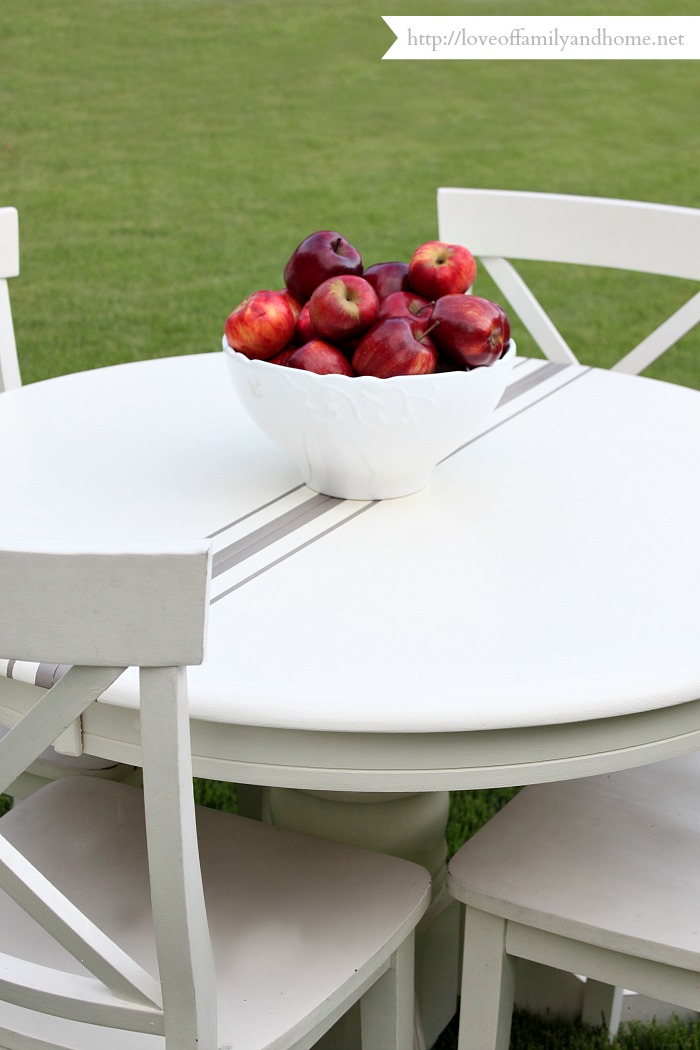
I gave the table another 24 hours to cure after the last coat of wax & then decided it was time to take it out for a little photo-shoot! I’m really so happy with how it turned out! 🙂
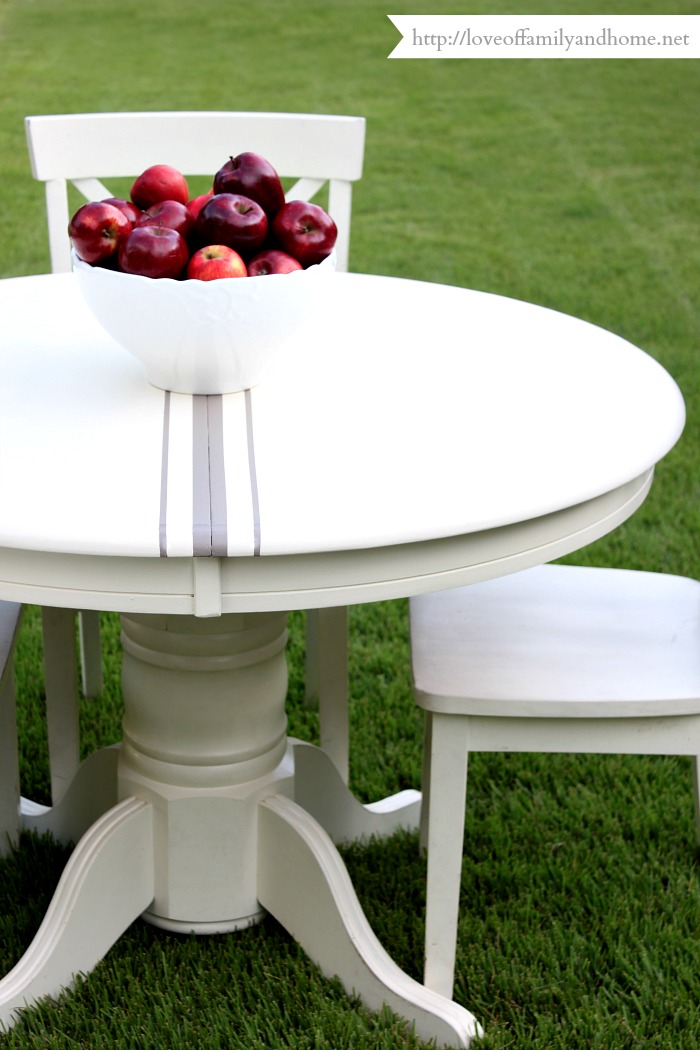
I’m so glad I decided to add grain sack detail this time around! Although it’s simple, it adds just a little more personality to the table! And those crisp paint lines?! SWOON!!
Thanks so much to The Home Depot , Behr® Paint , Wooster® Brushes , & ScotchBlue™ Painter’s Tape for helping me to make my table beautiful once again!!
What do you think of my new Grain Sack Table?!
I hope you found this tutorial helpful! If you have any questions, please leave them in the comments section below!!
Be sure to check out more fabulous summer paint projects at the “Get It, Got It, Go” Summer Blog Hop going on now at Centsational Girl.

Visit these talented bloggers to see their fabulous projects as well!
320 Sycamore: Front Porch Project
Simply Designing: DIY Board & Batten
Brooklyn Limestone: Farmer’s Market Display Stand
Fave Crafts: DIY Aztec Planters
Studio Pebbles: Faux Frame Modern Art
Whipperberry: BBQ Tool Storage
Dukes & Duchesses: Color Block Umbrella Table
HoneyBear Lane: Patriotic Lanterns
Uncommon Designs: Striped Workbench

Keep up with The Home Depot :
The Home Depot Consumer Program

Keep up with ScotchBlue™ Painter’s Tape :
Linking up here…
Tutorial & Tips Tuesday at Home Stories A to Z
Wow Us Wednesday at Saavy Southern Style
DIY Projects & Party Time at The 36th Avenue
Link Party Palooza at Tatertots & Jello
Inspiration Gallery at Design, Dining, & Diapers
Furniture Feature Friday at Miss Mustard Seed
Sunday Showcase Party at By Stephanie Lynn
