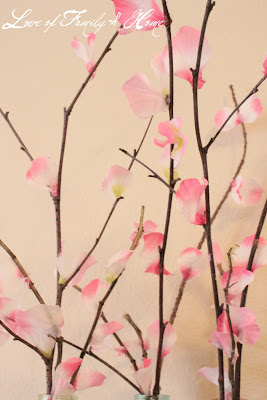
I told you in a previous post that I had been inspired by some other bloggers who have been making their own cherry blossom branches & that I decided to try some of my own.
Here are the links to the other sites, if you
wanna check out their version…
Now I am going to share with you how I made my own…
This project is sooo easy & so cheap…
Anyone can do it!!!
And they are sooo cute…why wouldn’t you wanna make some?
What you will need….
1. cheap flowers or flowers you have laying around the house.
2. Twigs/sticks from your yard.
3. Scissors.
4. Hot Glue Gun
5. Cute Vase to put your branches in.
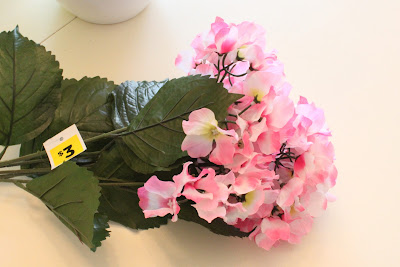
I just bought a cheap thing of pink hydrangeas from Dollar General for $3, but you can use any left over flowers you have laying around the house! They don’t even have to be pink!
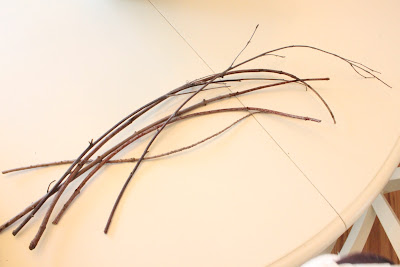
Then I went out into my yard & found some sticks to use. The skinny sticks are best & ones with a little curve in them are the prettiest for this project…
I seperated the flowers from the pink hydrangeas…
Then I just took some scissors & cut the petals some singles & some doubles…
Then you just pinch the bottom of the petal together….add a little hot glue
and place it wherever you like on the stick…
You just continue this process placing the petals here and there, spacing them just so…
Then you will need a vase, pitcher, or in my case some little bottles to place your branches in…
I found these cute little bottles at Dollar General for
$1.50 a piece.
Then place the branches on a table, shelf, or mantle in your home to
add that perfect touch of spring to your decor!
I love these cherry blossom branches…they are so light & airy!
I also saw on another blog where a woman made these with pink tissue paper…
I would provide you with the link for that, but I can’t find it!!
It’s basically the same concept, but just with tissue paper instead!
So, that’s it people!
Told ya it was easy!!
Now get off the computer & go make some of your own!!
Happy Spring!!
I’m linking this project up at….


