Happy Wednesday Y’all!!
I’ve had several of you inquire about how to make the Book Page Christmas Trees that were sitting on the shelf in my JOY Christmas Mantel/Vignette. So, today, I thought I would take some time & show you how you can make some Christmas Trees of your own! 🙂

Supplies:
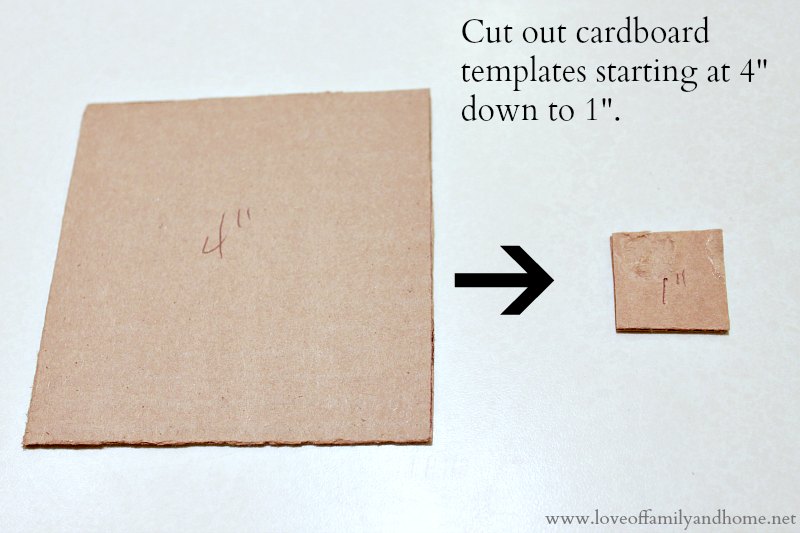
Next, you will need to grab some old book pages (9 pages thick) & begin tracing your templates.

Once, all of your templates are traced, grab some pinking shears & begin cutting them out.

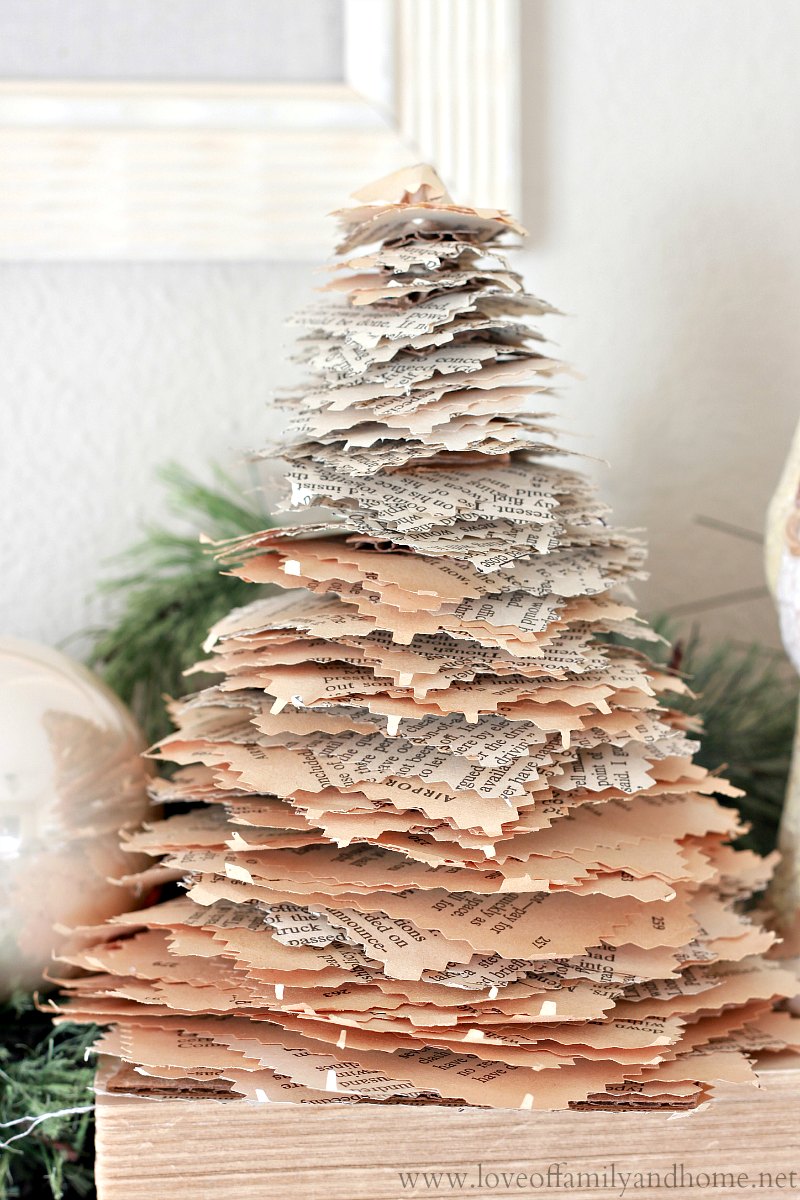
This is what we had when we were finished. Make sure that you keep all of your book pages separated by size, so that you will be able to identify them easily when putting your tree together.

Once all of your book pages are cut-out, you will need to assemble a base for your tree. Since our largest book page was 4″, we cut our tree base at 3 3/4″, so it wouldn’t be seen. Once the base was cut out, poke a hole in through the middle.

Then, you will need to grab your wooden skewer (the kind you would use for shish kabobs), & stick it in the hole. Secure it with a little hot glue.

Once the hot glue is dry, you can begin assembling your tree. You’ll start with the largest book page cut-out (4″) and work your way up the tree until you get to the smallest cut-outs (1″). You’ll add three book pages to the skewer.

Then add a small piece of cardboard.

Add another three pages and another piece of cardboard.
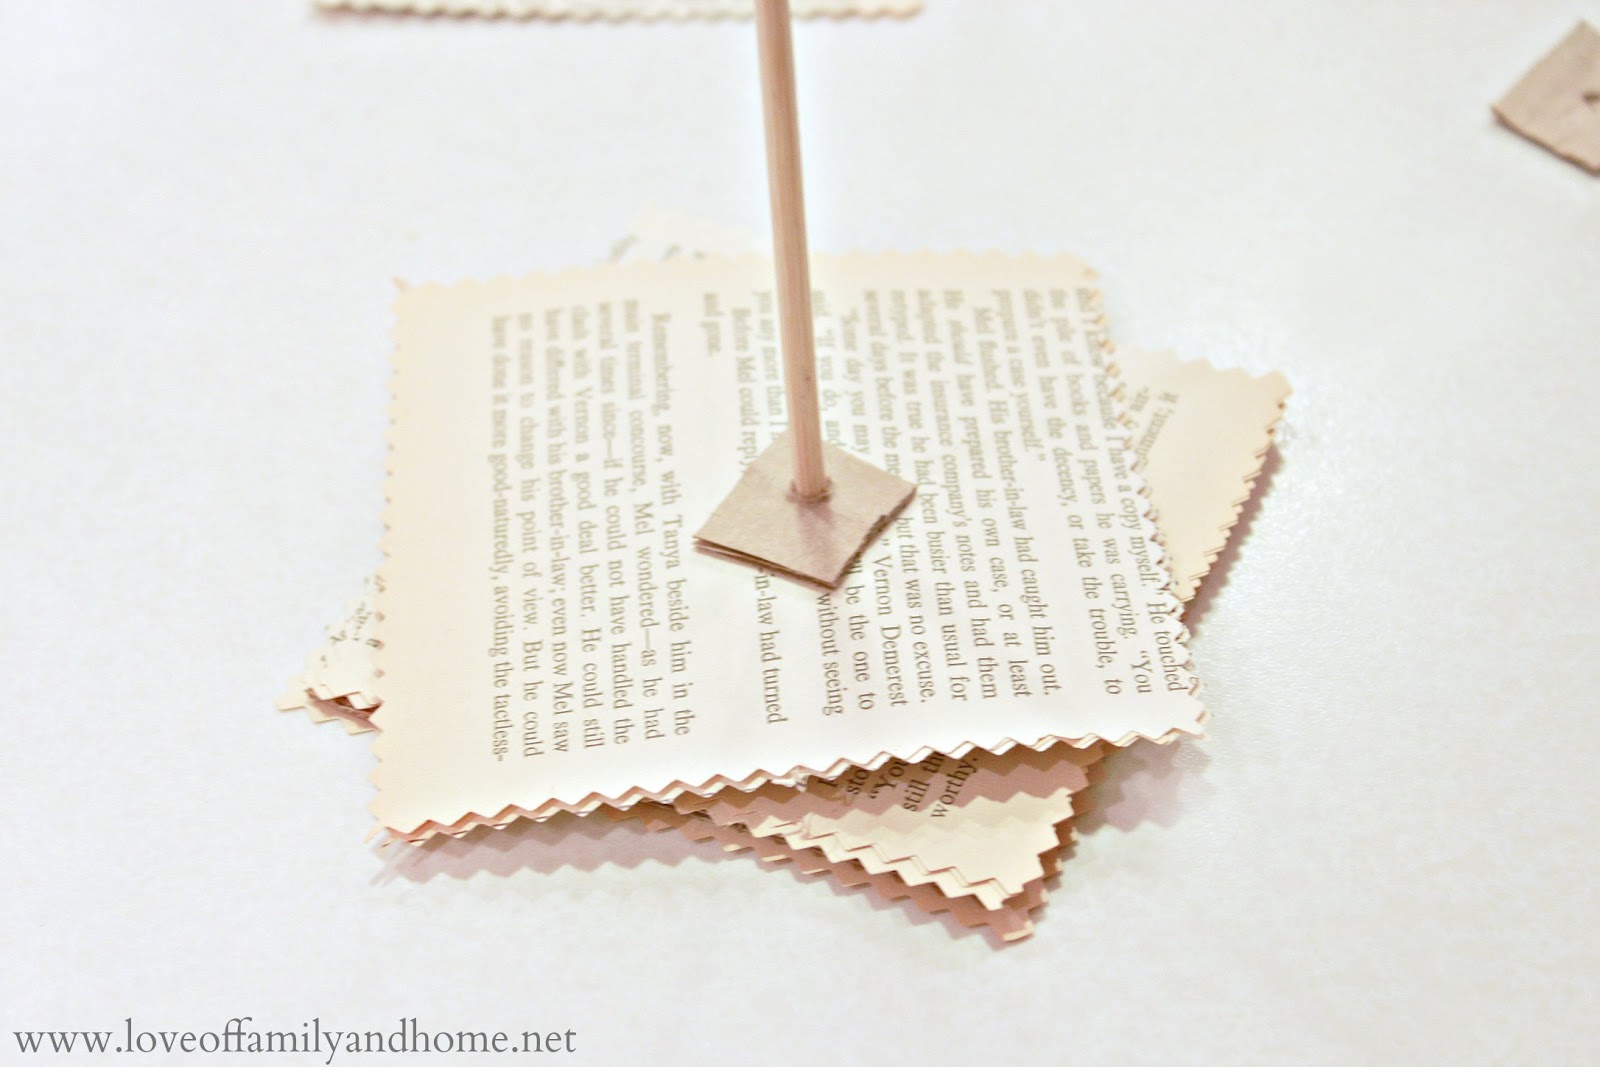
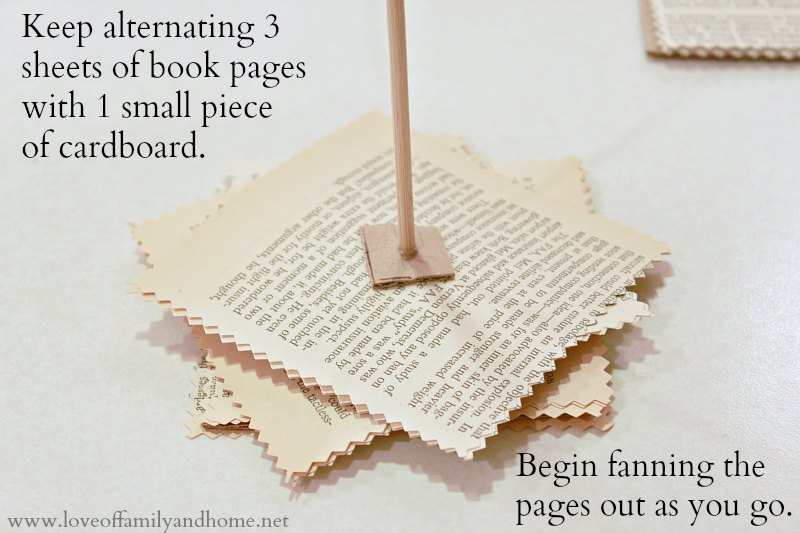
You will keep repeating this pattern until you run out of book pages. You will want to start “fanning” out the pages as you work your way up the tree. (Not as shown in the picture below. This picture was taken as we were first learning to make the trees. At first I was just alternating the placement of the three sheets of paper, but you will need to actually fan out all three sheets every time you add them to the skewer.)
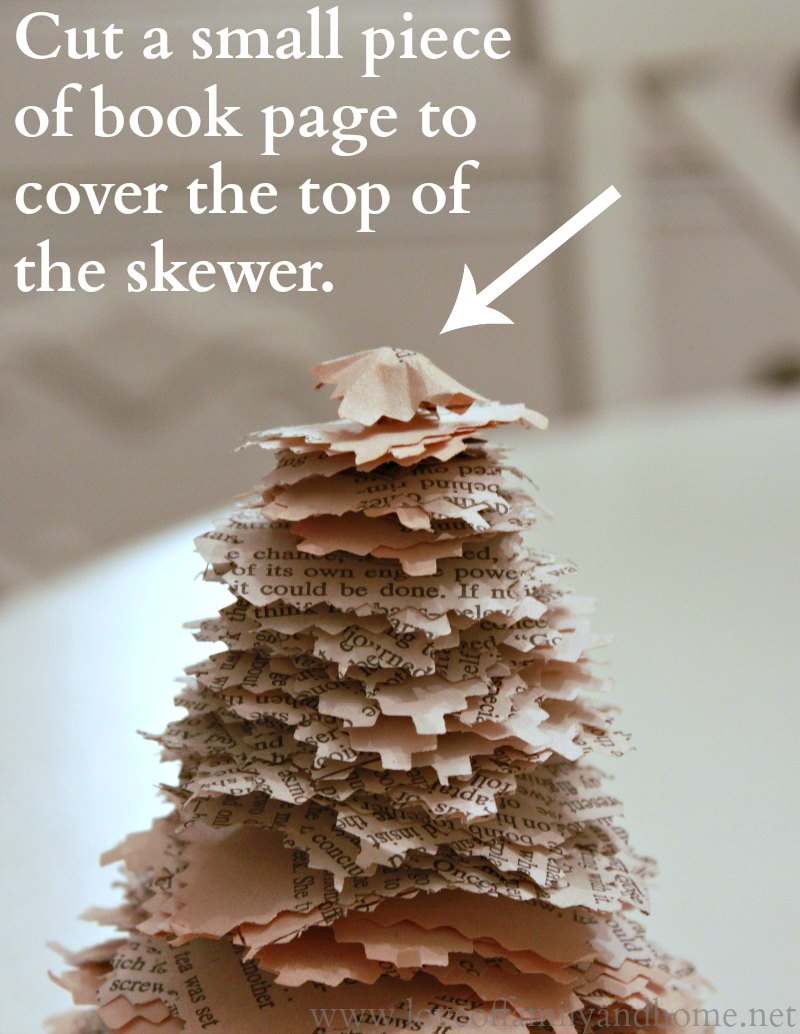
When you run out of book pages, you will more than likely have excess skewer showing. We just broke ours off. Then, to cover the top of the skewer, we just cut a small piece of book page (again with pinking shears), folded it a bit, & hot glued it to the top of the tree.
And that’s it!! You should be left with a ridiculously cute Christmas Tree! 🙂

If you wanted to make your tree larger, you could do a couple different things. You could first, use this tutorial & just double the amount of pages you cut out. For example, instead of cutting each size 9 pages thick, you could cut them 18 pages thick. Or you could just increase the size of your cardboard templates. So instead of your largest template being 4 inches, you could start at 5 or 6 inches instead. If you wanted to make them smaller, decrease the number of pages or start with a smaller template. Make sense?! I hope so!
Now get busy & start making some trees!!!
As always, I really appreciate you stopping by to visit me today!!
I hope you all have a Wonderful Wednesday! Happy Crafting!!
Linking up here….
Quick & Easy Christmas Decor at Inspired By Charm
Don’t Miss Out – DIY projects, home decorating, crafts & more by checking out my subscribe page


Tonya, I just love this craft! It seems like most of the work is in the prep and the assembly is “mindless” enough to do while watching TV or something–perfect for me! Thanks so much for the tutorial!
This is so cute!!!!!!! I’m pinning it to my Chrismtas board now!
oooh I love this and these would look really cute next to my jute twine trees!!! thanks for the awesome tutorial
These are adorable Tonya!!! Making one has just been added to my list. 🙂
Oh man, my list is getting long. Haha!
Have a wonderful, merry, merry, happy Christmas!
🙂
adorable, Tonya! I would have never guessed how you did them. I bet I could do them with music pages too 🙂
Brilliant (and cheap)!!! Love this, Tonya.
Super cute! My sister in law made one of these recently and I’ve been wanting to make one too!! Thanks for the tutorial 🙂