Happy Tuesday Friends!
Thanks so much for stopping by the blog today! I am finally back into a groove here on the blog and it feels great! However, the craziness is about to start at the shop as we are approaching the busy the season, so time will tell whether or not I will be able to keep up with my weekly posts here. Fingers crossed!
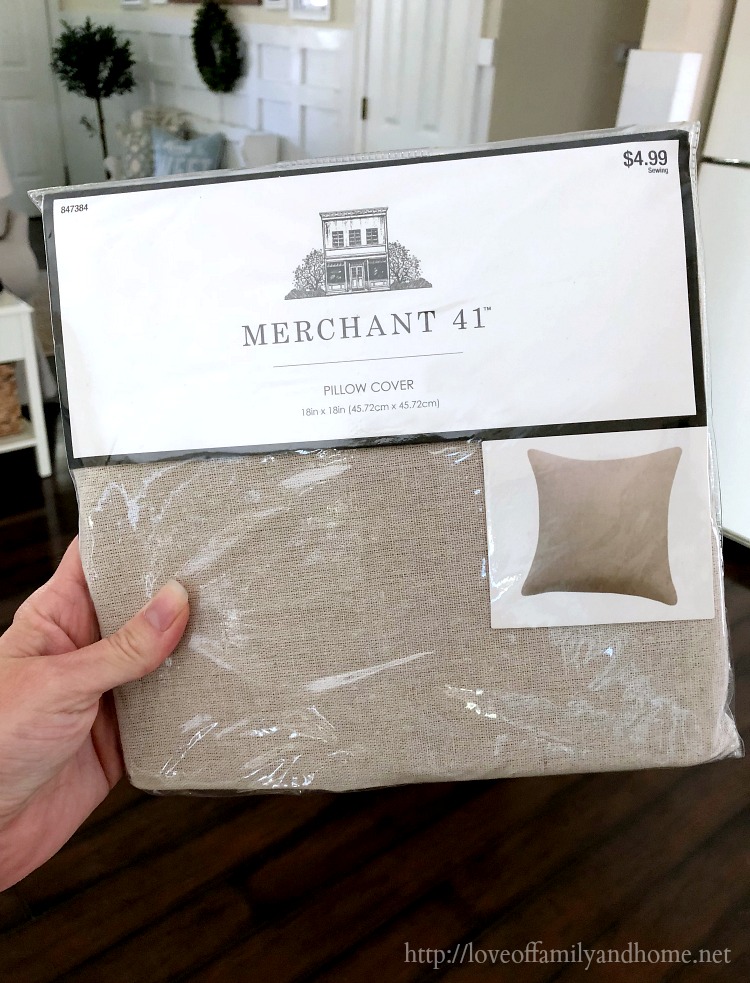
I wanted to share with you a quick & easy project I completed just a couple weeks ago. I’m in the process of swapping out the throw pillows on my couch and have been looking for some inexpensive options. After stumbling across some pillow covers at Hobby Lobby, I was able to whip up the DIY Grain Sack Pillow you see here for just under $5.00!

So cute, right?!
The day I was shopping for the pillow covers, I decided to share on Insta-Stories. I was able to splice the 15 second videos together to create a short video here on the blog. Do you follow me on Instagram?
This is the pillow cover I picked up at Hobby Lobby. You can find it HERE. As I am writing this post, it looks as though the pillow covers are half off again this week! Yay!! If you are reading this post a little late and they are showing full price on the website…just wait another week or two. They’ll go 50% off again!
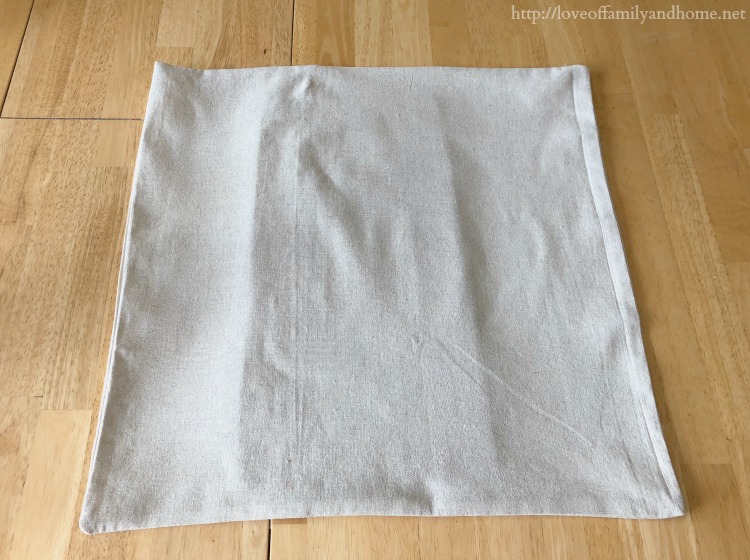
After removing the pillow cover from the package, the first thing I did was iron it. Then, before I started stenciling, I inserted a cardboard backing inside the cover to prevent the paint from bleeding through the fabric.
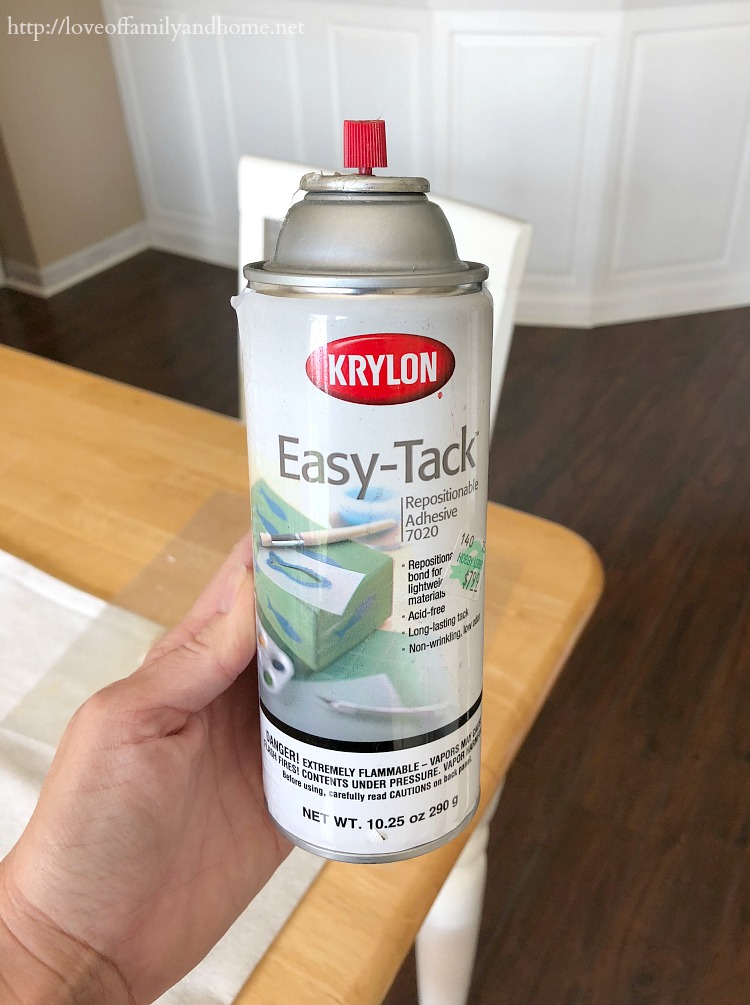
In order to adhere the stencil to the fabric, I used this Krylon Easy Tack repositionable adhesive spray. You just lightly spray the backside of the stencil and then attach it to the fabric. If you don’t have the placement exactly the way you want it, then just pick it up and reposition it until you get it where you want it.
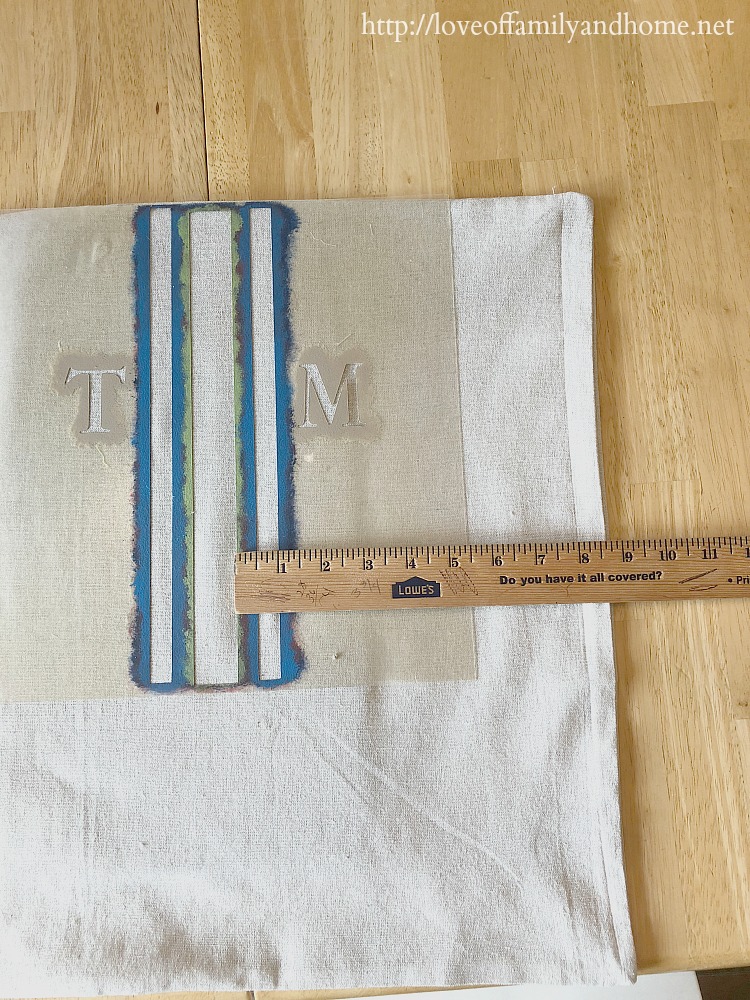
How do you know where you want it?! Well, it should be in the center of the pillow cover. If you aren’t super picky, you could probably just eyeball it, but I did use a ruler to measure the areas on the outside of the stencil and made sure that the measurement was the same on each side to ensure that the stencil was centered.
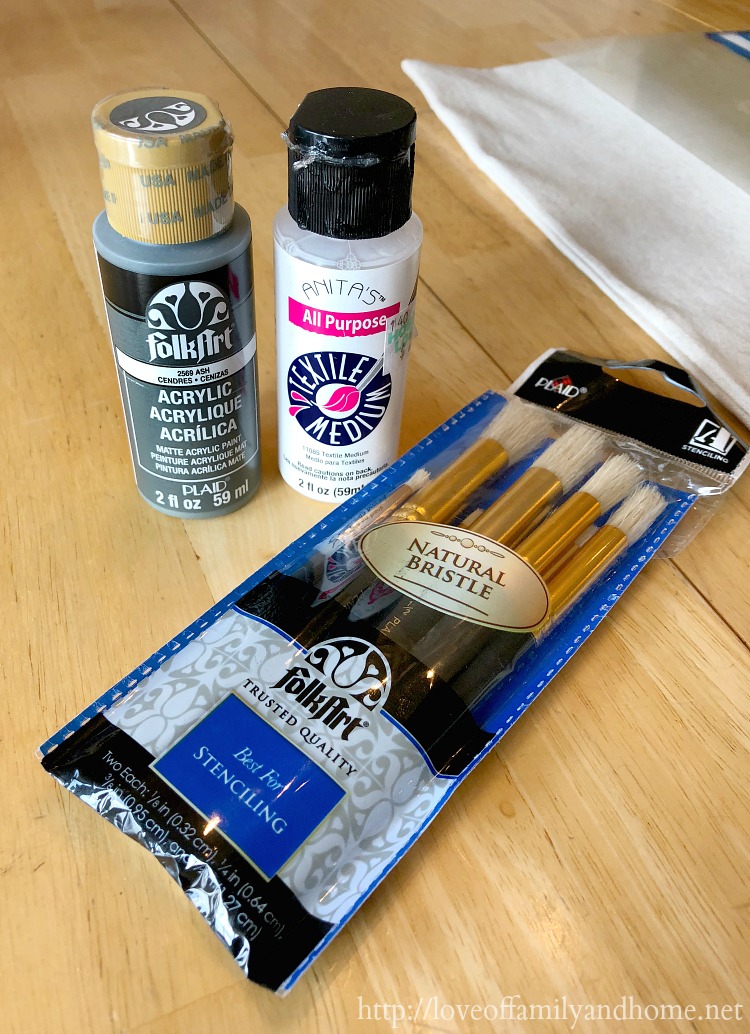
For the paint, I just picked up this Folk Art acrylic craft paint in the color “ash” at Hobby Lobby and mixed in a little bit of the textile medium you see in the photo. I used a stencil brush to apply the paint to the fabric.
I did a couple of boomerang videos on my Insta-Stories to give a little sneak peek of the progress. I thought I would share those videos here as it gives you a little bit of an idea of how to apply the paint. You want to make sure that you get rid of as much of the excess paint on your brush before you start stenciling. Once you’ve finished applying the paint, just peel the stencil off!
Like I said in the first video, I used my mom’s grain sack stencil for this fabric. Unfortunately, her stencil wasn’t long enough to go the length of the pillow, so I had to match up my lines again at the bottom and continue with my stenciling until I reached the bottom.
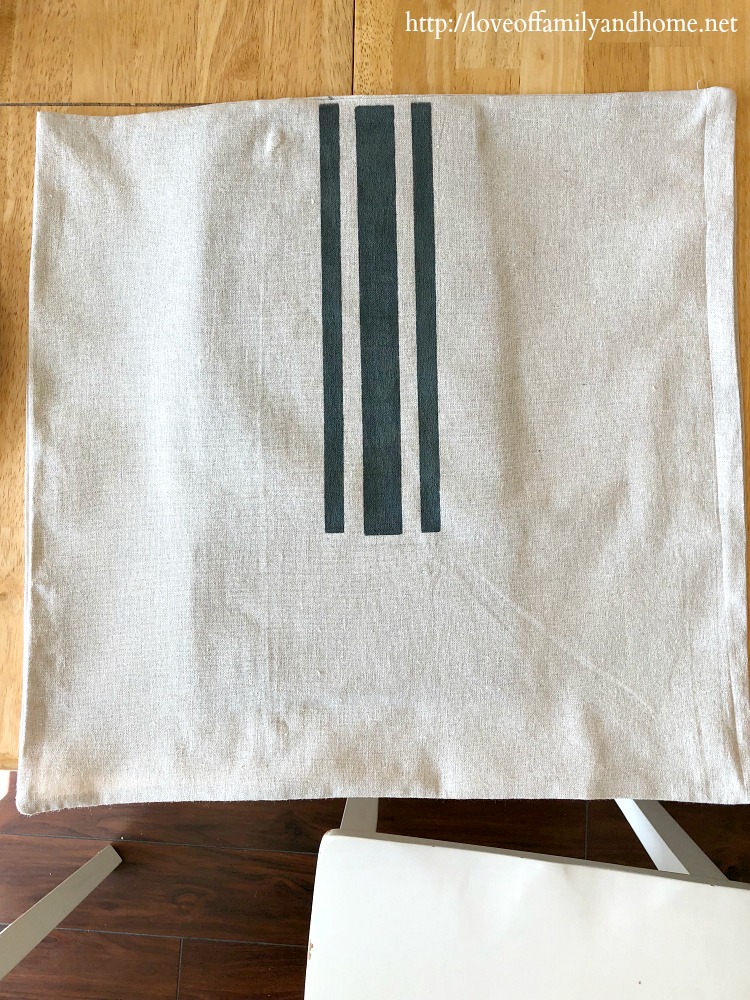
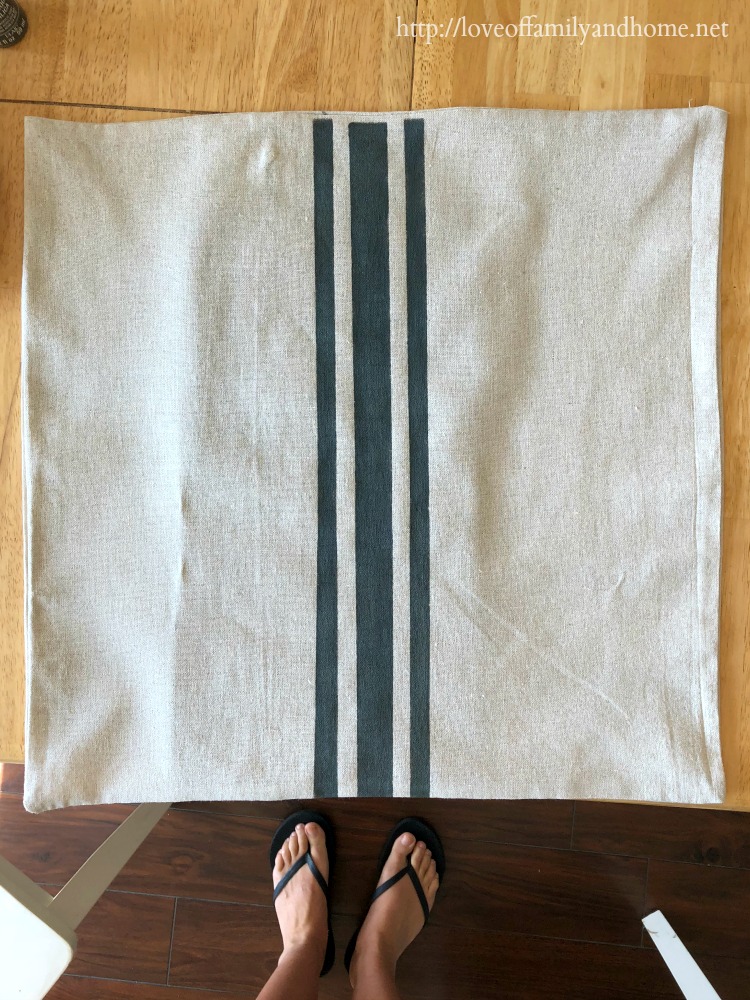
Here is what it looked like once I finished.
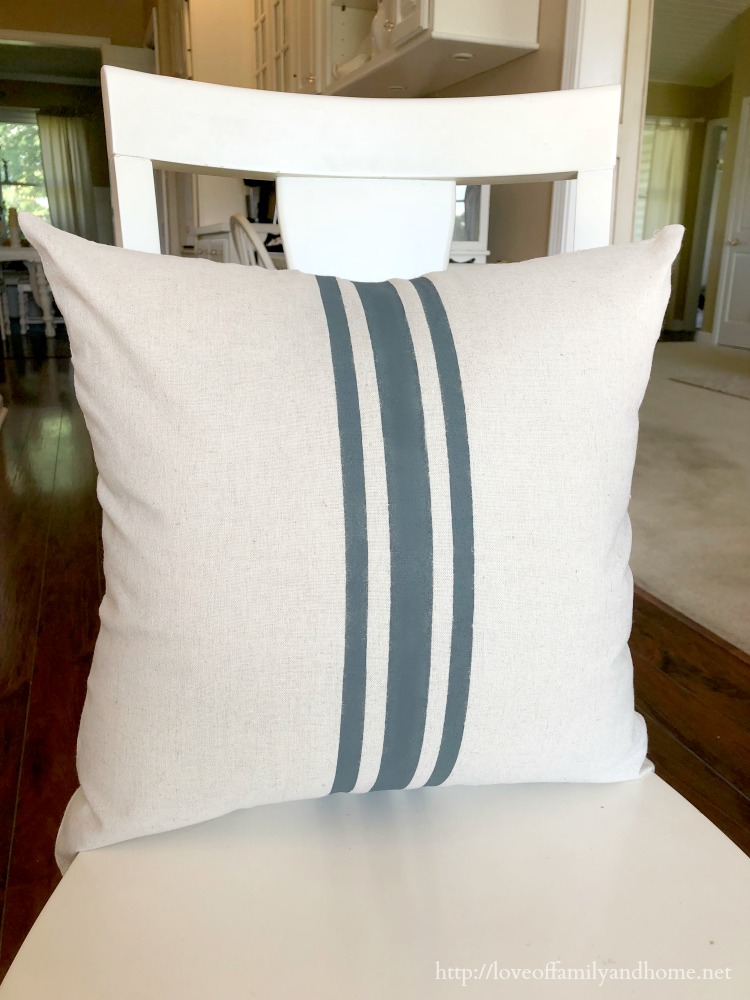
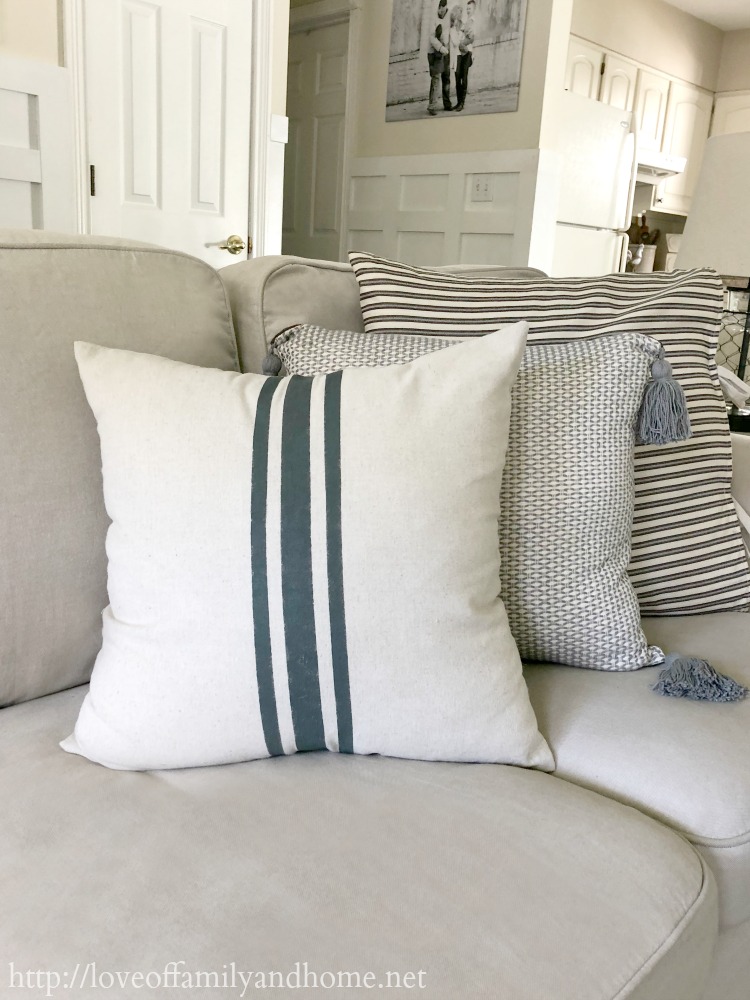
And here is what it looked like once I got the pillow form inside of it.
My mom said she was pretty sure that the stencil she has was originally purchased at Hobby Lobby. However, we can’t find it on their website anymore. I did do a quick Google search for a few Instagram friends who were asking. I was able to find a couple that are really similar. To check them out click HERE and HERE.
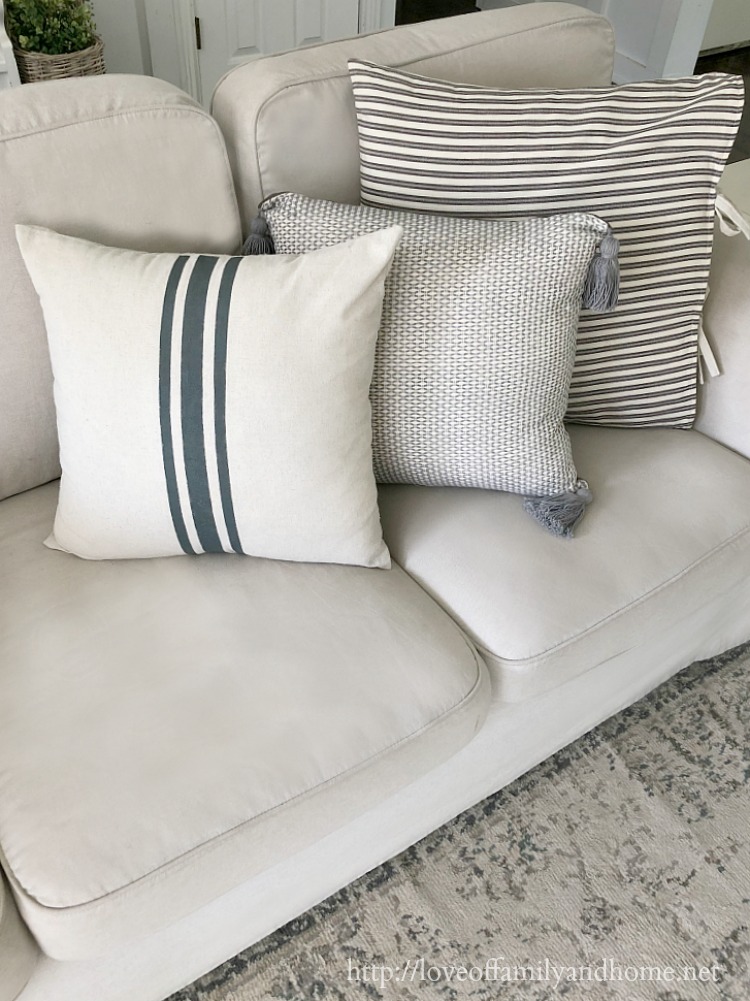
Anyway, I love how the grain sack pillow turned out. Here it is paired with some of the other pillows I picked up at Hobby Lobby. The one to the immediate right of the grain sack pillow is the other pillow cover that I showed in the first video. It was regularly $11.99, so after the 50% off, it cost me $6. You can find it on their website HERE. The larger pillow was purchased just as you see it here (pillow & cover in one) at Hobby Lobby as well. Here is the link for it. I purchased the charcoal color, but they also have it in a navy stripe. I love how it ties on the end. ❤️
I was able to score some really cheap pillow forms at Goodwill to go inside of the pillow covers. I learned that thrifty tip from my friend Christina, at The Frugal Homemaker. She just buys throw pillows at Goodwill or other thrift shops and takes the pillow forms out of them. Just throw them in the wash and they are good to go. I was able to get mine for just $2 each. SCORE!!
So, the cost of the pillow cover was $2.50 and the pillow form was $2, which makes the grand total $4.50 per pillow. How awesome is that?!
Yes, I had a little bit of money in the craft paint. However, I used very little paint and the bottle doesn’t cost much ($1.37 to be exact), and I should be able to get a few pillows out of that one bottle of paint, so that cost is minimal. Thankfully, my mom already had the textile medium, the stencil, & the adhesive spray. If you wanted to avoid the cost of the stencil, you could use painter’s tape to achieve this same look. For an idea on how to do that, you can check out this post where I painted a grain sack design on my kitchen table using painters tape.
So far, I’ve made two of these pillows, but still need two more for our other couch. I also need to snag a few more pillow forms, so it looks like I’ll be making another trip to Goodwill very soon! Hopefully, I will be lucky enough to find a few more pillow forms there. Once all of my pillow are done, I’m hoping to share some updated pics of my living room. And it would probably be best to do that BEFORE I get my Christmas tree up. I say that because, in our house….the Christmas tree goes up shortly after Halloween and we all know Halloween is just a few days off. I guess I better get my rear in gear! 😳
Tell me friends, when does your Christmas tree go up? Are you an early bird like me?
As always, thanks so much for stopping by! Have a great week!
Linking up here….
Tutorials & Tips Linky Party at Home Stories A to Z.


