Hey Friends!!
So, it’s a New Year and it’s time to get ORGANIZED!
I don’t know about all of you, but I’ve definitely been hit by the organizing bug this month! I’ve been working on a few different projects over the last couple of weeks and I must say, it feels SO GOOD to get rid of the clutter & bring some order to our home! I still have more areas that I’m wanting to tackle, but I WILL get there!
We are kicking off our “Organize It” week this week as part of our Dog Days of Winter Series, so I had to pick one of my projects to share with you today! Here it is…..
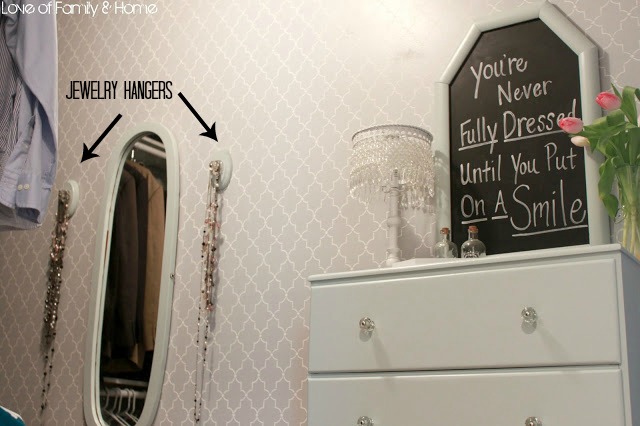
If you’ve been reading this blog for awhile, you might remember that this time last year, I was working on one of my biggest organization projects to date…..a major closet overhaul in our master bedroom! I created some jewelry hangers at that time to hang some of my necklaces from…..
And they worked for a quite a long time, but then, I developed a new obsession for accessories & purchased quite a few new necklaces over the course of this past year! The two hangers just weren’t cutting it anymore! The necklaces were too heavy & the chains were constantly getting tangled up. So, I knew it was time for a new solution!
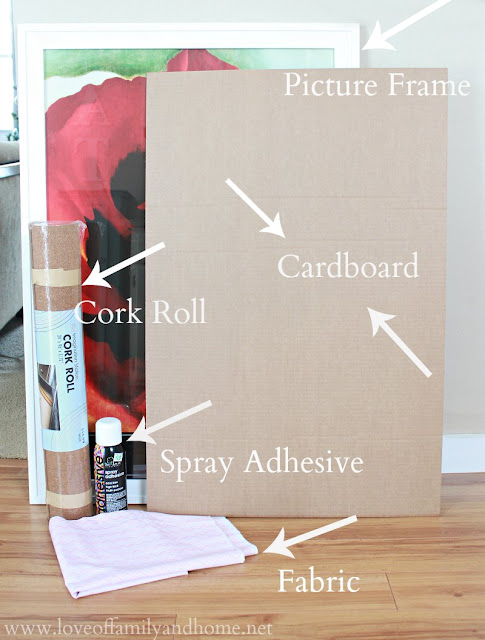
I actually used my friend, Mandy’s tutorial to create my new organizer. Be sure to check out her post HERE. Let’s take a look at what you will need.
I got all of my supplies at Hobby Lobby with the exception of the fabric…..it came from JoAnn’s. I got the frame (24×36) for 50% off & used my 40% coupon to purchase the cork roll. The cardboard came from the framing department. I just asked them if they could cut it to fit the frame for me.
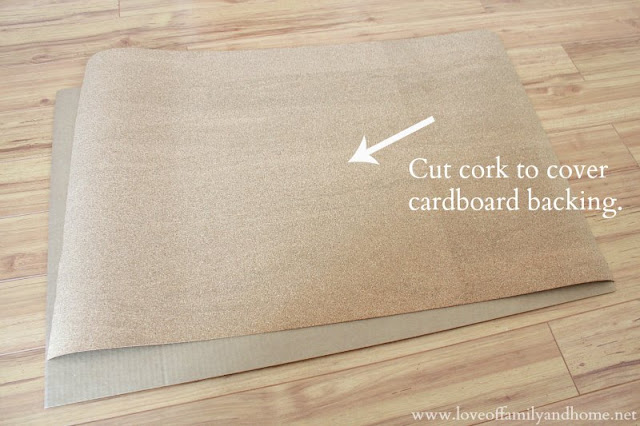
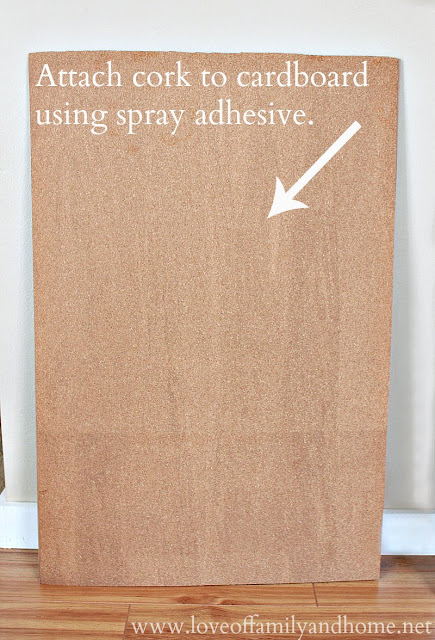
I sprayed the backside of the cork & the cardboard with my spray adhesive and attached the two of them.
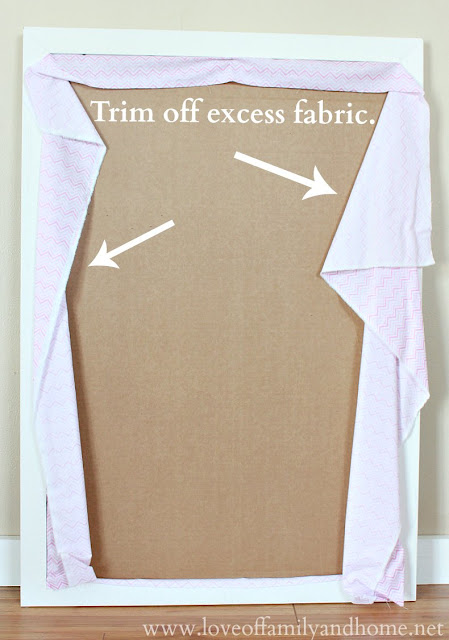
Then I wrapped the cork with my fabric & placed it in the frame. I made sure to pull the fabric tight on each side, so that there weren’t any wrinkles, and then I trimmed off the excess.
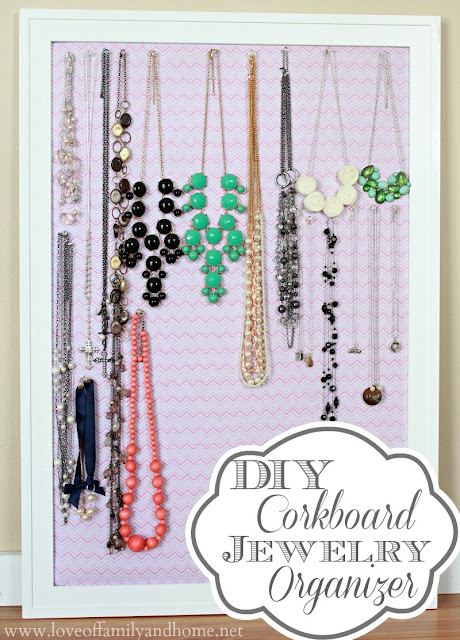
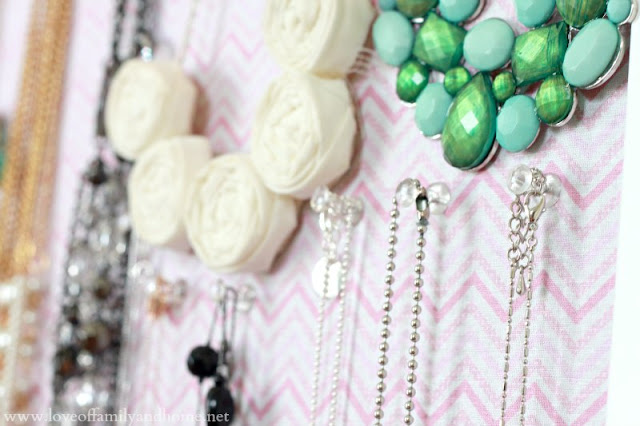
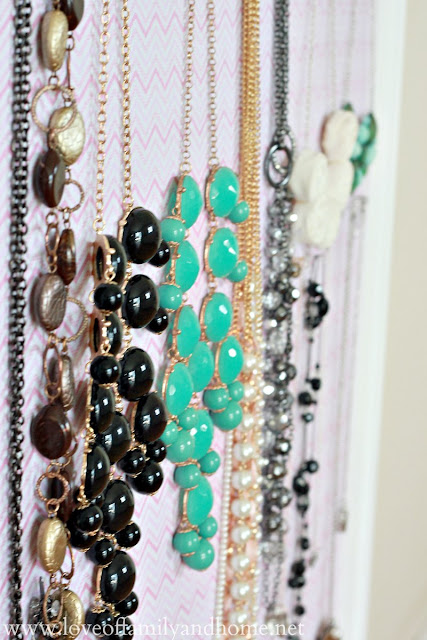
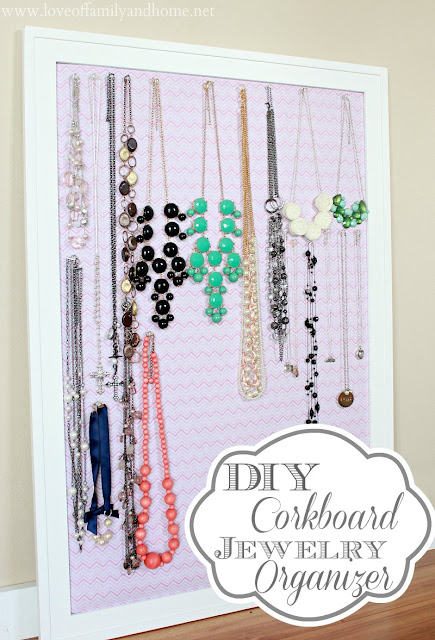
Once I was finished, I just started hanging my necklaces using pushpins that I purchased at the dollar store.
These pictures give you a closer look at the fabric that I used. It’s a small chevron pattern. I wanted a large pink chevron, but was unable to find it.
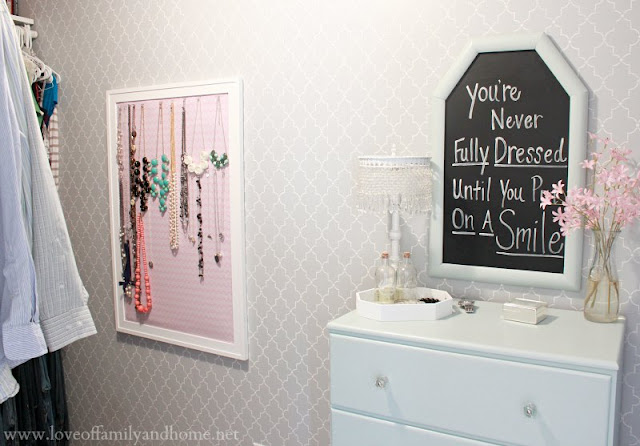
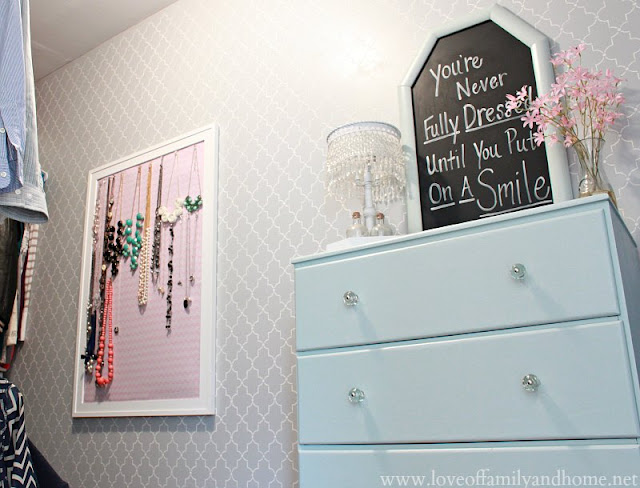
Here is what it looks like hanging up in my closet now…..
All of my necklaces fit perfectly & I still have room to add….PERFECT!!
You might have noticed that I had to get rid of my mirror in order to bring this into my closet. I have moved it into my master bathroom for the time being, but it doesn’t match our current decor. Guess I’m gonna have to come up with something for that next!
So, that’s it! A quick & easy solution to organizing your jewelry!
I hope you’ll come back tomorrow & join in the organizing fun as we kick off our linky parties!!
If you link up on just ONE of our blogs, your project will be see on all NINE sites!! So, get those projects completed & get your posts ready!!
If you don’t have a blog, I would still LOVE for you to join in!! Share a picture of your new organized space with me on my Facebook Page! I will be sharing some of my favorites over the course of the week!
Thanks so much for stopping by! I hope you all have a Beautiful Sunday!
Linking up here….
Tutes & Tips Linky Party at Home Stories A to Z
Link Up With Me, Liz Marie at Liz Marie Blog
Inspiration Gallery at Crafty, Scrappy, Happy
Transformation Thursday at Shabby Creek Cottage
Weekend Wrap-Up Party at Tatertots and Jello







That’s a great idea, I did something similar to that for my daughter a few years ago. Thanks for sharing and have a great weekend.
Love that print! Your closet is gorgeous. Gah. SO pretty! 🙂 Hope you’re having a great weekend love!
This is so pretty Tonya! It turned out really well. I love this idea and I could really use it in my house. All my jewelry is currently spread out on top of a cubbie system with no organization at all. I need this in my life!
Lol, I have the SAME problem!! All the fabulous jewelry that’s been around the past year has got my dresser and jewelry trees overflowing. Pinning this one, Tonya — thanks for sharing!
xo Heidi
I’m TOTALLY loving the fabric touch…I did something similar with my daughter’s jewelry…but may need to upgrade! XO, Aimee
I love this!! I have been using hooks as well and it’s not working like I need to it, especially when the necklace I want is in the back of the pile and I have to take off the 10 necklaces on top of it to get to it.
I need to add this to my list of things to make in the next couple of months!! 🙂
I love fabric. It is cute without being too much! Very fun!
I love this. I will have to try soon. My jewelry is such a mess!
I’m definitely making one of these this year. I hope to add to my necklace collection this year, as my 4 year old daughter really LOVES it when I have one on. Where are your favorite places to purchase jewelry?
Tonya!
I NEED one of these! I love it! The jewelry organizer is perfect!
Thanks for inspiring me today!
karianne
Love it! And I can DO this;)
Amanda
Thanks so much for this tutorial!
What a great idea! I love it! Do you have a similar project to store earrings?
I love it Tonya! My necklaces have totally outgrown my small jewelry box so I’d love to do this and get rid of my tangled mess. Just need to find some wall space!
Love this project! Your closet is so pretty. Where did you get your wallpaper and do you know the name of that pattern? Thanks
I did something similar, but mine is more utilitarian looking. I used silver cloth for the fabric, and also added a flap of it to hang over the jewelry to help prevent tarnishing (in hindsight I could have adhered fabric to the outside of it to look nicer). Then I added small cup hooks in a row along the bottom of the frame. I put my silver necklaces on the upper part and the rest hang from the hooks along the bottom. I am able to store a lot of necklaces tangle free in a small space).